14 Christmas Coffee Bar Decor Ideas for Cozy, Festive Mornings
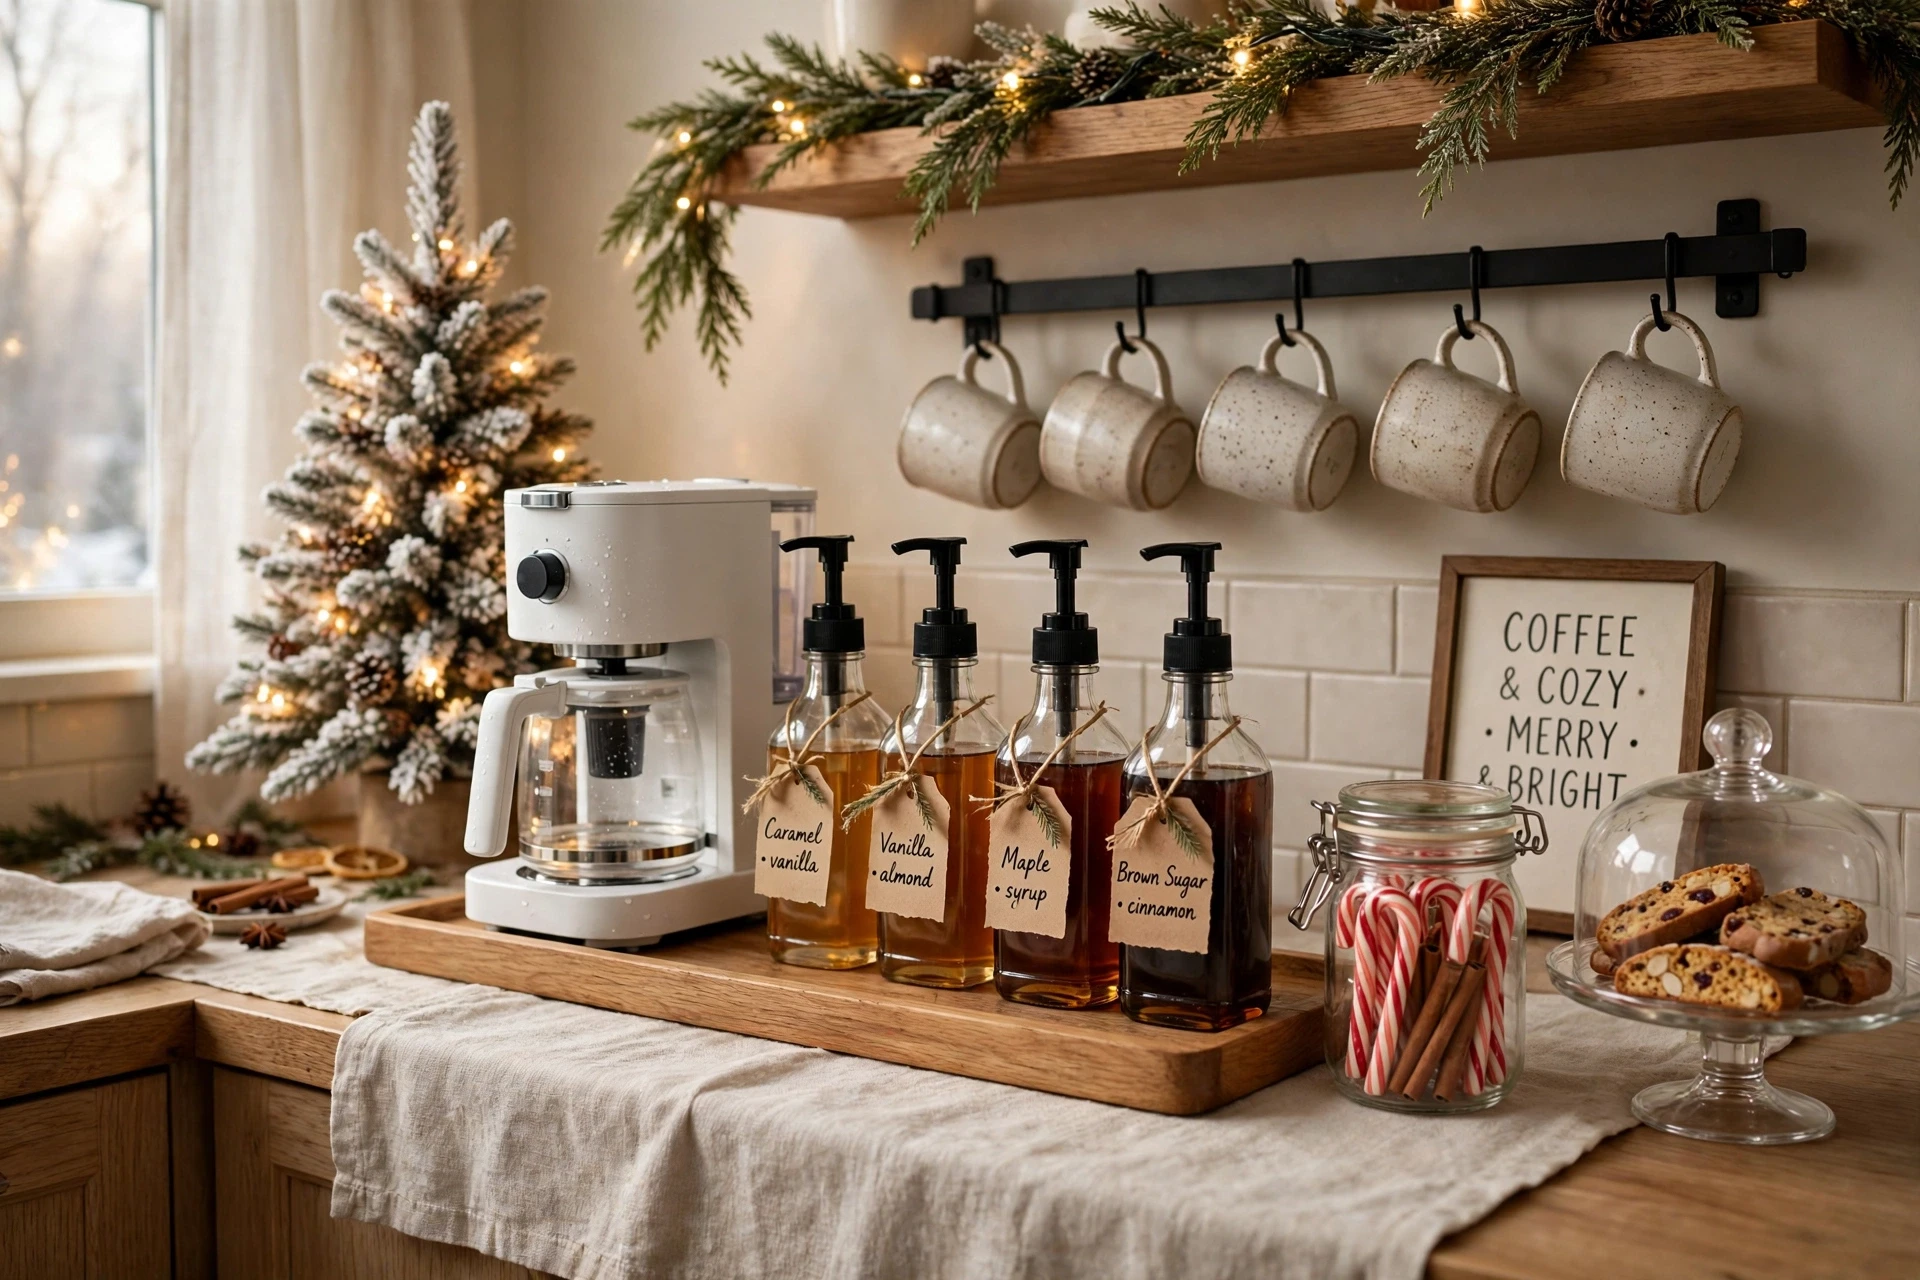
It is 6:40 on Christmas morning. The house is quiet. The lights on the tiny tree are already glowing, and the kettle is starting to hum.
A coffee bar can make that moment feel like part of the holiday. It does not have to be big. A tray, a few mugs, one little tree, and a jar of candy canes are enough to turn a plain counter into the first stop of the day.
This list has 14 ideas, and each one tells you the space it needs, the cost, and the time to set up. You will also find safety notes for hot appliances, a stocking checklist, and tips for guests, so your bar looks good and works well.
Quick answer: To decorate a Christmas coffee bar, define the zone with a tray, pick three colors, layer items at three heights, hang mugs on a wall rack, add a small sign, tree, and greenery, and keep decorations away from steam and heat. Add warm lights on a timer, so the bar is glowing when you wake up.
Coffee Bar Safety and Setup Basics
A coffee bar has hot water, steam, cords, and food. These simple rules apply to every idea in this article.
- Keep decor away from heat and steam. Paper signs, garland, and linens should stay clear of the coffee maker, kettle, and any warm plates.
- Tuck cords away. Don’t let cords hang off the counter edge where kids or pets can pull them.
- Use a trivet or tray under hot items, and place the kettle where nobody can bump it.
- Don’t leave milk or cream out for hours. Food safety guidance says perishable foods shouldn’t sit out longer than two hours. Keep a small pitcher over ice and refill from the fridge.
- Label anything with allergens. Mark syrups, creamers, and toppings that contain nuts, dairy, or other common allergens.
- Choose a machine with an auto shut-off, and unplug extras when you are done.
- Check shelf and hook limits. Use anchors and studs rated for the weight of full mugs.
1. Define the Bar With a Tray
Space needed: A tray about 16 to 20 inches wide | Cost: Low to Medium | Time: 10 minutes
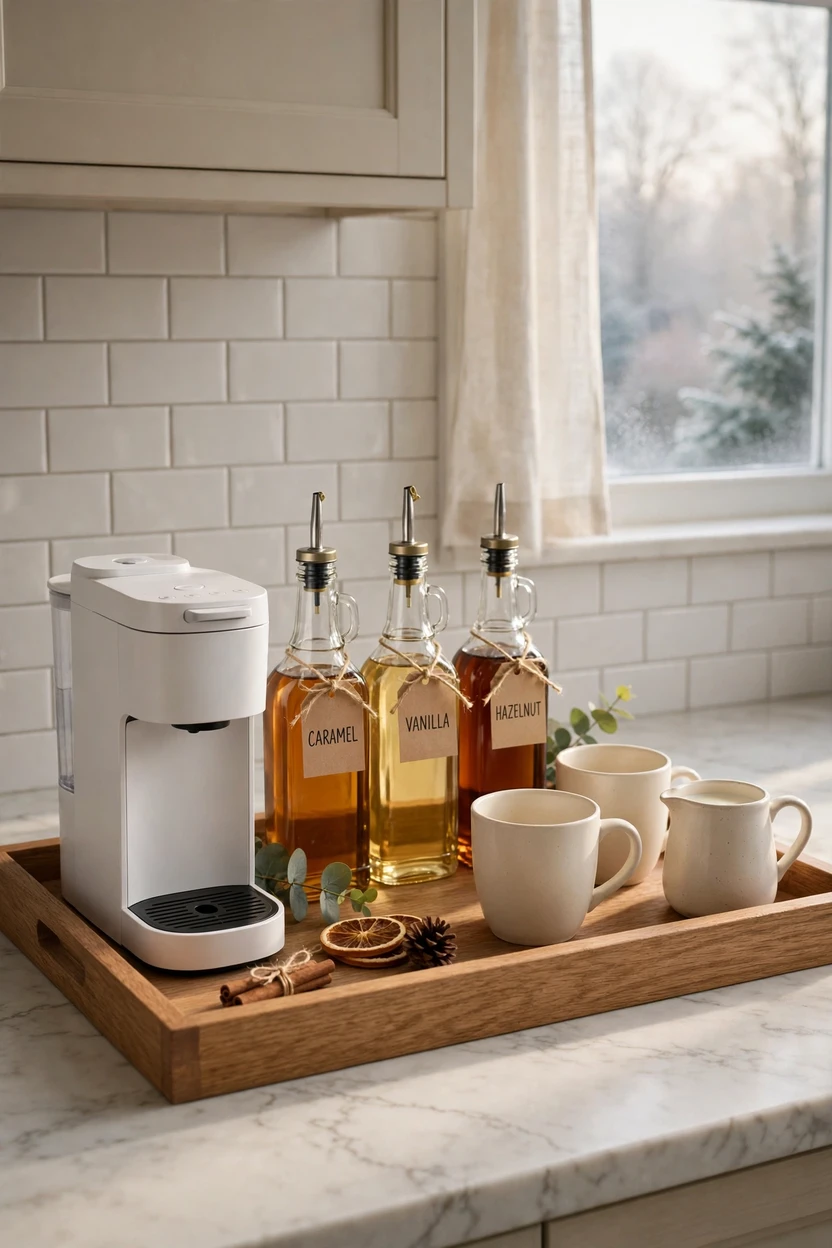
A tray gives your coffee bar clear edges, so it looks planned even on a busy counter. Choose a wood or marble tray with a lip, and place the coffee maker, syrups, or cups on it. It protects the counter from drips and lifts off in one piece when you need to wipe underneath. Put a non-slip mat or a thin rubber liner under it so it doesn’t slide. A tray also lets you move the whole bar to a table when you have guests.
2. Pick a Three-Color Story
Space needed: None | Cost: Low | Time: 15 minutes
A small bar looks festive when it keeps to a few colors. Pick three, such as cream, pine green, and cranberry, or white, black, and wood. Match the mugs, napkins, and jar lids to the same palette, and repeat each color at least twice around the bar. Add texture with linen, wood, and white ceramic so it doesn’t look flat. If you already own colorful mugs, keep them and let the neutral pieces calm the mix.

3. Hang Mugs on a Wall Rack
Space needed: A wall section about 24 inches wide | Cost: Low to Medium | Renter-friendly: Depends on the rack | Time: 30 minutes
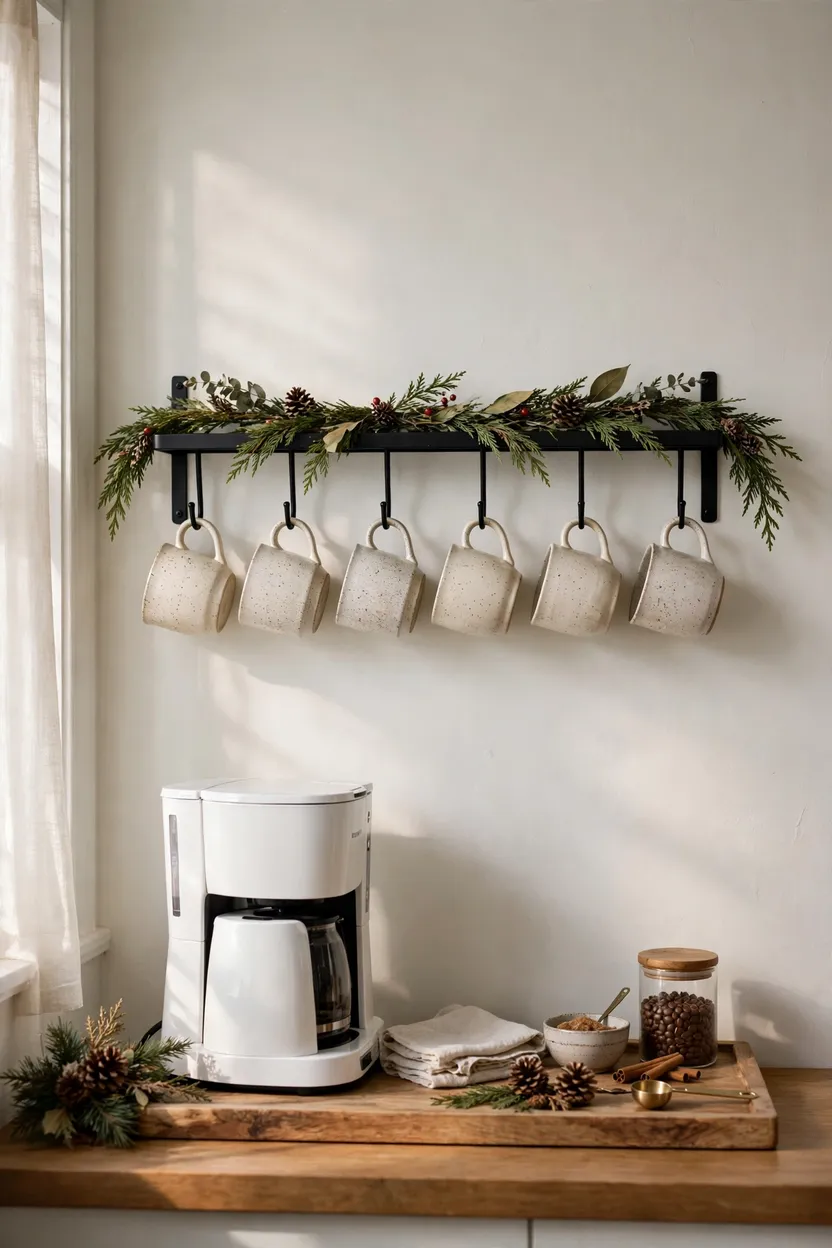
A wall rack turns your mugs into decor and frees up counter space. Choose a rack or a shelf with hooks, and space the hooks about 5 to 6 inches apart so handles don’t clash. Measure your coffee maker with the lid open before you hang anything, so you leave enough room beneath. Screw the rack into studs or use anchors rated for the weight of full mugs. If you can’t drill, a countertop mug tree gives the same look with no holes.
4. Layer Three Heights
Space needed: Counter or tray depth of about 12 inches | Cost: Low | Time: 15 minutes
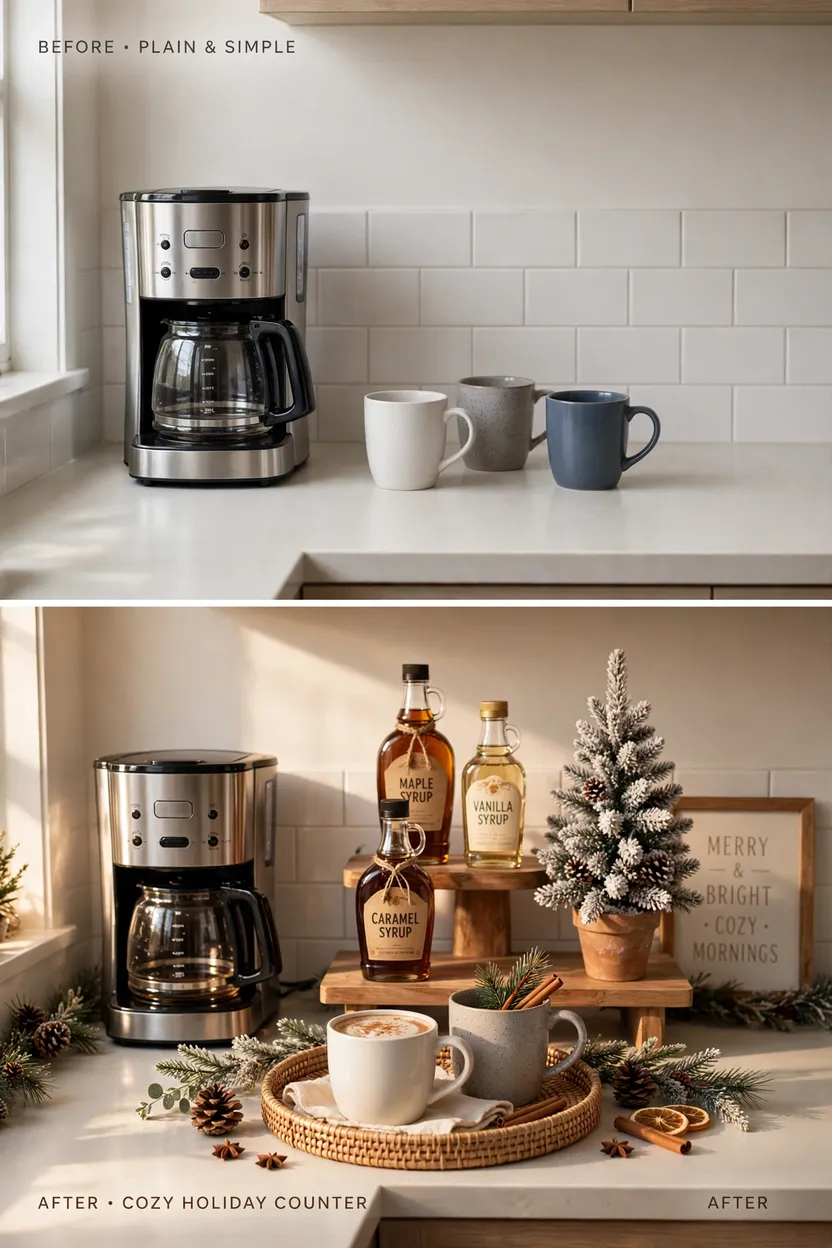
Three heights make a small bar look rich and keep it easy to use. Keep the low layer for mugs and spoons, the middle layer for jars and syrups on a riser or cake stand about 4 to 6 inches tall, and the tall layer for a sign, tree, or dispenser at the back. Leave the front clear so you have room to set a mug down and pour. Step back and look at the bar from the doorway, because that is how guests will see it. Trim anything that doesn’t earn its place.
5. Add a Mini Christmas Tree
Space needed: A 6 to 8 inch spot | Cost: Low to Medium | Time: 5 minutes
A small tree gives your coffee bar a clear focal point. Choose one about 12 to 18 inches tall, in green, white flocked, or a pretty twig style. Set it in a basket or a small pot at the back or the end of the counter, and use battery lights so there is no cord to hide. Keep it away from steam and the kettle, and don’t let it block the outlet or the lid of the machine. If counter space is tight, put the tree on the shelf above instead.

6. Tuck In Greenery and Garland (Away From Heat)
Space needed: A shelf edge or a small jar | Cost: Low | Time: 10 minutes
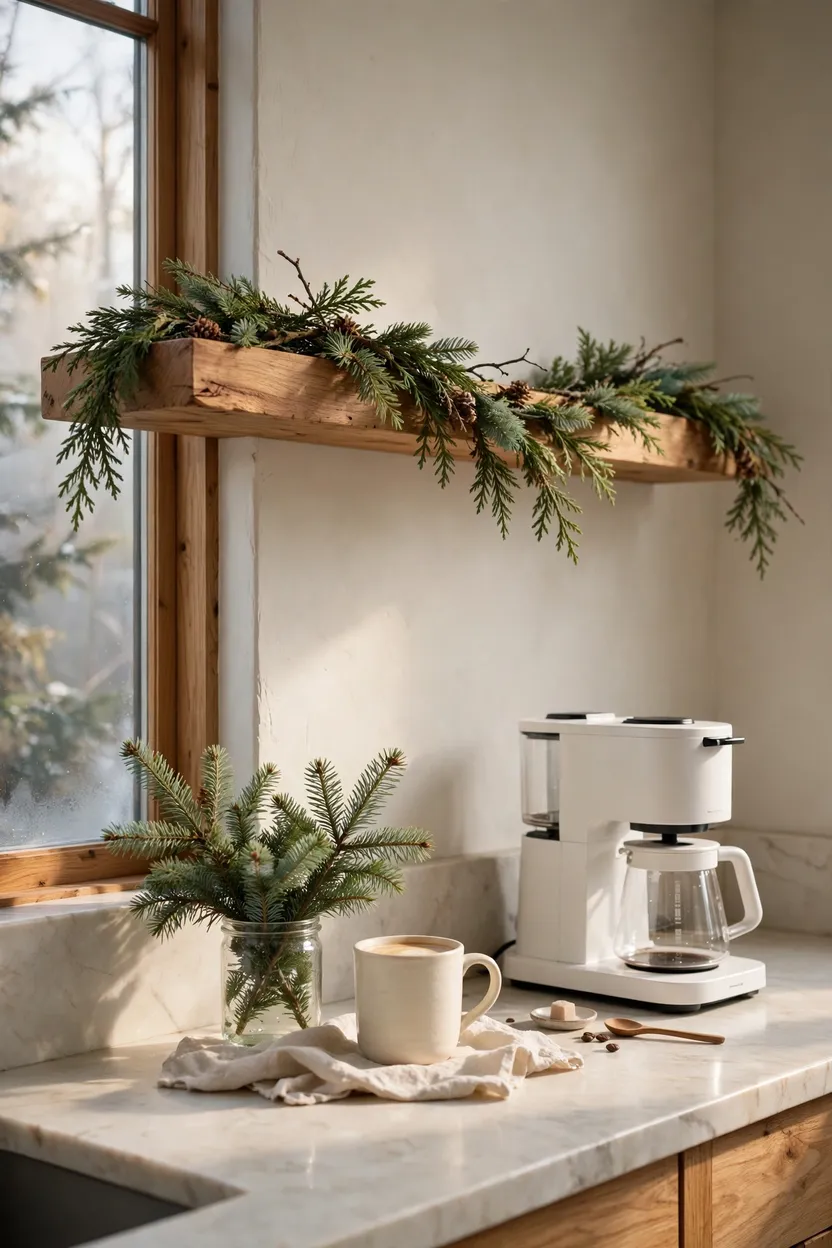
Greenery makes a coffee bar smell and look like Christmas in a few minutes. Drape a short strand of cedar or eucalyptus garland along the shelf above the bar, or tuck a few fresh sprigs in a jar of water. Keep every piece well back from the coffee maker, kettle, and any steam, since heat dries out greens and can scorch fake ones. Clip the garland in place so it doesn’t droop into the work area. Replace fresh sprigs when they dry out.
7. Set Up a Labeled Syrup Station
Space needed: A 10 inch wide spot on the tray | Cost: Low to Medium | Time: 20 minutes
A syrup station makes every cup feel like a treat. Use four matching glass pump bottles, such as vanilla, caramel, peppermint, and gingerbread, and tie on a small handwritten tag to each. Place them on the left of the machine so the steps flow from left to right, and put a small saucer under them to catch drips. Mark any syrup that contains nuts or dairy so guests with allergies can choose safely. Refrigerate homemade syrups and use them within the time your recipe states.

8. Fill Jars With Cocoa Toppings
Space needed: A 12 inch wide spot | Cost: Low | Time: 15 minutes
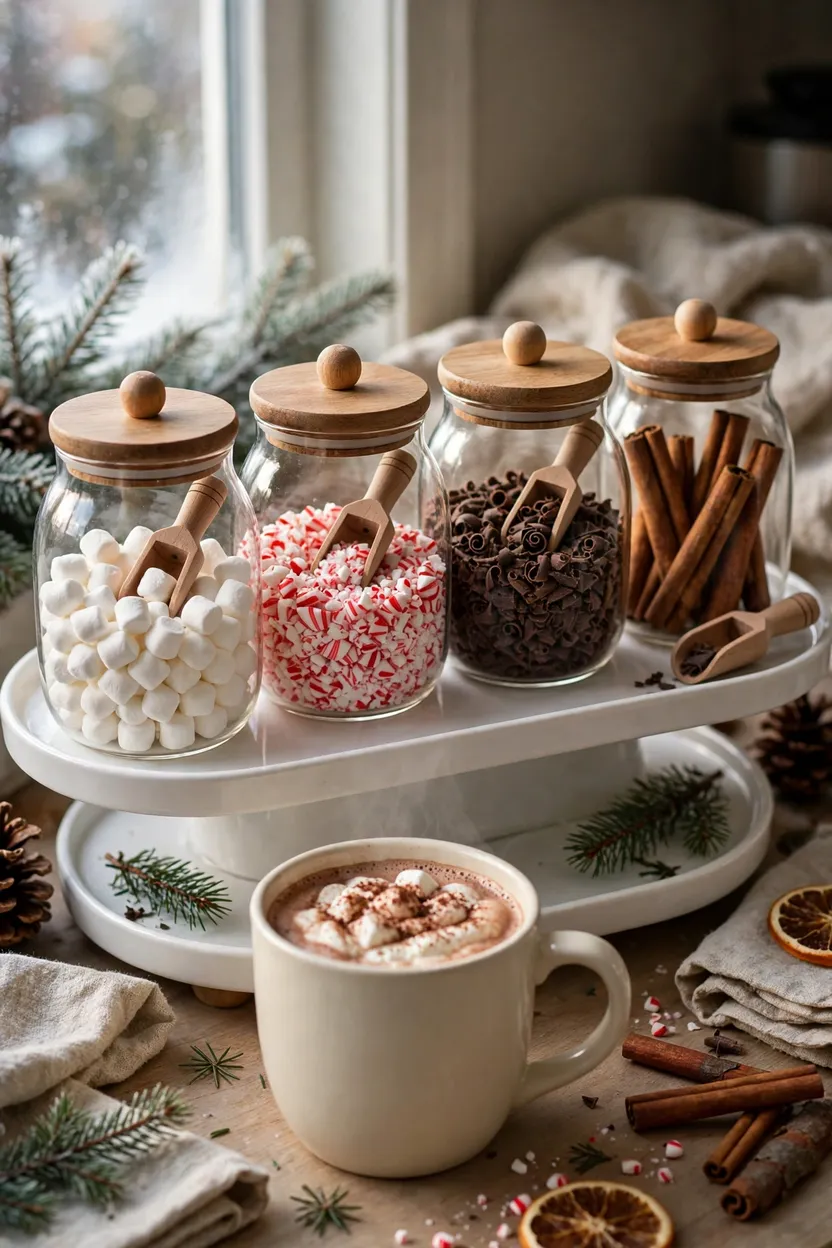
Topping jars turn a coffee bar into a cocoa bar with almost no extra work. Fill four lidded jars with mini marshmallows, crushed candy canes, chocolate shavings, and cinnamon sticks. Keep it to four, not ten, so the bar doesn’t turn into a crowd of jars. Add a small scoop or spoon to each jar and a tag with the name. For crushed candy canes, seal them in a bag and tap them with a rolling pin. Check any toppings for common allergens before guests arrive.
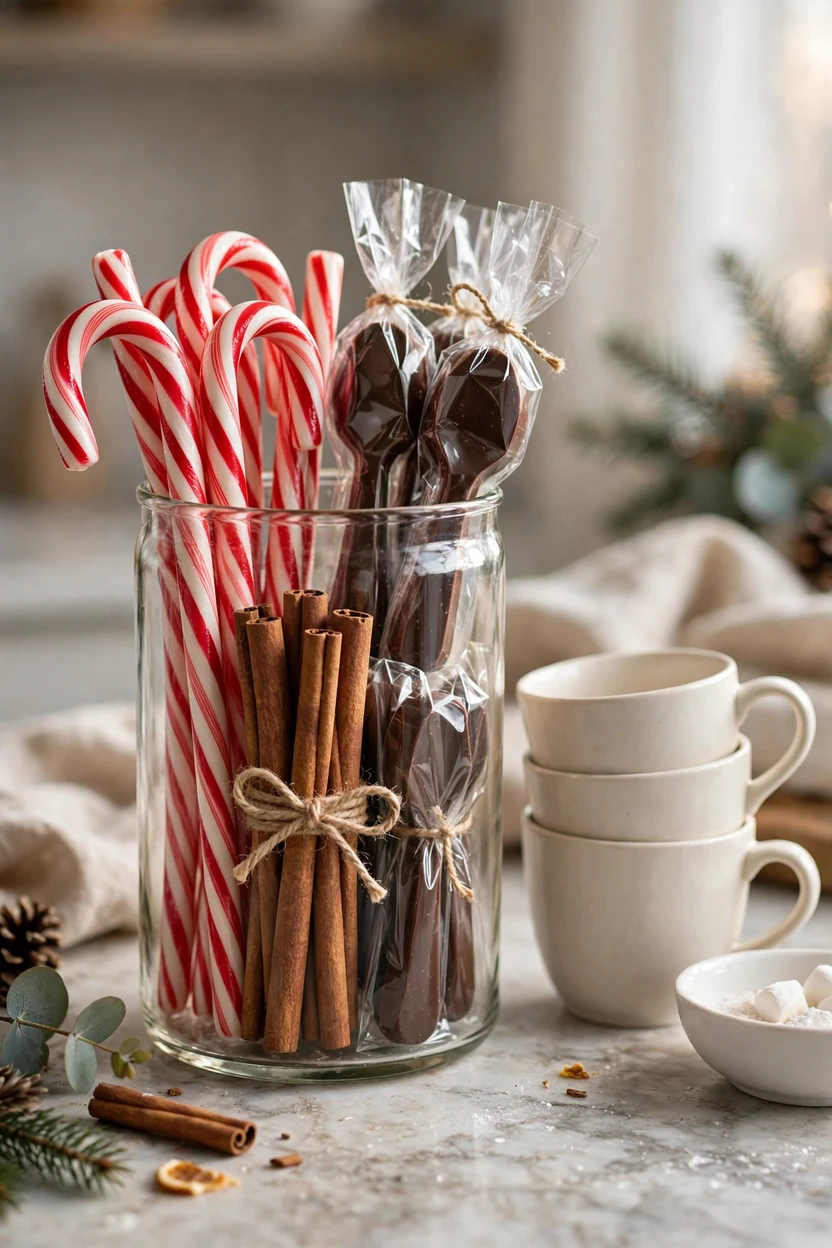
9. Add Candy Canes, Cinnamon Sticks, and Chocolate Spoons
Space needed: A tall glass about 4 inches wide | Cost: Low | Time: 5 minutes
Stir sticks are a small touch that makes drinks look festive. Stand candy canes, cinnamon sticks, and chocolate-dipped spoons in a tall glass or jar. Choose wrapped items for guests, and keep a small bowl nearby for used spoons so they don’t land on the counter. Place the glass near the mugs so people see it as they pour. Mix just two or three kinds so the glass looks neat and not busy.
10. Lean a Small Sign on the Backsplash
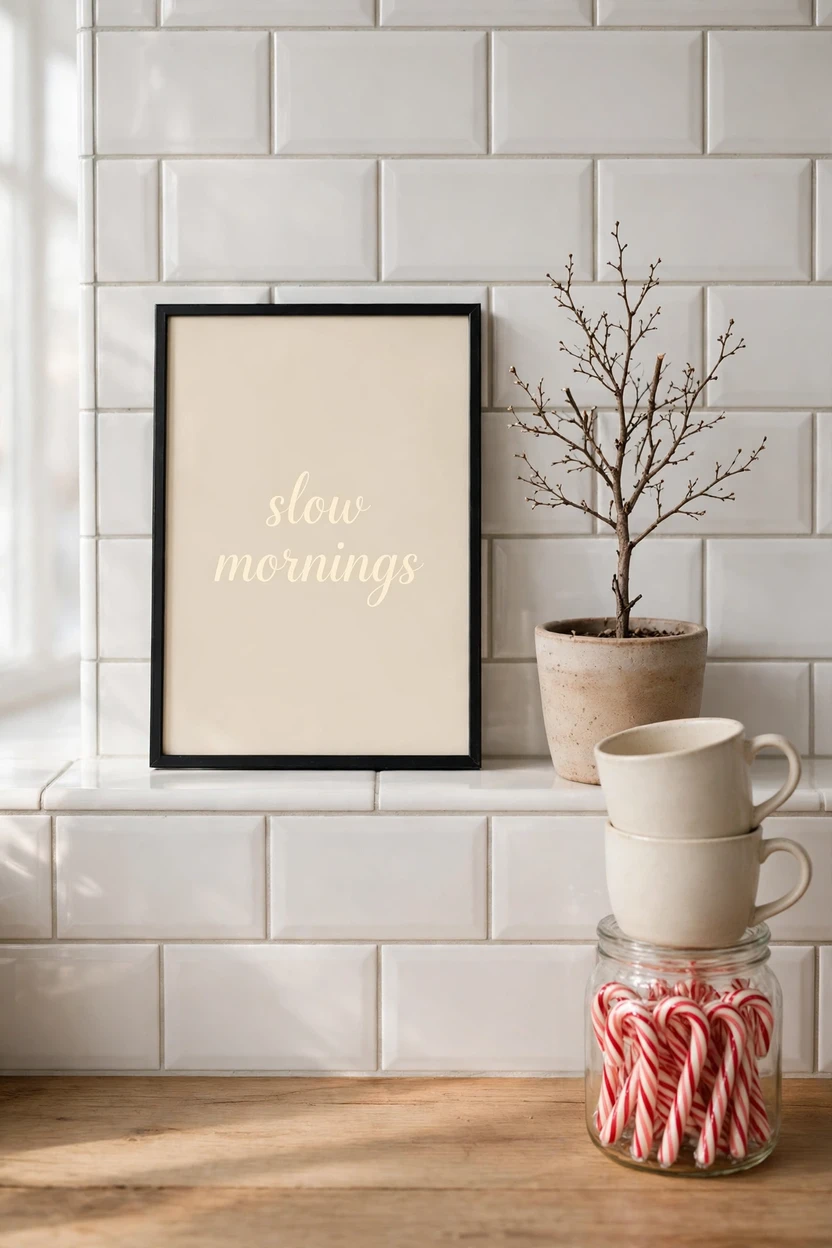
Space needed: A 5 by 7 or 8 by 10 inch frame | Cost: Low | Time: 10 minutes
A sign tells everyone what the corner is for, and sets the theme in one glance. Choose a sign about half to two-thirds the width of your tray, so it fits the scale of the bar. Lean it on the backsplash, or place it on the shelf above, and pick wording like Coffee and Cocoa, Merry and Bright, or Holiday Blend. You can print your own and put it in a plain frame, or use a small letter board you can change each week. Keep paper signs away from steam and heat.
11. Layer Linens and Coasters
Space needed: The tray or counter width | Cost: Low | Time: 10 minutes
Linens add color and softness to a hard counter. Lay a linen runner or a tea towel under the tray, and fold plaid or cream napkins next to the mugs. Add wood or cork coasters so cups don’t leave rings. Keep the fabric clear of the coffee maker, kettle, and any warm plates. Make sure the runner doesn’t hang over the counter edge where it can catch a cord or a sleeve.

12. Serve Treats Under a Pastry Dome
Space needed: A 10 inch round spot | Cost: Medium | Time: 15 minutes
A pastry dome makes a coffee bar feel like a little cafe. Put a cake stand with a glass dome on one end, and fill it with biscotti, gingerbread cookies, or sliced cinnamon loaf. The dome keeps treats fresh and dust-free, and gives you a tall, pretty shape. Choose bakes that stay fine at room temperature, and keep anything with cream or custard in the fridge. For self-serve, wrap pieces in small bags or squares of parchment.

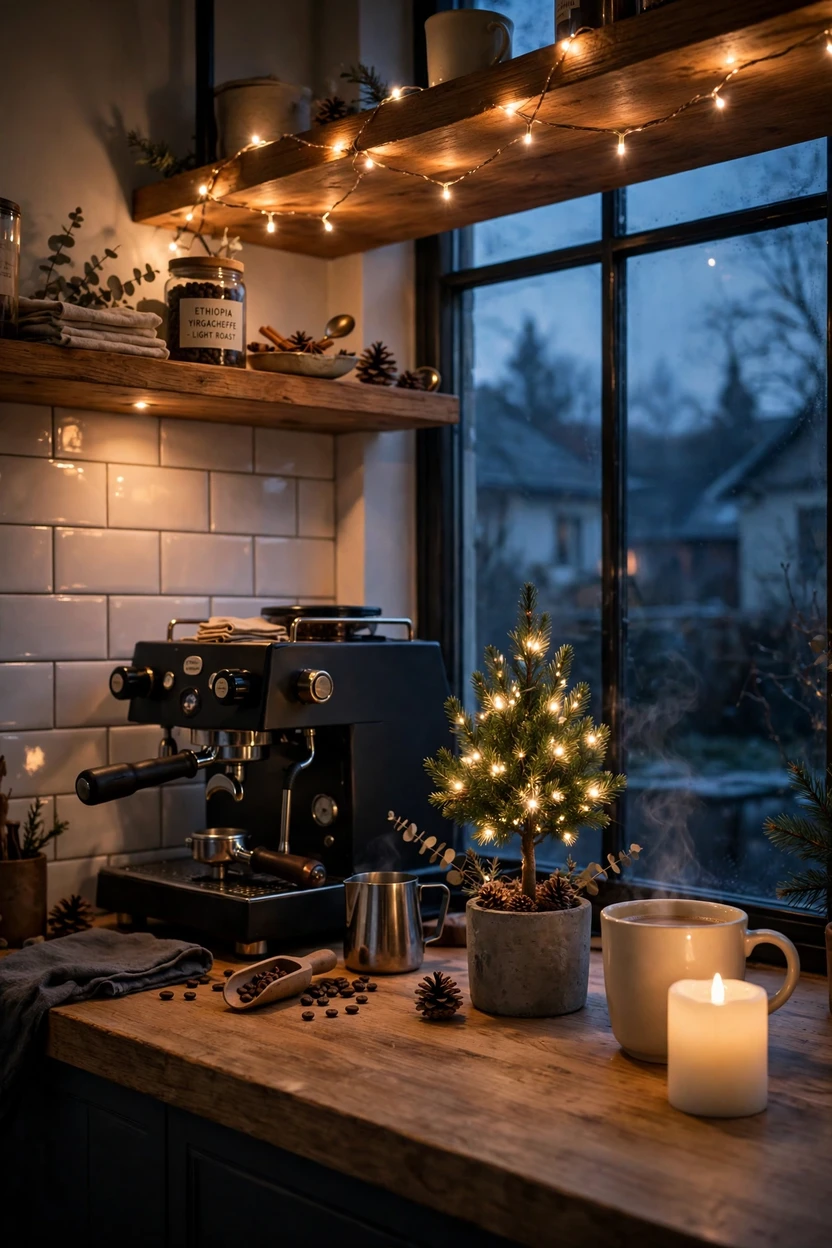
13. Add Warm Lights on a Timer
Space needed: None | Cost: Low | Time: 10 minutes
Light is what makes a coffee bar feel festive at dawn. Run battery fairy lights along the shelf above the bar, and set the timer to switch on before you wake, such as 6 a.m. Choose warm white at 2700K or lower, and add a small lamp or an LED candle if the corner is dark. Keep lights and batteries away from steam and spills. A timer means the glow greets you without a single switch.
14. Set Up a Self-Serve Christmas Morning Bar
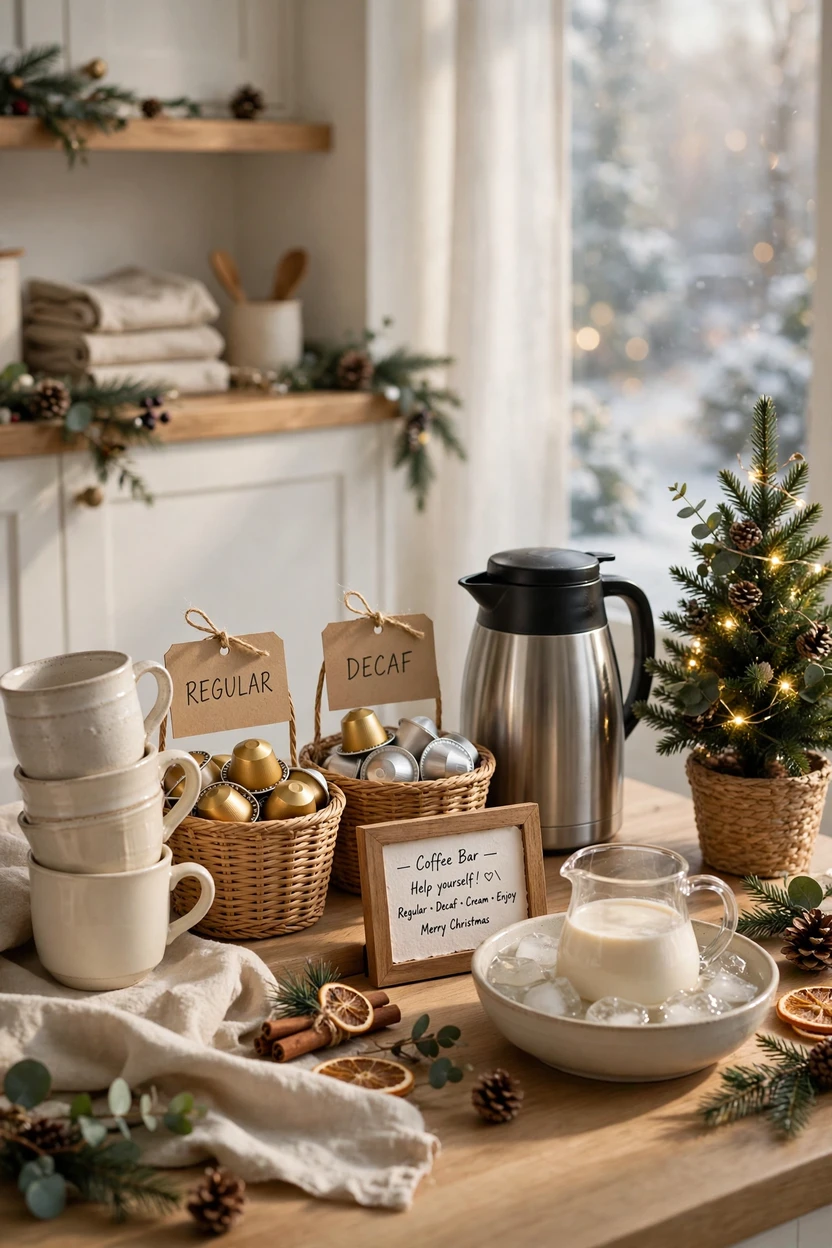
Space needed: Your whole bar | Cost: Low | Time: 20 minutes the night before
If you have overnight guests, set the bar up the night before so mornings feel calm. Put out a stack of mugs, baskets of coffee pods or grounds with regular and decaf labeled, and a thermal carafe or a programmable coffee maker. Keep creamer in the fridge until morning, then pour a small amount into a pitcher set in a bowl of ice. Leave a small handwritten card with simple steps and where the filters, spoons, and trash are. Make sure the machine has an auto shut-off, and tuck cords out of reach.
Styling Tips
- Work left to right. Put cups first, then coffee, milk, syrups, and stir sticks, so the bar works in the order people use it.
- Group in odd numbers. Three jars or three mugs look more natural than two or four.
- Repeat one material. Wood, marble, or white ceramic repeated around the bar ties it together.
- Keep the front clear. Leave space for a mug and a pour, and keep decor to the back and sides.
- Match the sign to the bar. A sign that is half to two-thirds of the tray width looks in proportion.
- Use warm light. Choose 2700K or lower, and keep lights away from steam and spills.
- Edit before you add. Set everything out, step back, and remove one item.
Practical Implementation Ideas: A 90-Minute Setup and Stocking Checklist
You can build the whole bar in an evening.
- First 15 minutes: Clear the counter, wipe it down, and measure the space. Check the outlet and the height of your coffee maker lid.
- Next 20 minutes: Place the tray, the machine, and the mug rack or mug tree. Tuck the cord away.
- Next 20 minutes: Add the syrup bottles, jars, and stir stick glass, working left to right.
- Next 20 minutes: Add the tree, garland, sign, linens, and lights. Keep everything away from heat and steam.
- Last 15 minutes: Add treats under the dome, label allergens, and take a quick photo to see what to edit.
Stocking checklist:
- Coffee or pods, plus a decaf option
- Tea bags and a small basket for them
- Hot cocoa mix
- Milk or cream, plus a dairy-free choice
- Sugar or sweetener
- Three or four syrups, with labels
- Three or four toppings
- Stir sticks, spoons, and napkins
- Mugs, with one or two per guest
- A small bowl for used spoons and a spot for trash
Common Mistakes to Avoid
- Putting paper or garland near the coffee maker. Steam and heat can wilt, warp, or scorch them. Keep decor clear of hot spots.
- Letting cords dangle. A cord hanging over the counter edge can be pulled. Tuck it behind the tray or use a cord clip.
- Using too many jars. Ten jars crowd the counter and leave no place to set a mug. Keep four.
- Hanging mugs too low. Measure your machine’s lid height first.
- Using an unanchored shelf or rack. Full mugs are heavy. Use studs or proper anchors.
- Leaving milk out too long. Keep cream in a small pitcher over ice and refill from the fridge.
- Skipping labels. Guests with allergies need to know what is in each syrup or topping.
- Making the sign too big. A huge sign swallows a small bar. Keep it about half to two-thirds of the tray width.
- Forgetting a spot for used spoons. Add a small bowl so the counter stays tidy.
- Decorating the work area. Leave the front of the bar clear so people can pour easily.
Small-Space Alternatives
A coffee bar can fit almost anywhere.
- One tray on the counter: Put the machine, two mugs, and one syrup on a single small tray.
- A rolling cart: Use a narrow cart that you can roll out of the way when not in use.
- Wall-mounted mugs: Hang a short rack or a row of hooks to save counter space.
- A countertop mug tree: Use it if you can’t drill into the wall.
- A single-cup machine: One takes up a small square of counter, and fits a dorm or studio.
- A bar cart or side table: Roll it next to the sofa for a living room cocoa bar on Christmas morning.
- One tiny tree and one sign: Skip the garland and extra jars.
Budget-Friendly Alternatives
You can build a festive coffee bar for very little.
- Thrift your mugs: Mismatched cream and white mugs look collected, not messy.
- Use jars you already have: Clean pasta sauce and jam jars look fresh with a ribbon and a tag.
- Print your own sign: Print a sign at home and put it in an inexpensive frame.
- Use grocery-store greenery: A few sprigs of fir or rosemary cost little and smell wonderful.
- Bundle cinnamon sticks with twine: They double as decor and stir sticks.
- Make your own syrup: Simple syrup with a drop of peppermint extract is easy and cheap. Refrigerate it.
- Shop after the season: Buy trays, mini trees, and string lights when prices drop, and store them flat.
Pro Styling Recommendations
- Test the flow for one morning. Make a cup at your bar and notice what is missing or in the way.
- Place a trivet under the kettle. It protects the counter and helps define the work area.
- Check the outlet and the cord path first. Plan where the cord goes before you decorate.
- Match your bulbs. Use the same warm temperature on every light, so the corner glows evenly.
- Keep a dedicated cloth. A small towel on a hook makes it easy to wipe spills before they dry.
- Take a before and after photo. It shows what to edit and what to repeat next year.
- Store as you go. Keep a small bin for the mini tree, signs, and linens so takedown is quick.
Frequently Asked Questions
Conclusion
A good Christmas coffee bar is quiet and useful. It looks pretty from across the room, and it works at 6:40 in the morning with one eye open.
Start with the tray and the three colors, then add the lights, a mug or two, and a small tree. Keep the heat away from the decor and the cream in the fridge.
By the time the first cup is poured, the whole kitchen will feel a little more like Christmas.