18 Homemade Christmas Ornament Ideas on a Budget (Easy + Cheap)
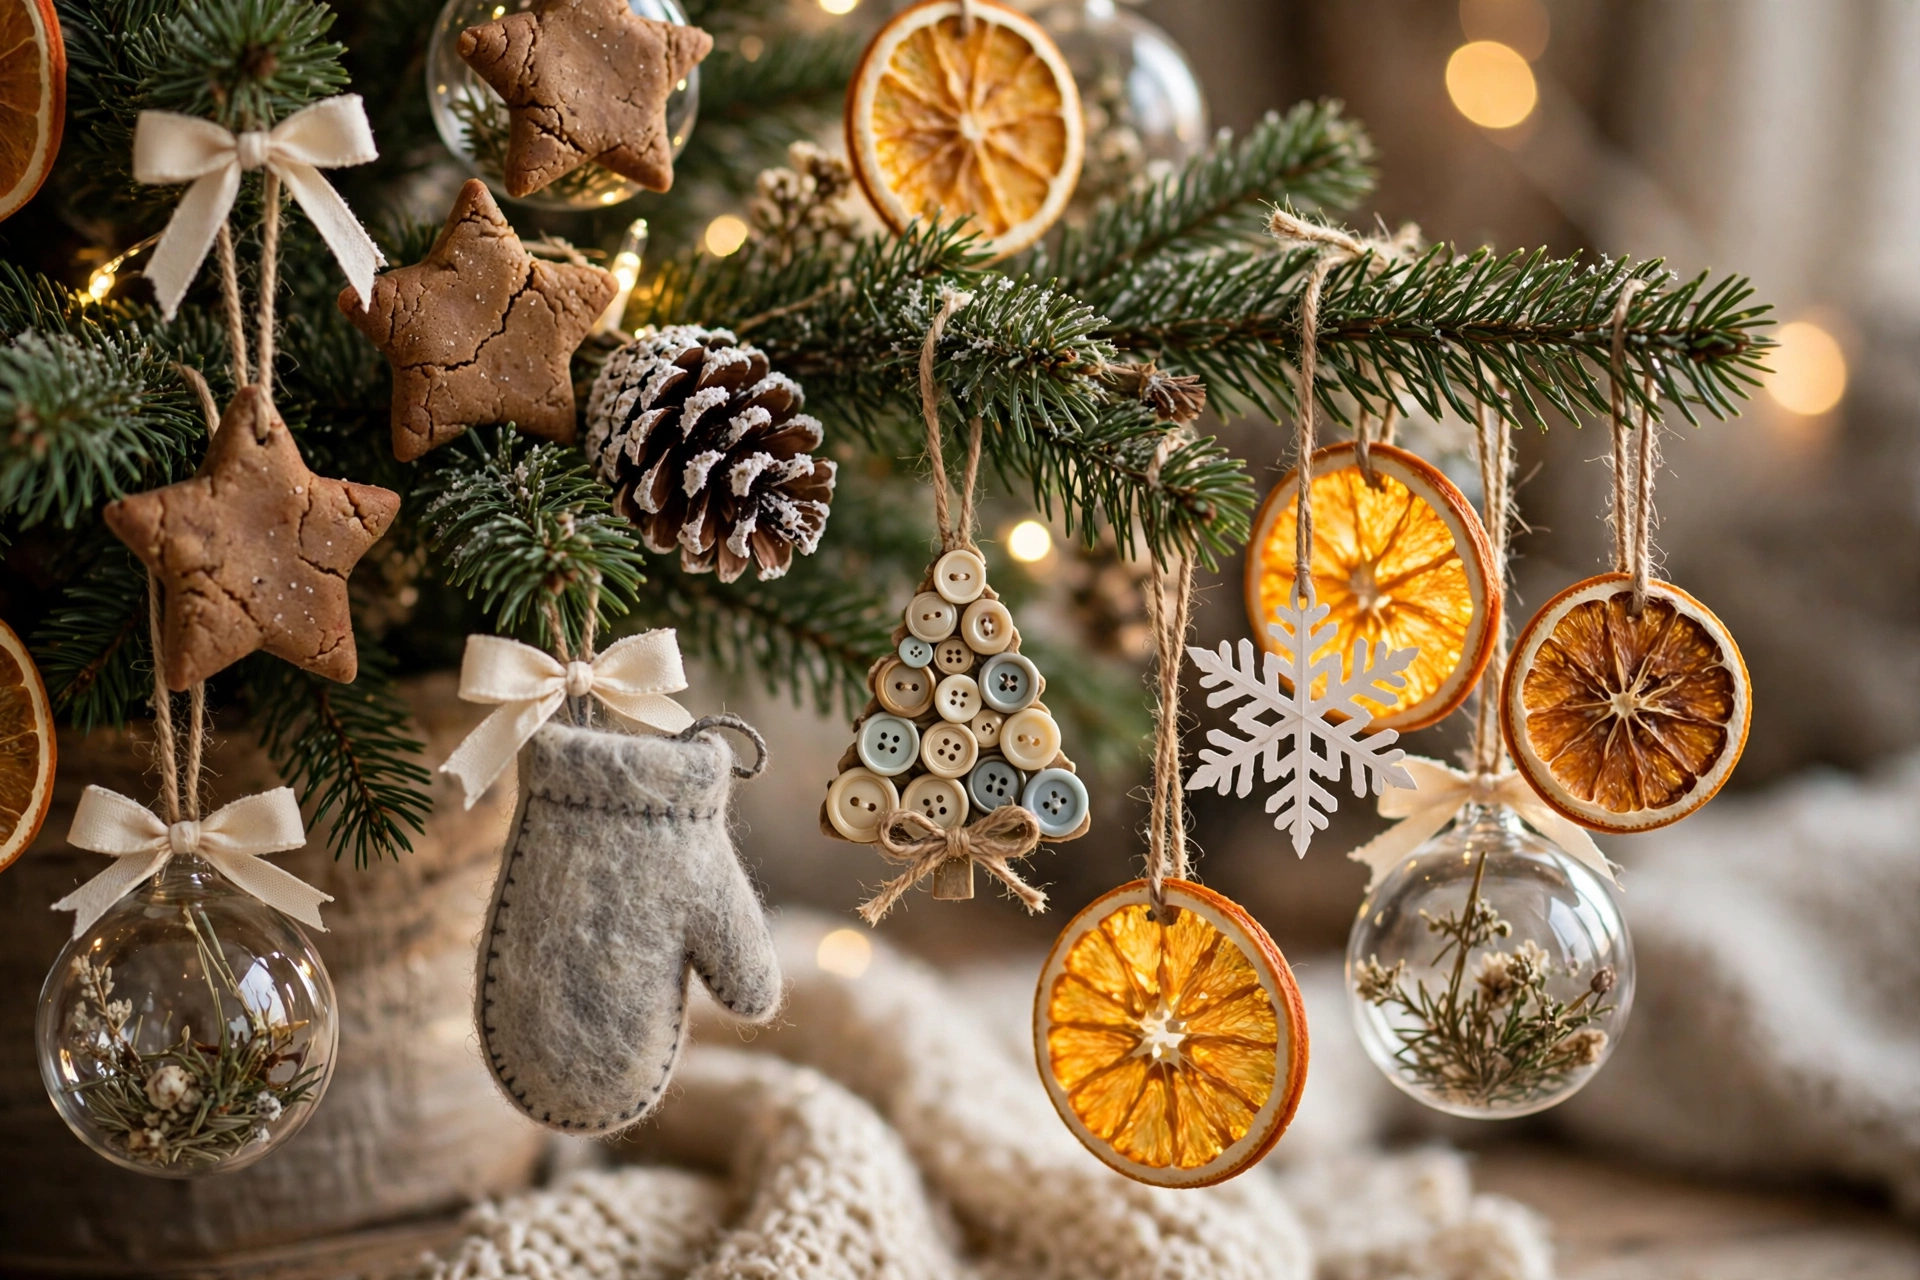
There is a special kind of glow on a tree that wears ornaments somebody made. A slice of orange lit from behind. A salt dough star with a thumbprint on it. A felt mitten stitched at the kitchen table.
And the best part? These cost a lot less than a box of store ornaments.
The trick is picking ideas that look good, not just cheap. A tree full of random crafts can feel messy. A tree with a plan, like a few colors, a few shapes, and good ribbon, feels warm and put together.
Below are 18 homemade Christmas ornament ideas on a budget. For each one, you get clear steps, a rough cost, and the small tips that save a batch from cracking, curling, or falling apart. Start with one or two, then build from there.
Quick Answer: What Are the Cheapest Homemade Christmas Ornaments?
The cheapest homemade Christmas ornaments are paper snowflakes, pipe cleaner candy canes, craft stick snowflakes, and yarn-wrapped cardboard stars. Salt dough and dried orange slices cost only a little more and look rich on a tree. Most ideas here cost between a few cents and about $2 each, depending on what you already own.
At a Glance: Cost, Time, and Skill
Prices are rough U.S. estimates per ornament. They change by store and region, and by what you already have at home.
| Ornament | Rough cost each | Hands-on time | Skill | Kid-friendly? |
|---|---|---|---|---|
| Cinnamon salt dough | Under $0.25 | 30 to 45 min, plus drying | Easy | Yes |
| Dried orange slices | $0.25 to $0.50 | 15 min, plus oven time | Easy | With an adult |
| Paper snowflakes | A few cents | 10 min | Easy | Yes |
| Pinecones | Free to $0.50 | 20 min, plus drying | Easy | Yes |
| Craft stick snowflakes | $0.10 to $0.30 | 20 min | Easy | Yes |
| Felt shapes | $0.25 to $0.75 | 30 to 45 min | Easy to medium | Older kids |
| Yarn-wrapped stars | About $0.15 | 30 min | Easy | Yes |
| Filled clear balls | $0.50 to $1.50 | 10 min | Easy | Yes |
| Faux mercury glass | $0.75 to $2 | 30 min, plus drying | Medium | Adult step |
| Photo ornaments | $0.50 to $1.50 | 20 min | Easy | Yes |
| Paint-swirl baubles | $0.50 to $1.50 | 20 min | Easy | Yes |
| Cinnamon stick bundles | $0.50 to $1 | 10 min | Easy | Yes |
| Mini embroidery hoops | $1 to $2 | 30 min | Medium | Older kids |
| Stamped clay ornaments | $0.25 to $0.75 | 30 min, plus drying | Easy | Yes |
| Pipe cleaner candy canes | $0.10 to $0.30 | 10 min | Easy | Yes |
| Button trees | $0.25 to $0.75 | 20 min | Easy | Older kids |
| Book-page stars | Free to $0.10 | 20 min | Medium | Older kids |
| Ornament gift tags | $0.25 to $0.75 | 20 min | Easy | Yes |
Table of Contents
Main Article Ideas
1. Cinnamon Salt Dough Ornaments
Salt dough is the classic budget ornament, and cinnamon makes it smell like a bakery. Mix about 2 cups of flour, 1 cup of salt, 2 tablespoons of cinnamon, and roughly 3/4 cup of water until it forms a smooth dough. Roll it about 1/4 inch thick, cut shapes with cookie cutters, and poke a hole at the top with a straw. Bake at a low heat, around 200°F, for a few hours until fully dry, since a hotter oven makes them puff and crack. Salt dough is not safe for people or pets to eat, so keep it off low branches if you have a dog or cat.

2. Dried Orange Slice Ornaments
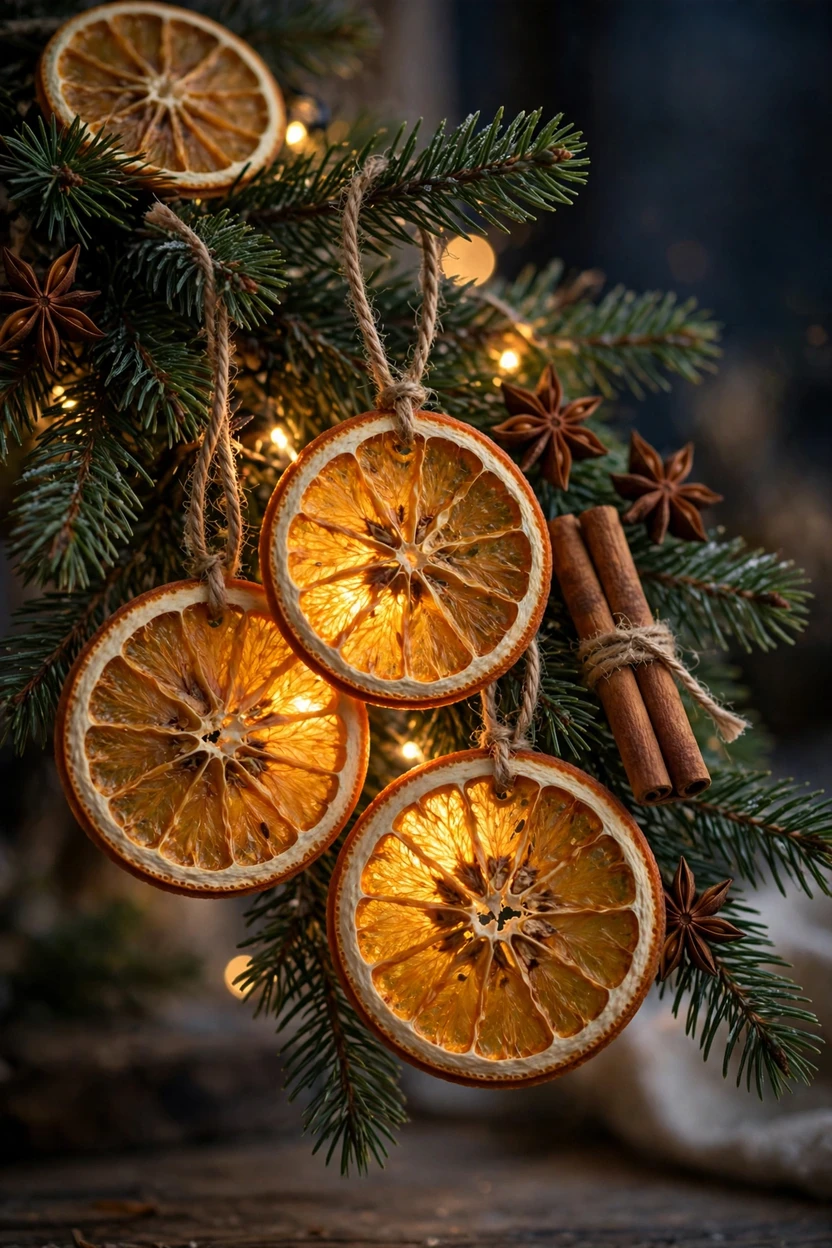
Dried orange slices glow like tiny stained glass when the tree lights hit them. Slice oranges about 1/4 inch thick, pat them dry, and spread them on a parchment-lined tray. Bake at about 200°F for roughly 3 to 4 hours, flipping every 30 minutes or so, until the slices feel dry and slightly see-through. Poke a hole with a skewer, then add a loop of twine or ribbon. A dehydrator also works if you have one. Four oranges can cover a lot of branches, so this is one of the best looks for the money.
3. Paper Snowflake Ornaments
Paper snowflakes cost almost nothing and look delicate on a tree. Use white copy paper or coffee filters, fold a round piece into thirds and then in half, and cut small notches and shapes along the edges for six-point flakes. Unfold, press flat under a heavy book, and attach a thread loop with a dab of glue. Make several sizes, from 3 inches to 6 inches, so the tree has depth. Hang them near lights to cast soft shadows on the wall.

4. Snowy Pinecone Ornaments
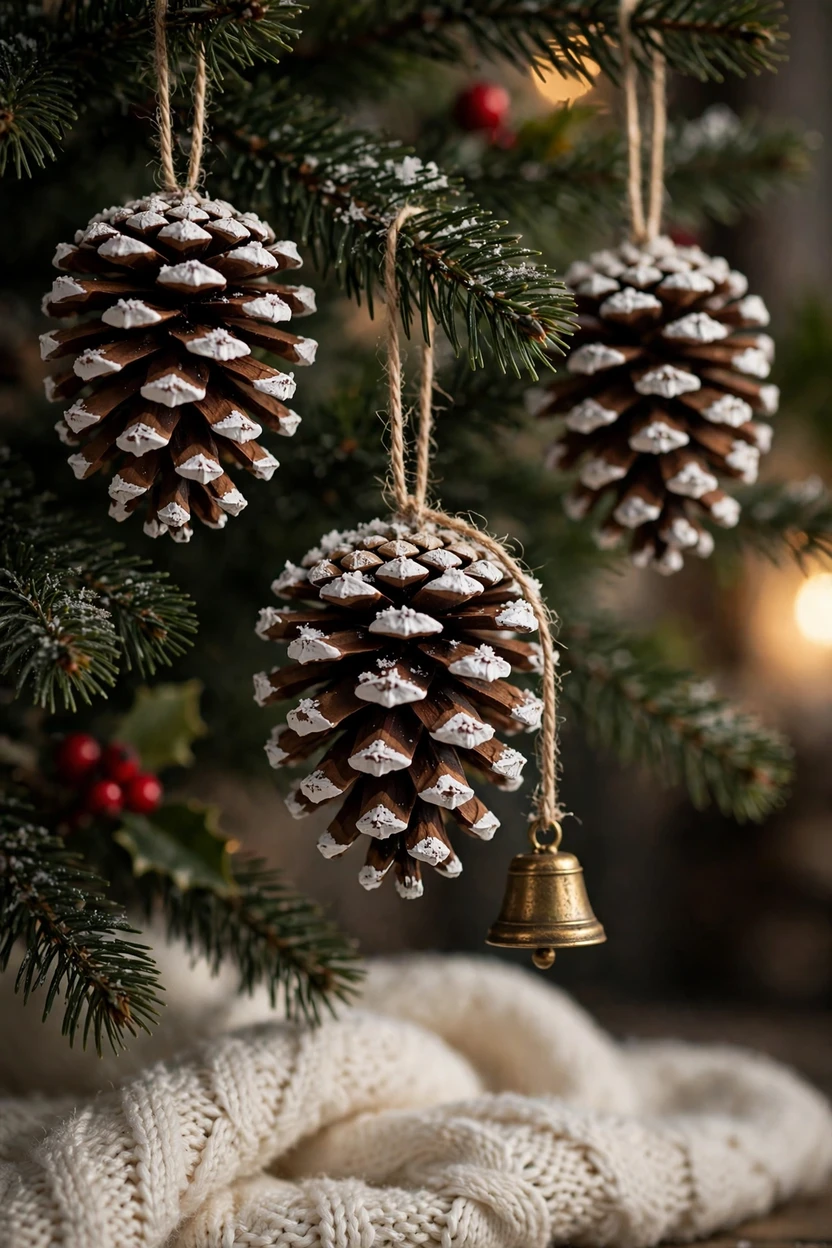
Pinecones are free if you have a yard or park nearby. Bake them on a foil-lined tray at a low heat for about 30 to 60 minutes to dry them and drive out bugs and sap. Once they cool, dab the tips with white acrylic paint using a dry brush for a snowy look. Tie a loop of twine around the top between the scales. Add a tiny bell or a sprinkle of fine glitter if you want a little sparkle.
5. Craft Stick Snowflakes
Craft sticks are one of the cheapest craft supplies you can buy, and they stack into neat snowflakes. Glue three sticks together in a star, crossing at the center, then add smaller sticks or beads to the ends for detail. Paint them white or gold, or leave them natural for a farmhouse look. A tiny pearl bead at the center and tips adds sparkle. Let the glue dry fully before painting, and add a thread loop at the top.

6. Felt Ornaments From Scraps
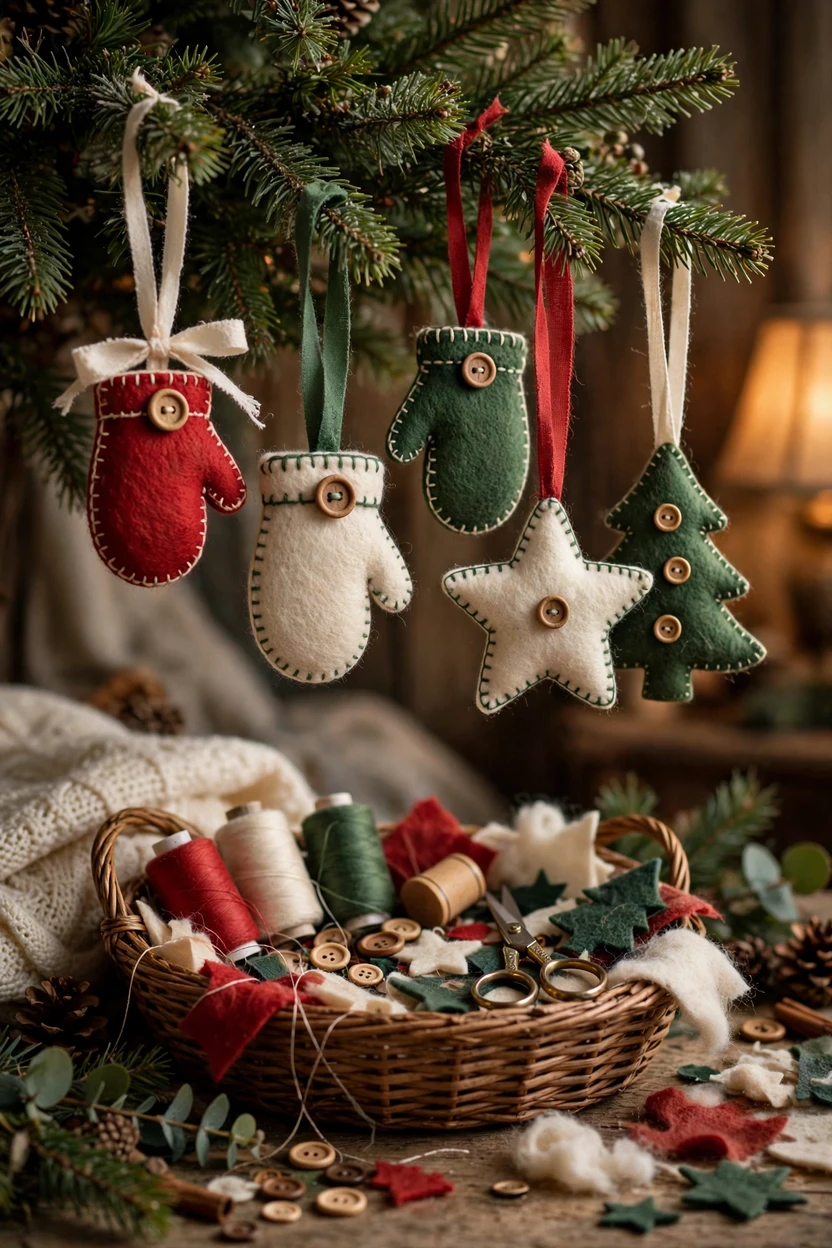
Felt ornaments feel soft and old-fashioned, and a few small scraps go a long way. Cut two matching shapes, like a mitten, star, or tree, then sew them together with a simple blanket stitch or glue the edges with fabric glue. Tuck in a bit of stuffing or a scrap of batting to give each piece some shape. Add a button or a bit of embroidery for detail. Choose two or three colors, such as cream, red, and forest green, so the set looks planned.
7. Yarn-Wrapped Cardboard Stars
Cereal boxes make a strong base for these simple stars. Cut a star from sturdy cardboard, then wrap yarn around it, tucking the ends under and securing with a dab of glue. Use cream, red, or forest green yarn, or mix a few tones for a cozy, layered look. Add a small loop of the same yarn at the top for hanging. This is a good rainy-day project that uses supplies from the recycling bin and the craft drawer.

8. Filled Clear Ball Ornaments
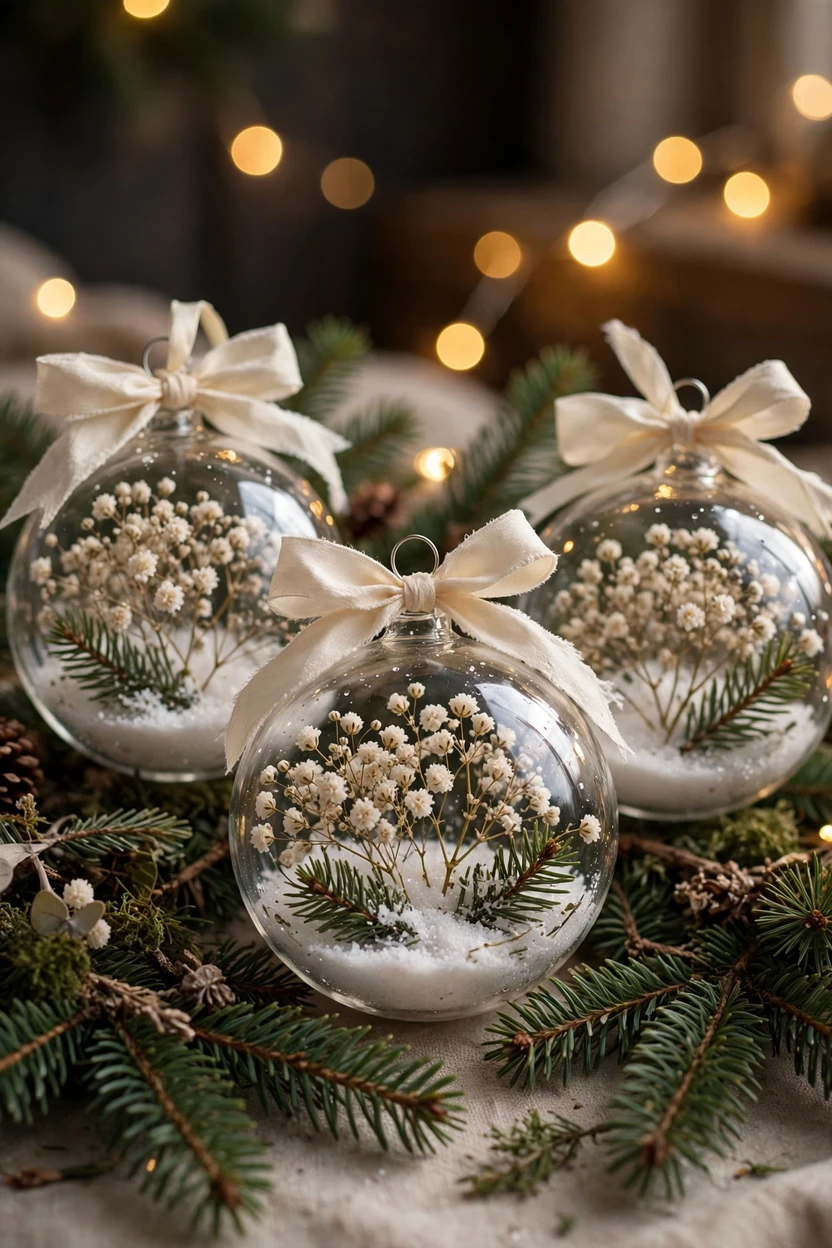
Clear plastic or glass balls cost very little in multi-packs, and a handful of simple fillers turns them into gifts. Pop off the metal cap and fill the ball about one-third full with dried flower petals, tiny pine sprigs, fake snow, paper confetti, feathers, or curls of thin ribbon. Replace the cap and add a dab of glue if it feels loose. Group the filled balls by theme, like a green and white set or a warm gold set, so they read as a collection. They are quick to make, and kids can help with the filling.
9. Faux Mercury Glass Ornaments
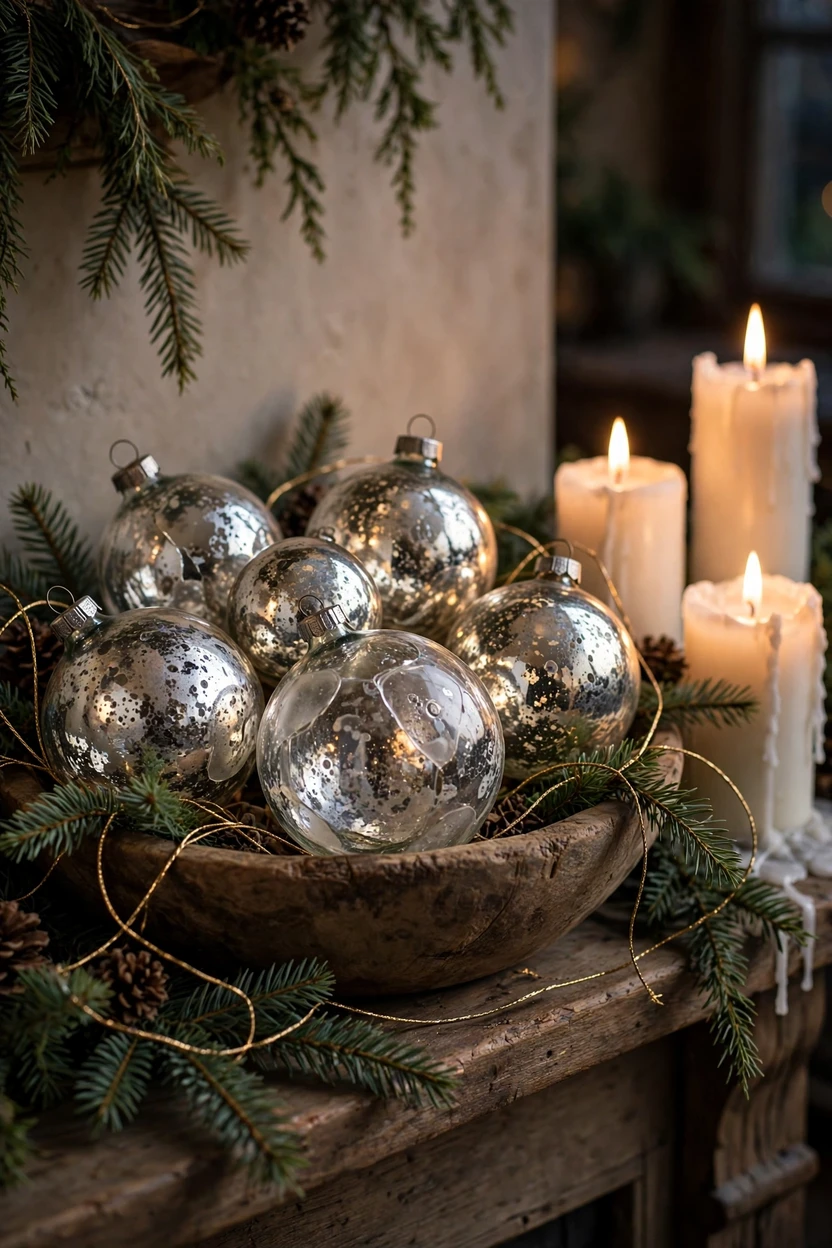
Mercury glass has a soft, aged silver look that usually costs more. You can get close with plain glass balls from a thrift shop or dollar store. Mix equal parts water and white vinegar, spritz a little inside each ornament, then spray silver or mirror-effect paint into the opening and tilt the ball to spread it. Let it dry fully before you handle it. Paint outside or in a well-aired space with gloves on, and test one ornament first, since results change by paint brand.
10. Photo Ornaments
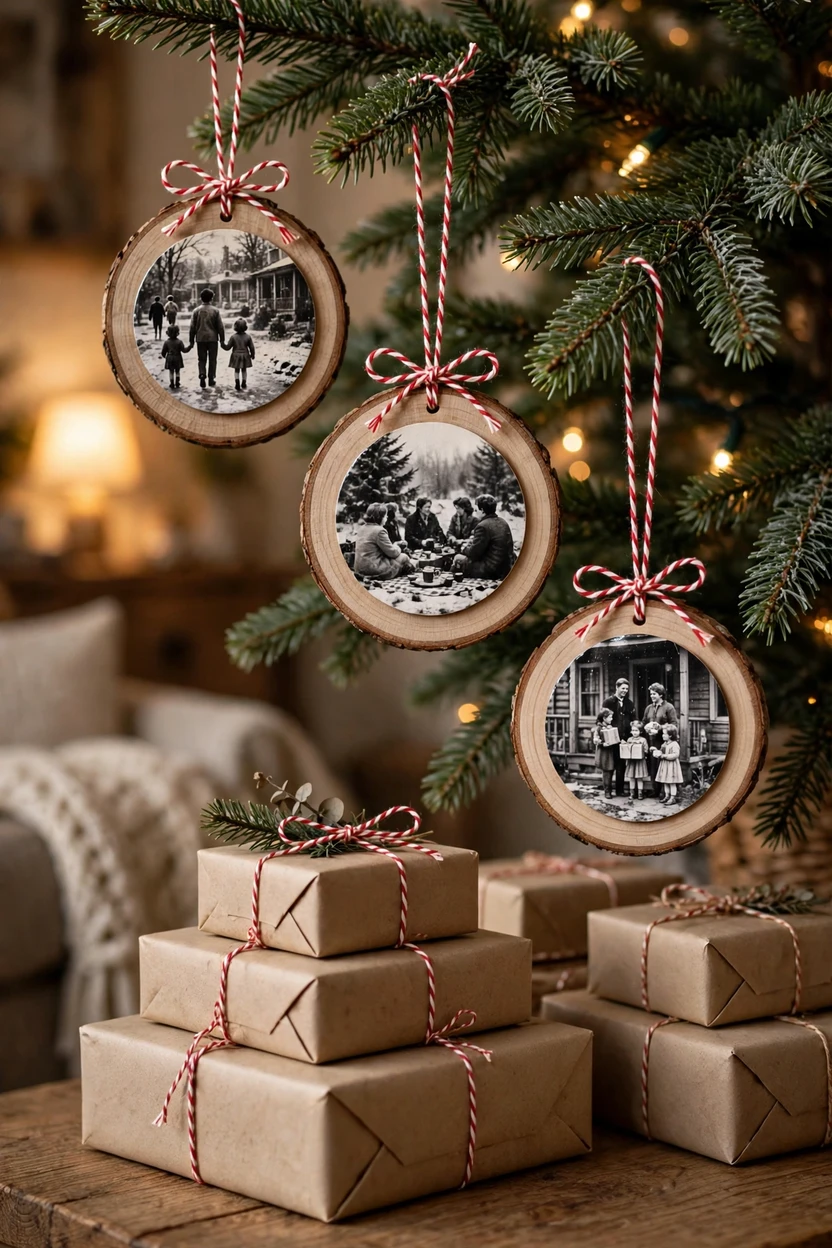
A tiny photo makes a handmade ornament feel personal, and it costs just a few cents to print. Print a small photo about 2 inches wide, trim it into a circle or square, and glue it to a wood disc, a cardstock circle, or the inside of a flat clear ornament. Brush a thin layer of decoupage glue over the top to protect it, and add a ribbon loop. Write the year on the back with a fine marker. These are lovely gifts for grandparents and a sweet way to see your family history on the tree.
11. Paint-Swirl Baubles
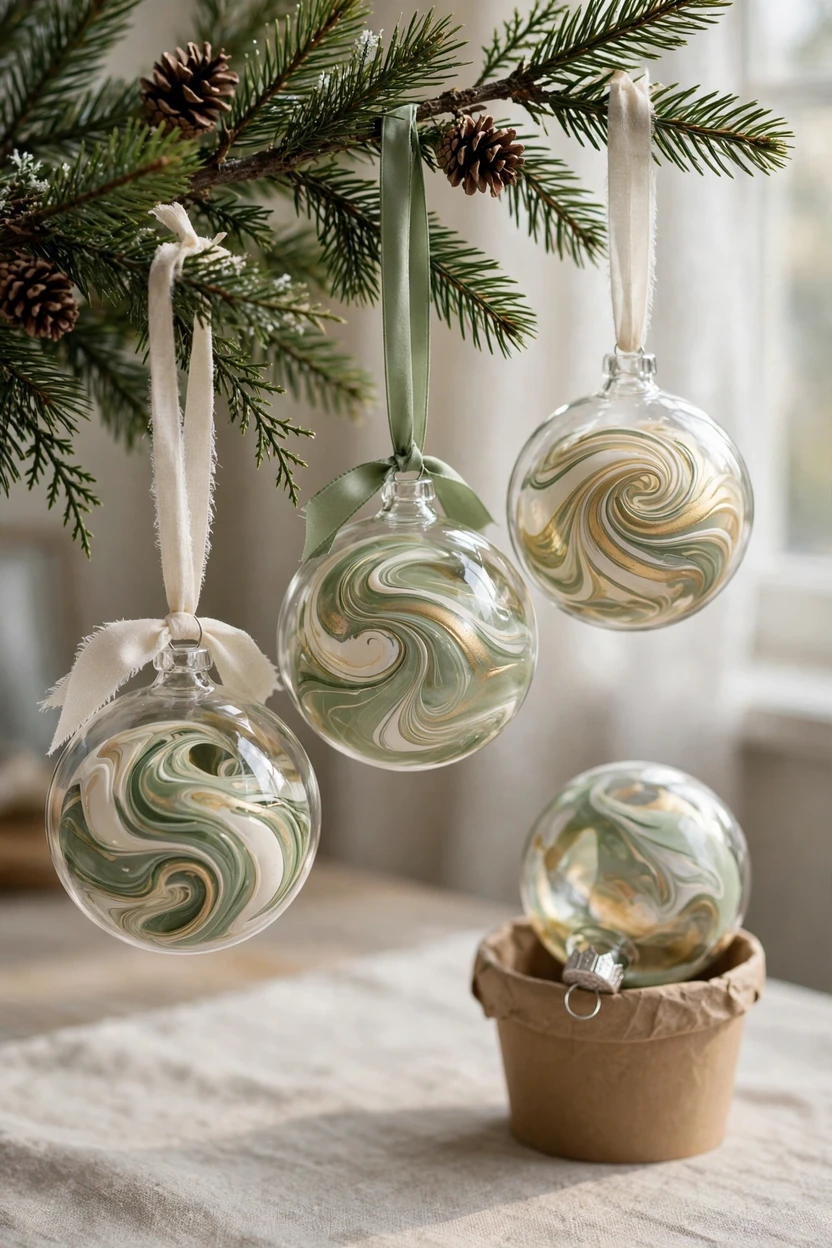
These baubles look like marbled glass, and kids love making them. Remove the cap from a clear ornament and add a few squirts of two or three acrylic paint colors. Tilt and roll the ball slowly so the paint coats the inside, then pour out any extra into a cup and let the ball drain upside down. Thinning the paint with a little water helps it flow. Choose colors that go together, such as cream, sage, and gold, or a deep green with white.
12. Cinnamon Stick Bundles
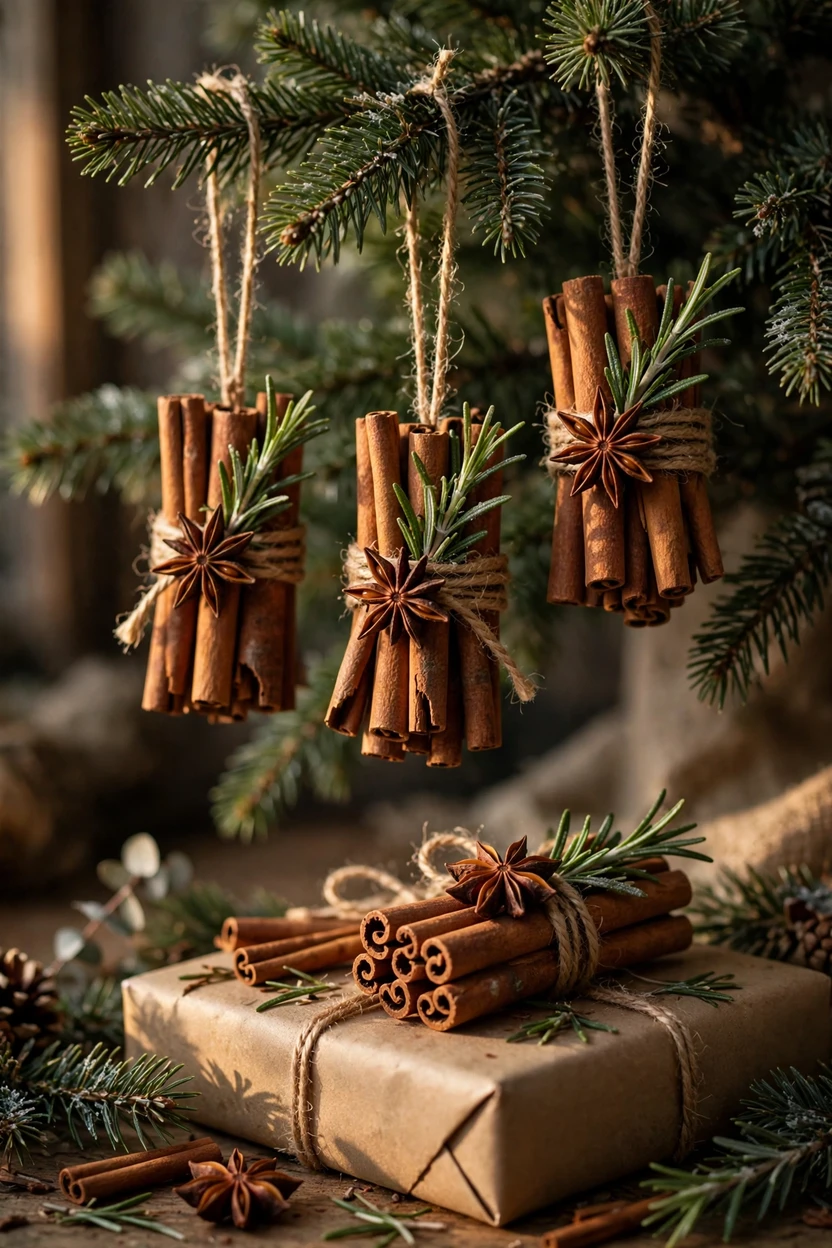
Cinnamon stick bundles are quick, fragrant, and good looking. Tie three to five sticks together with jute twine in a neat knot, then tuck in a star anise, a sprig of rosemary, or a bay leaf for a pop of green. Add a longer twine loop for hanging. They also work as toppers on gifts, so one batch can cover two jobs. If you have pets that chew, hang them higher on the tree.
13. Mini Embroidery Hoop Ornaments
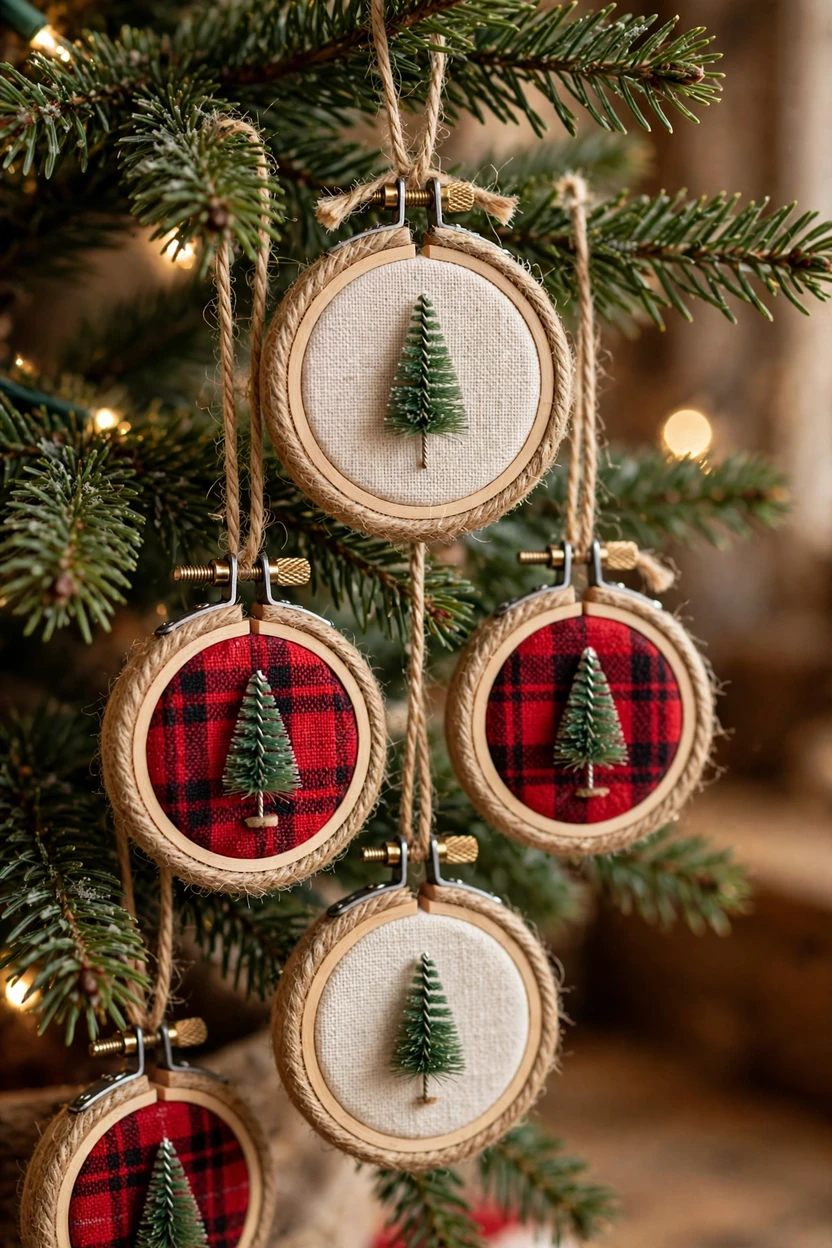
A 3-inch embroidery hoop becomes a tiny framed scene. Stretch a scrap of linen, flannel, or plaid fabric across the hoop, tighten the screw, and trim the extra. Glue a small bottle brush tree, a sprig of greenery, or a printed sheet music cutout in the center. Wrap the outer edge with twine and add a loop at the top. Small hoops often cost about a dollar at craft stores, so this one is a little pricier but looks very polished.
14. Stamped Clay Ornaments
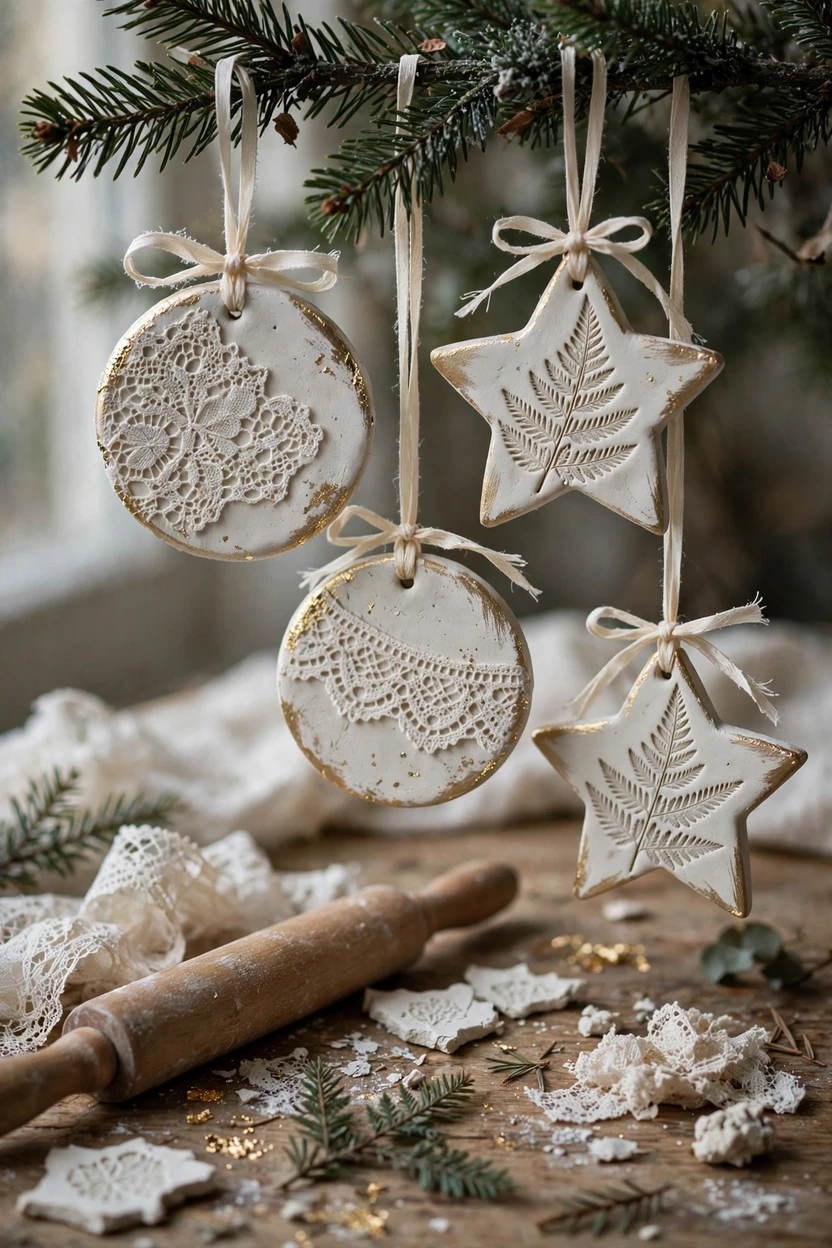
Air-dry clay gives you a smooth white canvas that looks like fine ceramic. Roll the clay about 1/4 inch thick, press a piece of lace, a fern, or a pine sprig into the surface, then cut out a shape with a cookie cutter. Poke a hole at the top and let the piece dry for one to three days, flipping once, or follow the clay brand’s directions. Paint the edges gold or leave them plain. The raised pattern catches the light and looks like something from a gift shop.
15. Pipe Cleaner Candy Canes
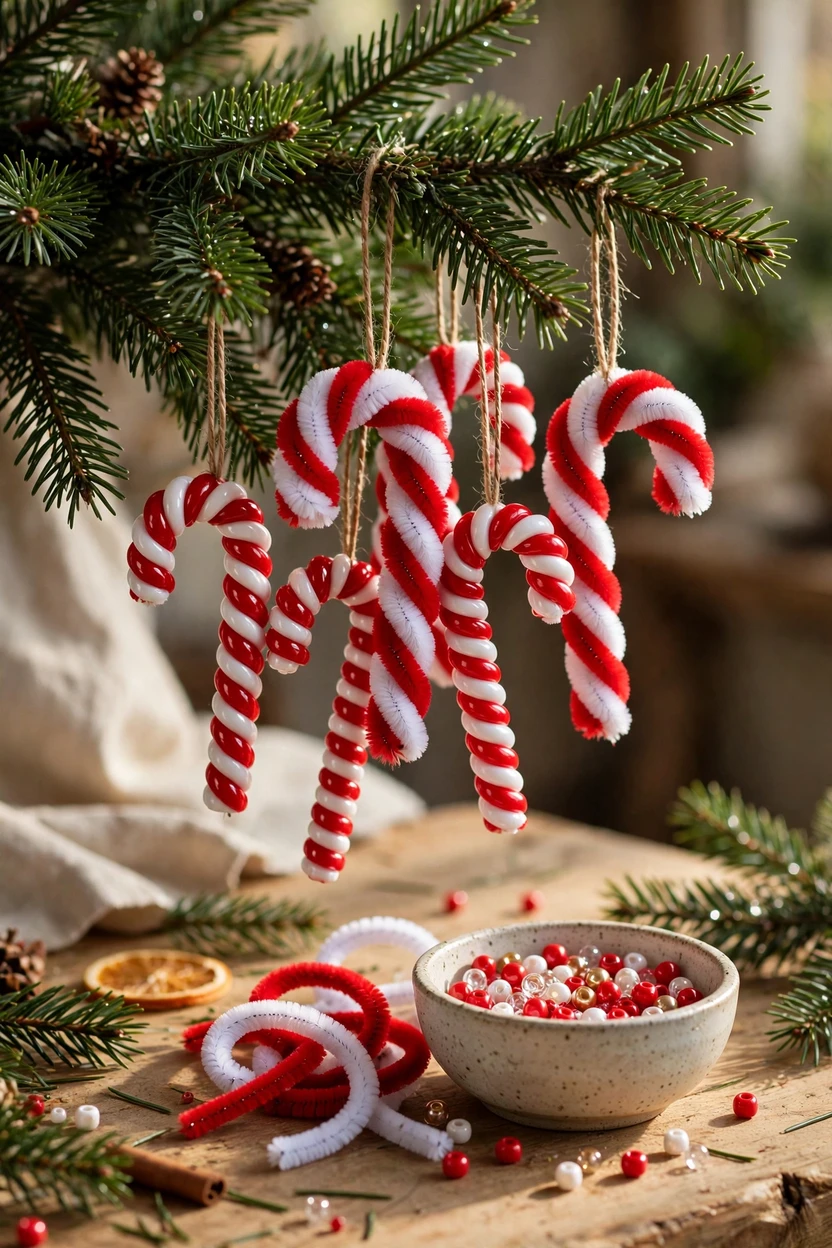
Pipe cleaners make quick candy canes with no glue and no mess. Twist a red and a white pipe cleaner together, then bend the top into a hook. For a beaded version, thread red and white pony beads onto one pipe cleaner and bend it into a cane. They cost just a few cents each, so you can fill a branch fast. Small beads are a choking risk for toddlers, so keep them for older kids or hang them up high.
16. Button Trees
A jar of old buttons becomes a row of tiny trees. Thread buttons onto thin craft wire from largest to smallest, in shades of green, and top with a gold or yellow star button. Fold the top into a loop for hanging. Thrift stores and craft bins often have bags of buttons for a few dollars, and mixed sizes give the trees a vintage feel. Keep the wire ends tucked in so they do not scratch.

17. Book-Page Stars
Old book pages and sheet music give stars a warm, vintage look for almost no cost. Cut three star shapes in decreasing sizes from a worn book you own or from a thrifted paperback, then glue them in a stack with a thread loop sandwiched in the middle. Press the layers lightly so they sit flat, or curve the points up a little for a 3D feel. Pair them with cream ribbon and a few dried orange slices. Avoid cutting up any book that has real value or sentimental meaning.

18. Ornament Gift Tags
A small ornament can double as a gift tag, which saves money on both. Cut tags from salt dough, air-dry clay, or thin wood, and write the recipient’s name with a white paint pen or letter stamps. Tie the tag to the package with twine. The recipient can hang it on their tree afterward, so the tag becomes a keepsake. It is a clever way to make a plain wrapped box feel finished and thoughtful.

Styling Tips
- Pick three colors. Cream, kraft brown, and evergreen make a calm base. Add one accent, like red or gold.
- Mix sizes. Use a few large pieces, many medium ones, and small ones to fill gaps. A tree with all one size looks flat.
- Repeat shapes. Use each ornament at least three times, so the tree looks planned.
- Use one ribbon. The same ribbon or twine on every ornament ties the whole tree together.
- Hang heavy ones low and near the trunk. Keep light paper and felt on the outer tips.
- Add texture. Mix smooth glass, rough dough, soft felt, and shiny metal for depth.
- Hang some deep inside. Tuck a few ornaments toward the trunk, so the tree has glow and layers.
Practical Implementation Ideas: How to Plan Your Handmade Tree
- Pick three or four ideas. Choose a mix of fast and slow ones, such as salt dough, paper snowflakes, dried oranges, and filled balls.
- Set a budget. Write a number, then shop your home first. Many supplies are already in the pantry, junk drawer, or recycling bin.
- Count your branches. As a rough guide, a 6-foot tree often looks full with 40 to 60 ornaments plus ribbon or garland, depending on its size.
- Make in batches. Do all the cutting together, all the painting together, and all the drying at the same time.
- Plan drying time. Start salt dough and clay early, since they need hours or days.
- Make loops last. Cut 8-inch lengths of twine or ribbon, and add them once the ornaments are dry.
- Test one first. Try one ornament before you make a whole batch of a new idea.
- Store them well. Wrap each piece in tissue, use egg cartons or divided boxes, and keep everything in a dry place.
Common Mistakes to Avoid
- Rolling dough too thick. Thick pieces puff and crack. Aim for about 1/4 inch.
- Baking too hot. High heat browns and cracks salt dough and orange slices. Keep the oven low.
- Skipping the seal. Salt dough and clay can soak up moisture. A clear sealer helps them last.
- Using too many colors. A scattered mix can look messy. Stick to a palette.
- Hanging heavy pieces on thin tips. Branches droop. Put them near the trunk.
- Forgetting pets and toddlers. Salt dough, small beads, glass, and glitter need extra care.
- Using hot glue near kids. Let an adult handle it, and use low-temperature glue when possible.
- Storing ornaments damp. Moisture causes mold and warping. Dry everything fully first.
- Starting too late. Drying takes time, so give yourself a few weeks if you can.
Small-Space Alternatives
No room for a big tree, or a big craft table? These swaps still work.
- Use a tabletop tree. A 2-foot tree needs only about 15 to 20 small ornaments.
- Hang ornaments in a window. Dried oranges, paper snowflakes, and clear balls look lovely on a string across a window.
- Make a branch tree. Put a bare branch in a vase and hang lightweight ornaments from it.
- Make a garland. String paper snowflakes, buttons, or orange slices on twine and hang it on a shelf or mantel.
- Work on a tray. A baking sheet on your lap or small table holds supplies and keeps glue and paint contained.
- Pick flat ornaments. Felt, clay, and paper store flat in a small box.
- Choose small sizes. Aim for 2 to 3 inches so the tree does not look crowded.
Budget-Friendly Alternatives
These ornaments are already low-cost. Here is how to spend even less.
- Shop your home first. Check the pantry, junk drawer, and recycling bin before you buy anything.
- Buy craft supplies in multi-packs. Craft sticks, clear balls, and pipe cleaners cost less per piece in bulk.
- Use coupons and sales. Craft stores often run weekly deals, and holiday items go on sale after December.
- Gather natural materials. Pinecones, twigs, and evergreen sprigs are free in many areas.
- Thrift for glass. Plain glass ornaments, buttons, and old books are cheap secondhand.
- Share supplies. Split a big bag of flour or salt, or trade craft items with a friend.
- Make one batch, many uses. One batch of dough can make ornaments, gift tags, and a wreath.
Pro Styling Recommendations
- Make one hero ornament. Pick the best idea and make 12 to 20 of them, so the tree has a clear look.
- Add a glow. Warm white lights show off glass, citrus, and paper best.
- Match your decor. Rustic farmhouse suits dough and pinecones. Soft vintage suits felt and buttons. Light and airy suits paper and clay.
- Layer ribbon. Use ribbon in one or two colors for loops, so even simple ornaments look finished.
- Finish with a topper. A handmade star or bow gives the tree a clear top note.
- Keep the base simple. Plain garland and warm lights let the handmade pieces stand out.
- Mind safety. Keep salt dough, small beads, and glass out of reach of pets and toddlers, and use ventilation for spray paint.
- Label the year. Write the year on the back, so the ornaments become family keepsakes.
FAQs
What are the cheapest homemade Christmas ornaments to make?
Paper snowflakes, pipe cleaner candy canes, craft stick snowflakes, and yarn-wrapped cardboard stars are among the lowest-cost options. Salt dough and dried orange slices also cost very little and look rich on a tree.
How do you make salt dough ornaments?
Mix about 2 cups of flour, 1 cup of salt, and roughly 3/4 cup of water into a smooth dough. Roll it about 1/4 inch thick, cut shapes, and poke a hole at the top. Bake at a low heat, around 200°F, for a few hours until fully dry, then cool, paint, and seal them.
Is salt dough safe for pets?
Salt dough is not safe for people or dogs to eat, because of the high salt content. Keep ornaments out of reach of pets, and do not hang them on low branches.
How long do homemade salt dough ornaments last?
When fully dried, sealed, and stored in a dry place, salt dough ornaments can last for years. Moisture is their enemy, so wrap them in tissue and keep them away from damp basements.
How do you dry orange slices for Christmas ornaments?
Slice oranges about 1/4 inch thick, pat them dry, and bake at around 200°F for roughly 3 to 4 hours, flipping every 30 minutes or so. They are ready when they feel dry and slightly see-through. A dehydrator also works.
What can I make with kids?
Salt dough shapes, paper snowflakes, pipe cleaner candy canes, filled clear balls, craft stick snowflakes, and paint-swirl baubles are good family projects. Adults should handle the oven and any hot glue.
How do you make ornaments look expensive on a budget?
Choose a tight color palette, use the same ribbon on every piece, and add one or two textures like glass or gold edging. Techniques like faux mercury glass and stamped clay add a polished look for very little.
What are good handmade ornaments to give as gifts?
Photo ornaments, stamped clay ornaments, and cinnamon stick bundles make thoughtful gifts. Ornament gift tags also work well, since the tag becomes a keepsake. Write the year on the back to make it more special.
How far ahead should you make Christmas ornaments?
Start three to four weeks ahead for anything that needs drying time, such as salt dough and clay. Dried oranges and pinecones take a bit less. Quick ideas like paper snowflakes and filled balls can wait until the last week.
How should you store homemade ornaments?
Make sure each piece is fully dry, wrap it in tissue, and store it in a divided box or an egg carton in a dry place. Keep dried oranges and cinnamon items in airtight containers so they stay fresh.
Are glitter and spray paint safe to use on ornaments?
Both work well on ornaments, but use them with care. Spray paint outdoors or in a well-ventilated area, and let ornaments dry fully. Keep loose glitter away from food and small children, and clean it up well.
Conclusion
A handmade tree does not need 18 different crafts. It needs a few ideas, a simple color plan, and a little time at the kitchen table.
Pick two or three ornaments from this list, make a small batch, and see how they look on a branch. Then add more as you go. By December, the tree will have its own story, and each piece will remind you of a cold evening, a warm oven, and a project you finished.
Save this guide, grab your flour and a few oranges, and start your first batch this weekend.