23 Outdoor Christmas Light Ideas for Any House Style
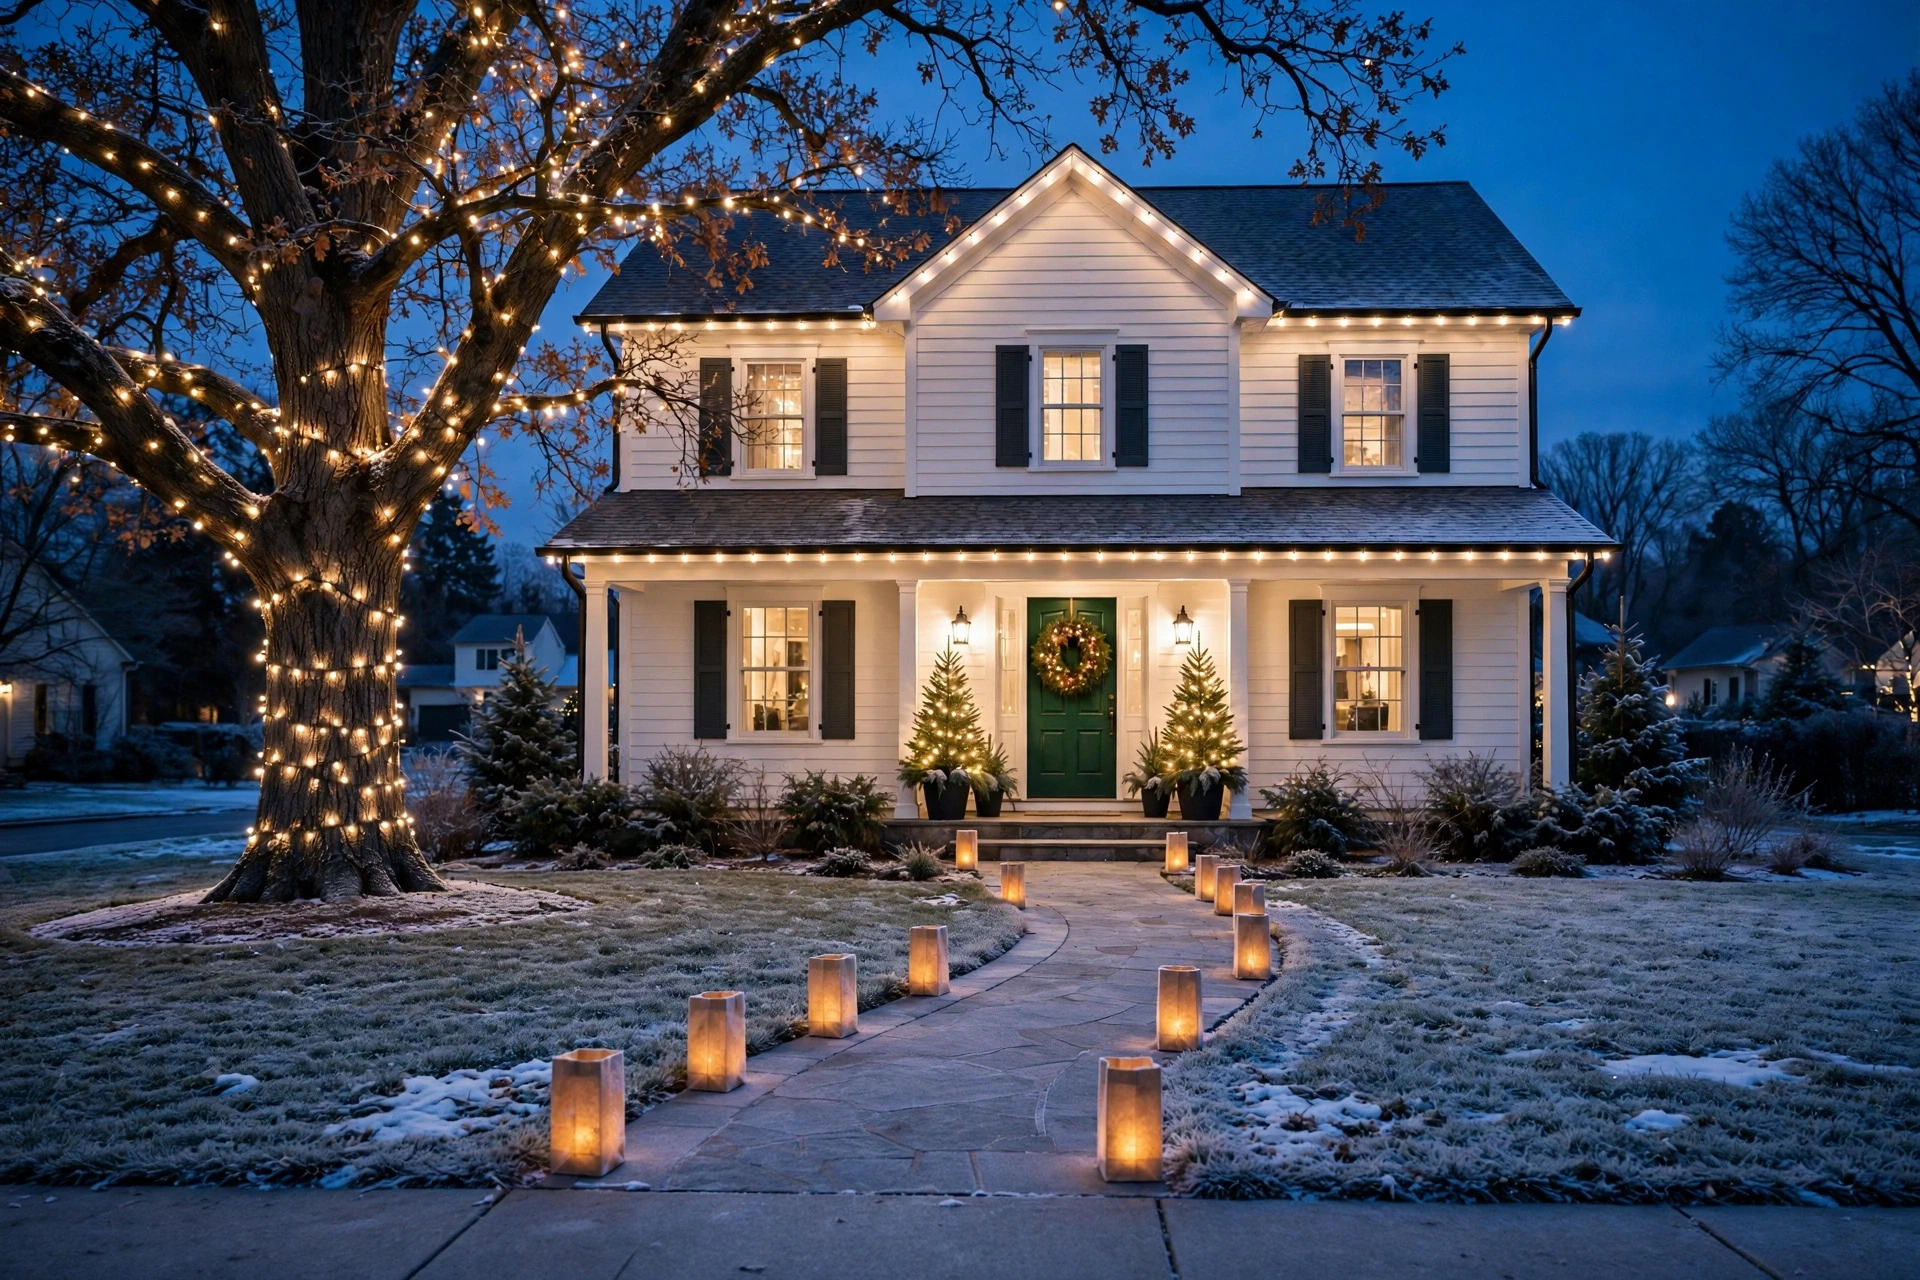
Drive down any street at dusk in December and you can read the houses like pages. One has a single warm line across the roof and a wreath that glows. Another has candy cane stakes marching up to the door. A third has one huge tree wrapped trunk to tip in white light, standing like a column. You’ve never met these people, yet you already know something about them.
Your house is saying something too. The only question is whether it says what you mean.
Maybe you want calm and classic. Maybe you want playful, or modern, or just warm enough that the mail carrier smiles. The 23 outdoor Christmas light ideas below are sorted by where they go on your house, and each one tells you what it says about the place. Pick two or three, match them to your home’s style, and keep the rest for next year.
Quick answer: To light the outside of a house for Christmas, pick one main light line (the roofline, the porch rail, or one big tree), one welcome spot (the front door), and one glow at ground level (a path or planters). Use outdoor-rated LED lights, plug them into a GFCI outlet, and stick to one or two colors. Warm white, around 2700K, is the safest choice for most homes.
What is a roofline light display? It’s a row of lights fastened along the roof edge, gutters, or fascia to outline the shape of the house. It’s the most recognized outdoor Christmas look, and it works best when the spacing and color stay the same from end to end.
Related: 17 Outdoor Kitchen Layout Ideas Architects Swear By
Table of Contents
Match the Lights to Your House Style First
Lights look best when they follow the house instead of fighting it. A quick style check saves you from buying things that look odd once they’re up.
- Traditional or colonial: symmetry wins. Even rooflines, matching windows, and a wreath on the door look best.
- Modern: fewer, cleaner lines. One warm-white outline, a lit entry, and uplighting on a tree feel right. Cool white can suit homes with a lot of metal and glass.
- Farmhouse and cottage: warm bulbs, lanterns, garland, and natural greens. Cozy and a little imperfect is fine.
- Ranch and bungalow: long, level lines look good on low roofs. Add one tree for height.
- Victorian and Tudor: outline the trim, gables, and porch details, and keep the color calm so the architecture stays the star.
- Apartment or townhouse: focus on the door, a window, and the balcony rail. Battery lights keep it simple.
Roofline and Architecture Christmas Light Ideas
1. Trace the Roofline in Warm White
What it says: calm, classic, and confident. A single line of warm white lights along the roof edge draws the shape of your house like a pencil outline. Use C9 bulbs for a bold, old-school look, or mini lights for a finer line, and clip them to the gutter or fascia so the line stays straight. Keep the color identical from one end to the other, because that quiet match is what makes it look planned. Measure the roofline first and buy about ten percent extra for corners and gaps. A warm white around 2700K flatters brick, siding, and stone alike.

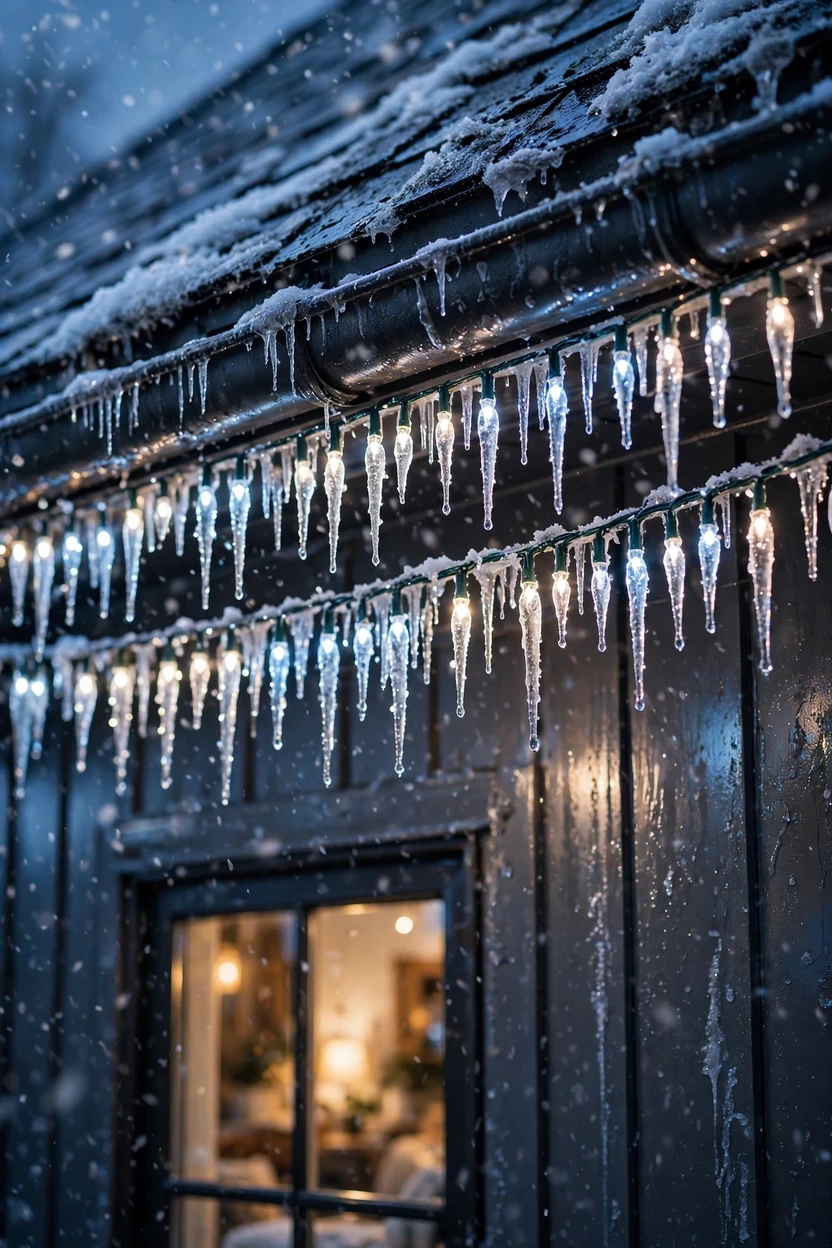
2. Layer Icicle Lights Along the Eaves
What it says: wintry and a little whimsical. Icicle lights hang from the gutter in strands of different lengths, so the roof looks frosted even when there’s no snow. Hang two rows with the drops staggered so the lengths overlap, which adds depth without adding a second color. Clip each drop at an even spacing and keep it the same on every section, or the look gets tangled fast. They work best on homes with a clear overhang or plain fascia. Trim the strands around windows so the drops don’t cover the glass.
3. Frame the Windows
What it says: warm, tidy, and welcoming. Outline each front window with mini lights, or hang a small lit wreath in each pane. Matching every window across the front gives the house a balanced look that reads as friendly from the street. Use removable clips instead of nails to protect the trim, and run the cord out of sight along the bottom corner. For a softer touch, set a battery candle on the inside sill so the glow shows from both sides of the glass.

4. Highlight Columns, Arches, and Gables
What it says: proud of its bones. If your house has porch columns, an arched entry, or a steep gable, let the light point straight at them. Spiral warm white strands up each column, run a line up the peak of the gable, or trace the curve of an arch. Keep the strands snug against the shape so the light follows the architecture. Lighting three details well looks stronger than lighting every detail at once. Wrap the columns in garland first if you want a fuller, softer look.
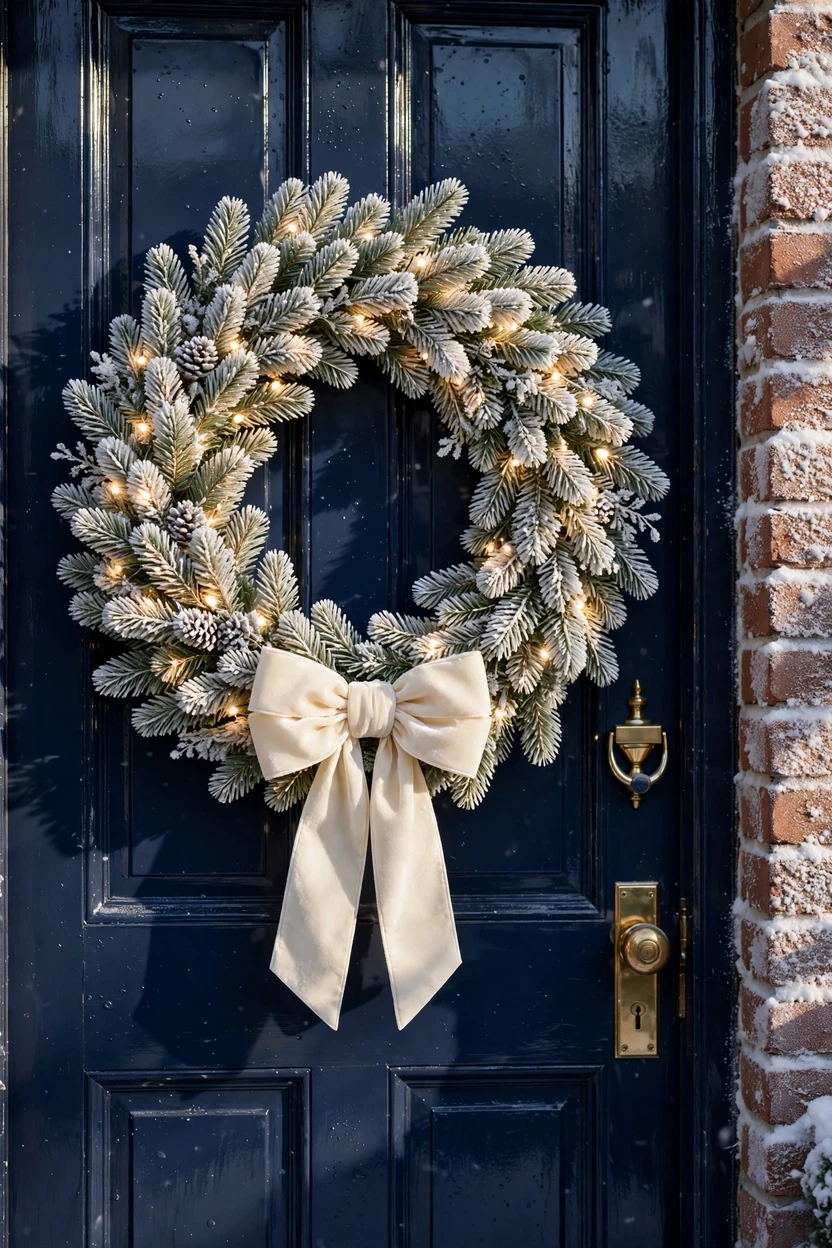
5. Crown the Peak With a Single Star
What it says: hopeful, simple, and quietly cheerful. One lit star at the top of a gable gives the house a focal point that can be seen from far down the street. Choose a metal or wire star made for outdoor use and secure it with a bracket, because wind will find any loose mount. If you’d rather stay off the roof, place the star on a porch gable or on top of a small yard tree. Pair it with just a roofline or window glow, so the star stays the headline. It suits small homes and minimalist styles that don’t need a heavy display.

Front Door and Porch Christmas Light Ideas
6. Frame the Front Door in Lit Garland
What it says: come on in. The front door is where guests actually look, so give it the warmest detail on the house. Hang a green garland around the door frame and weave warm white mini lights through it, then tuck in a few red or plaid bows. Choose battery-powered lights if there’s no outlet nearby, because a cord pinched in a closed door is a safety problem. Keep the garland thick enough to look full, and stop it short of the doorknob so the door still opens easily. A single color of ribbon keeps the frame from looking busy.
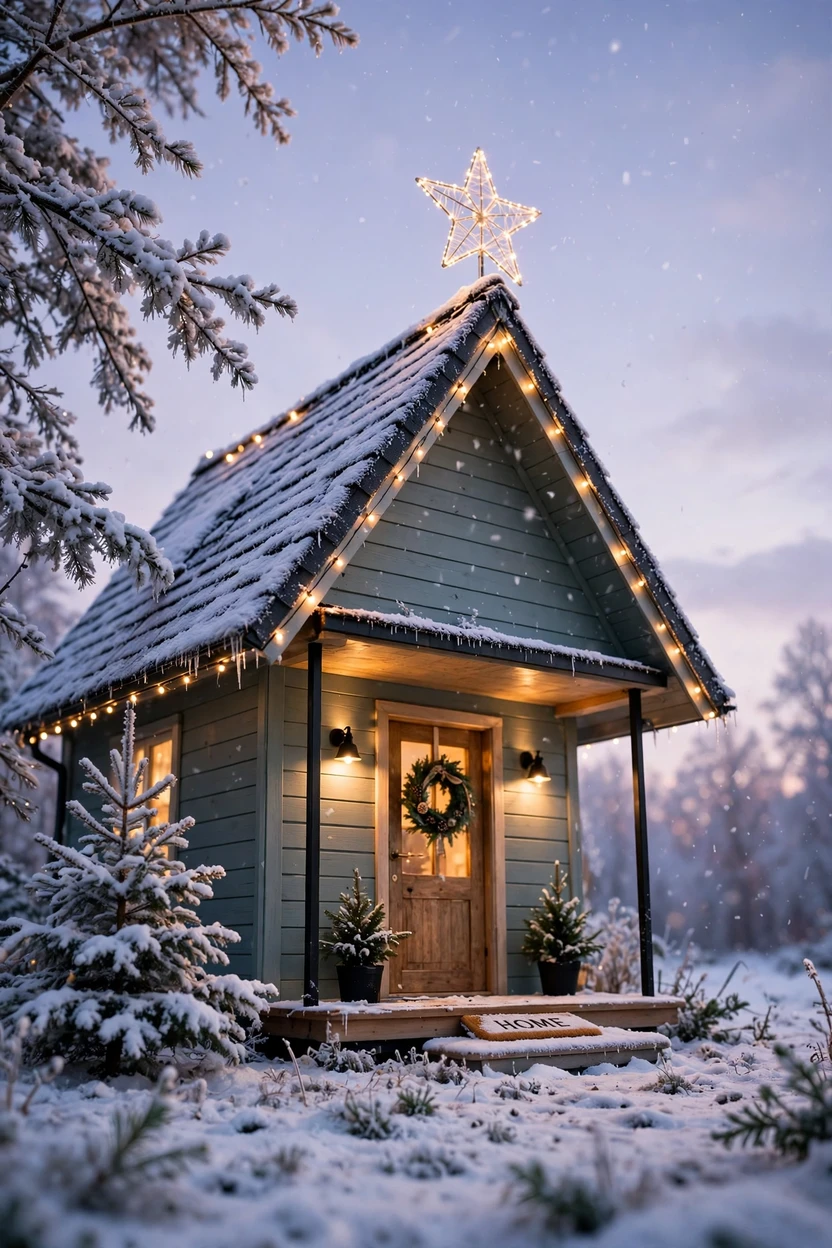
7. Hang a Pre-Lit Wreath on a Contrasting Door
What it says: traditional, polished, and a little formal. A wreath with built-in warm white lights is the fastest way to make a door look dressed for Christmas. Pick a size that fills about two-thirds of the door width so it doesn’t look lost. Colors that contrast with the door work best, such as a deep green wreath on a white door or a frosted, silvery one on a navy door. Choose battery power with a timer, or run a neat cord up from the nearest outlet. Hang it with an over-the-door hook or a removable adhesive hook so the paint stays clean.

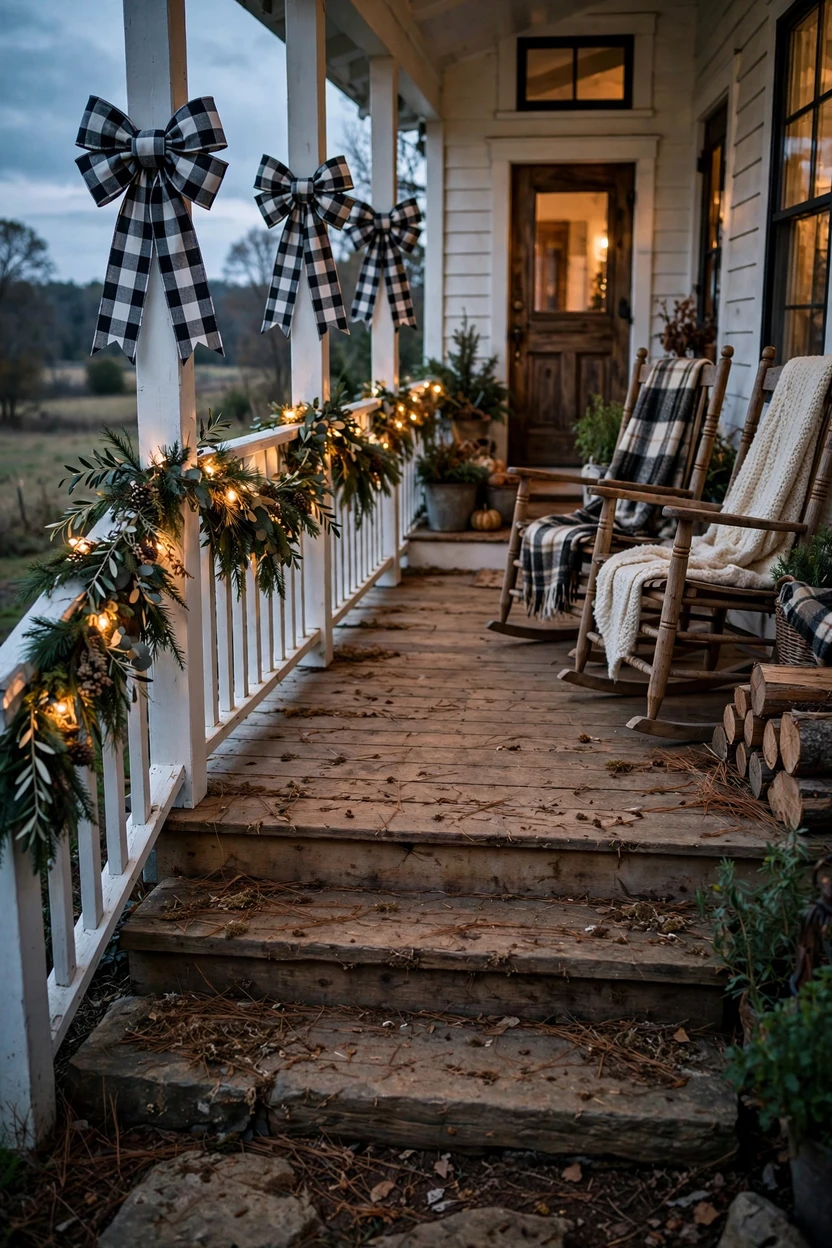
8. Wrap the Porch Railing and Stairs
What it says: cozy farmhouse. Lay a garland of mixed greens along the porch rail and wind warm white lights through it, working from the post toward the center. Add oversized buffalo check or burlap bows at each post, plus a few pinecones for texture. On stairs, repeat the same garland on both banisters so the entry feels even. Zip ties or floral wire hold everything in place without damaging the wood. Tuck cords along the back of the rail so nobody trips on them.

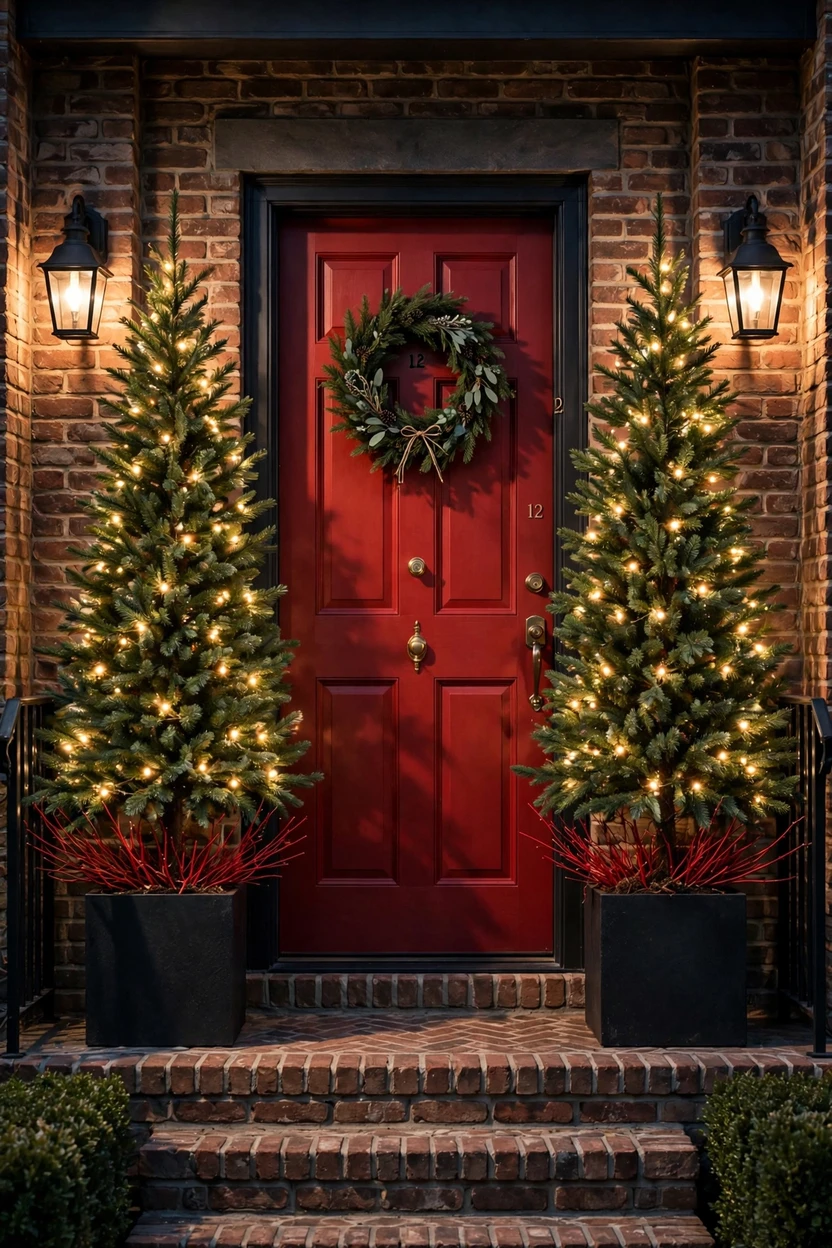
9. Light a Pair of Porch Trees
What it says: formal, balanced, and tidy. Two matching pre-lit trees in planters on either side of the door give the entry a clear frame. Choose black, galvanized, or stone planters that match your porch, and fill the top of each pot with greens or red twigs to hide the base. Keep the trees identical in height and style, because the mirror image is the whole point. Add a timer so they switch on at dusk without you thinking about it. If your porch is small, use a single taller tree in one corner instead.

10. Line the Steps With Lanterns and Flameless Candles
What it says: collected, cozy, and a little romantic. Group three lanterns in different heights on each side of the steps, and put a flameless LED candle inside each one. Mix finishes, such as black metal, weathered wood, and clear glass, so the group looks gathered over time instead of bought in one set. Flameless candles with built-in timers turn on and off for you, and they’re safe near fresh greens. Keep the walking path clear and avoid running any cord across the steps. Tuck a sprig of pine or rosemary at the base of each group for scent and color.
Tree, Shrub, and Landscape Christmas Light Ideas
11. Wrap a Tree Trunk to Make a Glowing Column
What it says: bold, but still calm. Wrap the trunk and the lowest main limbs of one big front yard tree in warm white lights, and leave the outer branches bare. The result looks like a lit pillar, and the dark branches overhead frame it like a roof. Start at the base and spiral upward in a steady wrap, keeping the rows a few inches apart for an even glow. Run it from a GFCI outlet through an outdoor-rated cord. Take the lights down in January so the wrap doesn’t press into the bark as the tree grows.
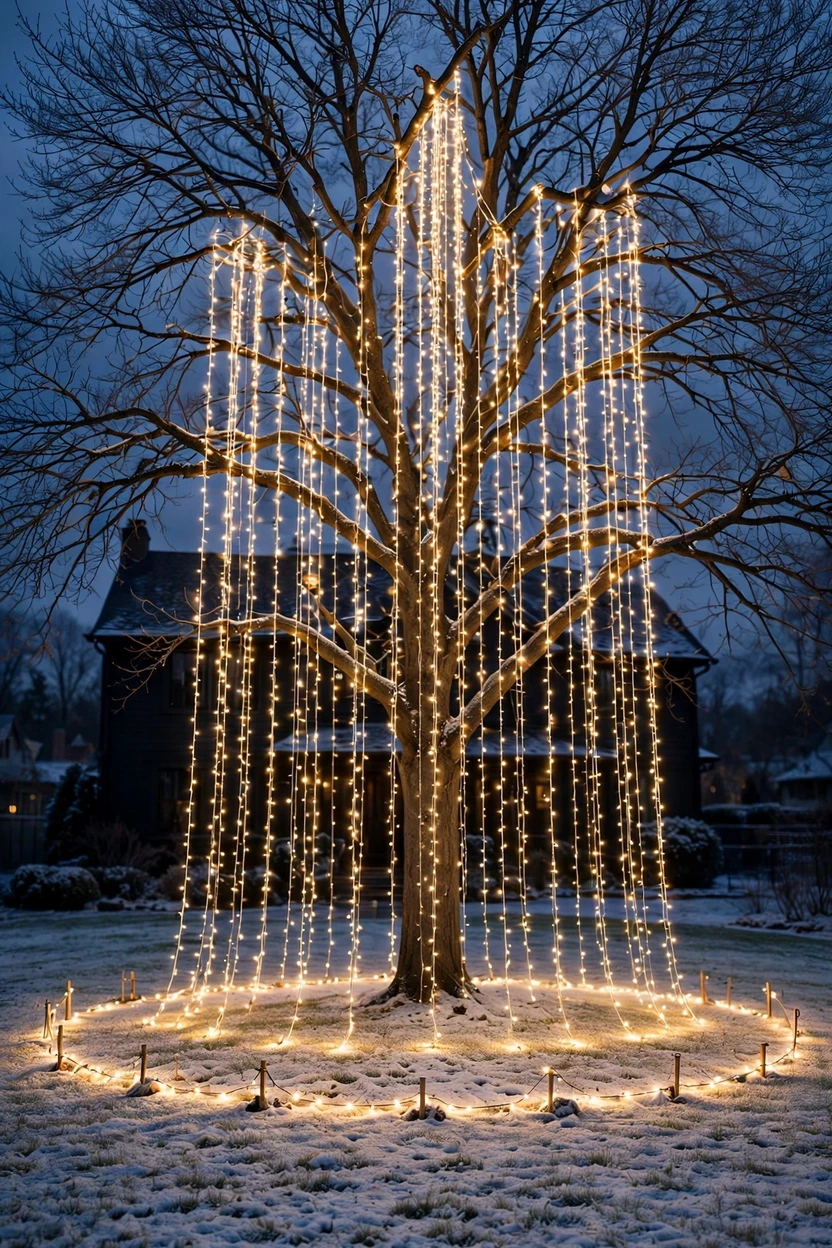
12. Let Lights Cascade From a High Branch
What it says: grand and storybook. Attach strands high in a tree and let them fall straight to the ground in a wide ring, so the tree looks like a glowing waterfall. Use a long pole, or a stable ladder with a helper, to place the top attachment, and secure each bottom end to a garden stake so the strands hang straight. Choose strands of equal length in the same color, since even spacing is what keeps the effect neat. It works best on a large tree that stands alone. Check the area for power lines before you start and keep well away from them.
13. Drape Hedges and Shrubs in Net Lights
What it says: tidy and polished. Net lights are a grid of evenly spaced bulbs, so you simply lay them over a shrub like a blanket and skip the weaving. Pick a green-wired set so the cord disappears into the leaves, and match the bulb color to your roofline. Measure the hedge first and buy nets a little larger than the area so the edges overlap. Leave a few inches between sections so no dark gaps show. It’s one of the quickest ways to add ground-level glow, often in under thirty minutes.
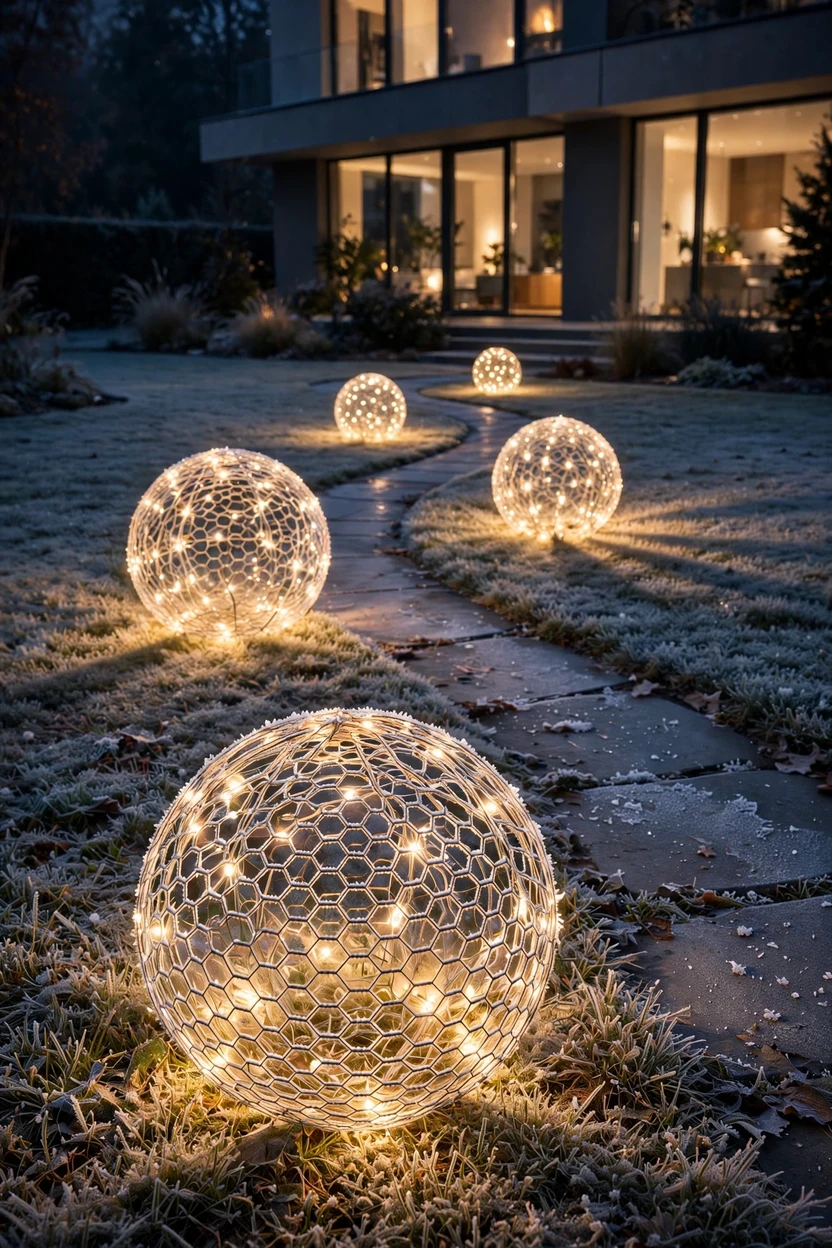
14. Build Glowing Light Balls
What it says: playful with a modern streak. Shape chicken wire into spheres, wrap each one with string lights, and secure the strands with zip ties. Group them in odd numbers, three or five, in different sizes across the lawn or along the porch. The round shapes break up all the straight lines of the house and fence, and they look good in daylight too. Use outdoor-rated strands and set the balls on dry ground or flat stones so the cords never sit in puddles. Warm white gives a soft lantern glow, while one bright color makes a bolder statement.
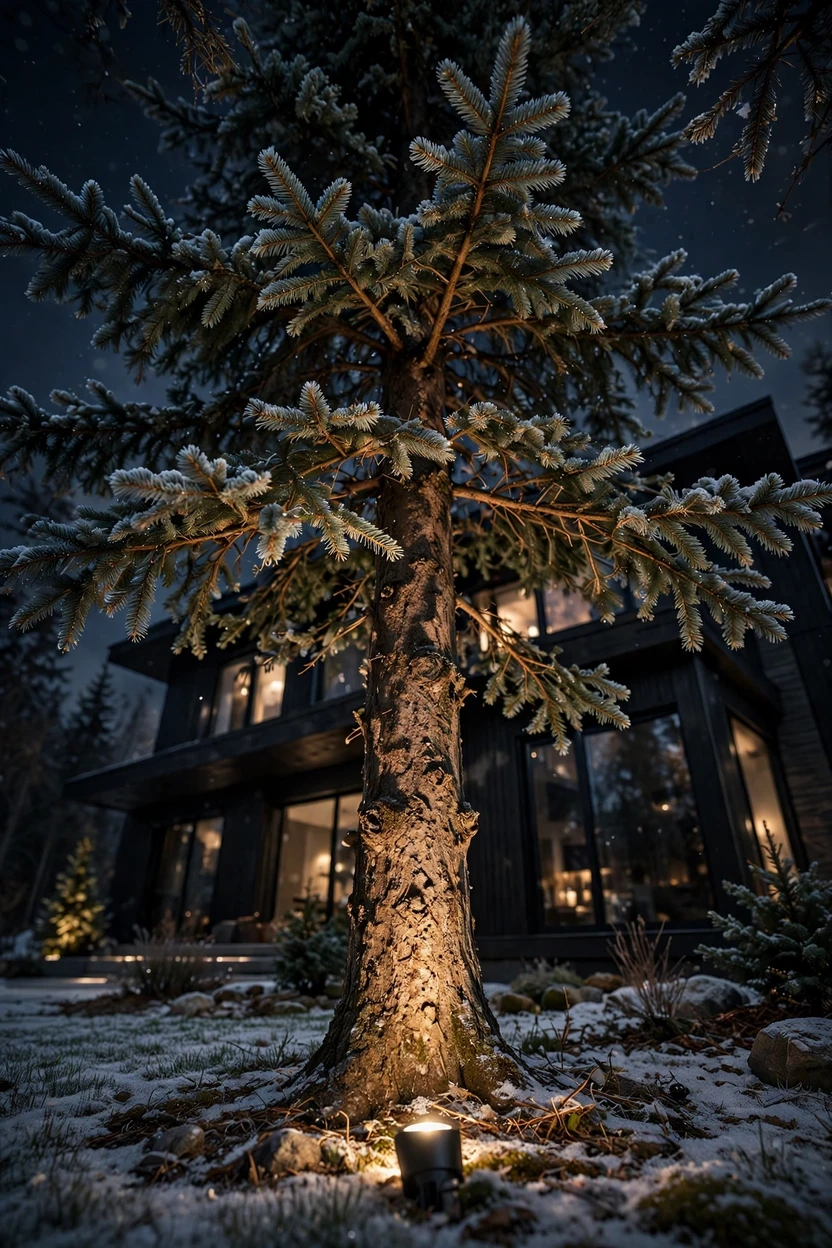
15. Uplight One Tree for Quiet Drama
What it says: refined and understated. Place one outdoor spotlight at the base of an evergreen or a tree with a good trunk, and aim it up through the branches. Warm white light gives the bark and needles depth, and you don’t have to hang a single strand. Many homes already have landscape spotlights, so swap in a warm bulb and move one to the tree. Aim the beam so it doesn’t shine into your neighbors’ windows or your own. This look suits modern houses and anyone who prefers less fuss.
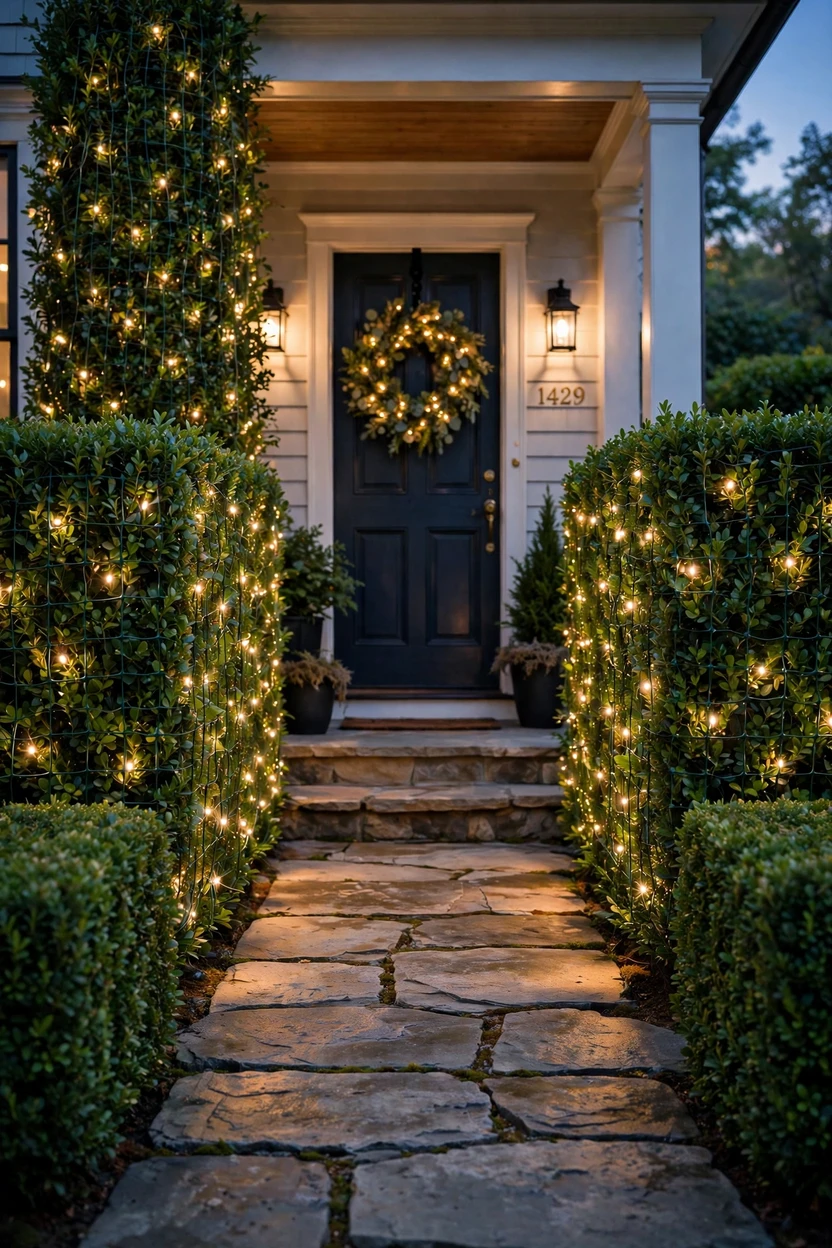
16. Turn Tomato Cages Into Light Trees
What it says: crafty, thrifty, and proud of it. Flip a metal tomato cage upside down so the narrow end points up, wrap it in string lights from the base to the top, and finish with a star or bow. Set a group of three in different sizes by the walkway or in a planter. The cone shape reads as a Christmas tree from the street for a small part of the cost of a store-bought one. Secure the lights with twist ties, and choose strands with a green cord so the frame blends in. Store them flat after the season, since the cages nest inside each other.
Path, Fence, and Driveway Christmas Light Ideas
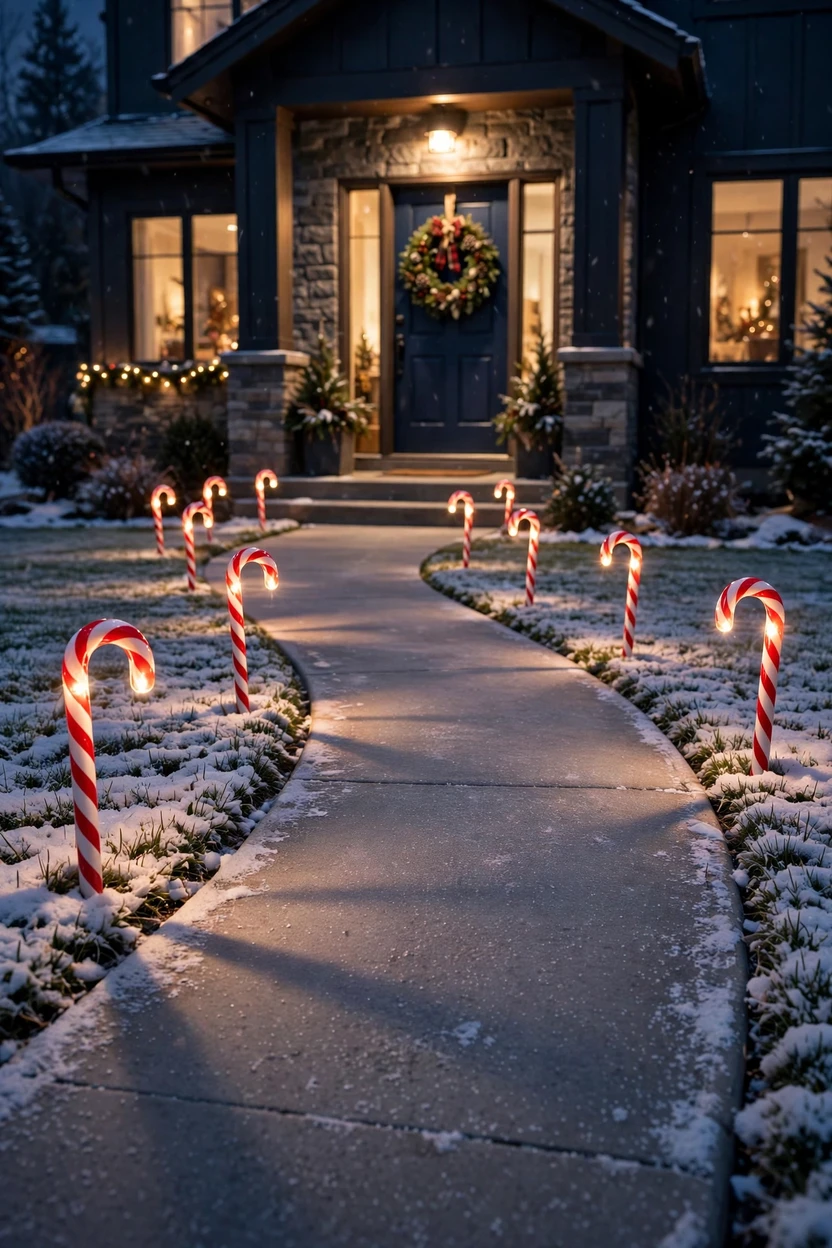
17. Line the Walkway With Candy Cane Path Lights
What it says: sweet, welcoming, and ready for company. Stake path lights along both sides of the walkway so they mark the edge and light the way to the door. Candy cane shapes are the classic pick, but plain white stakes or C7-style bulbs on stakes look just as nice. Space them about a big step apart and keep both sides matching so the path looks even. They also work as a safety feature on dark, icy nights. Plug them into one GFCI outlet, or choose solar stakes if there’s no outlet nearby.
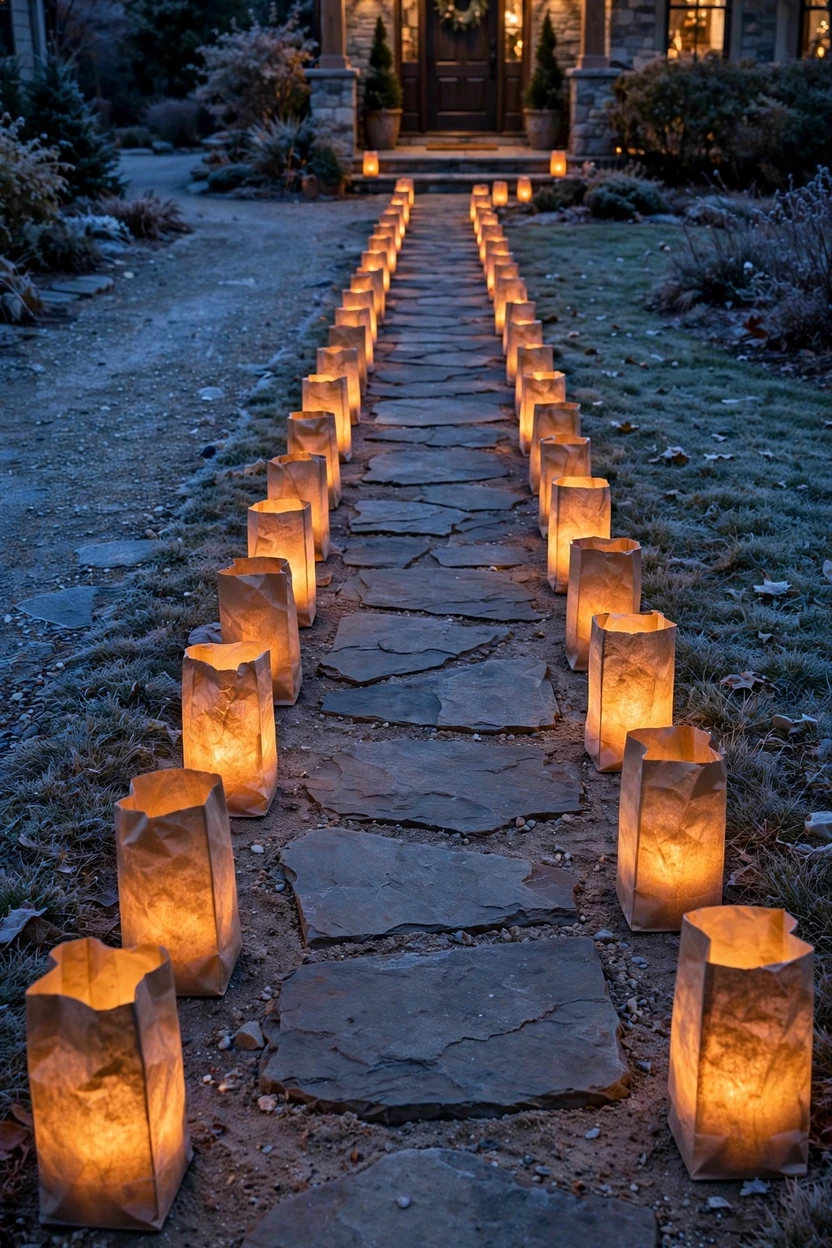
18. Set Out Paper-Bag Luminarias
What it says: gentle, handmade, and neighborly. Fill plain paper bags with a few inches of sand, then set a flameless LED tealight inside each one. Line them along the walkway, the driveway edge, or the porch steps. Using LED lights instead of an open flame keeps wind and dry paper from becoming a problem. The soft paper glow has a handmade charm that string lights can’t copy. Set them out on dry evenings and skip them if rain or snow is on the way, since wet paper falls apart fast.
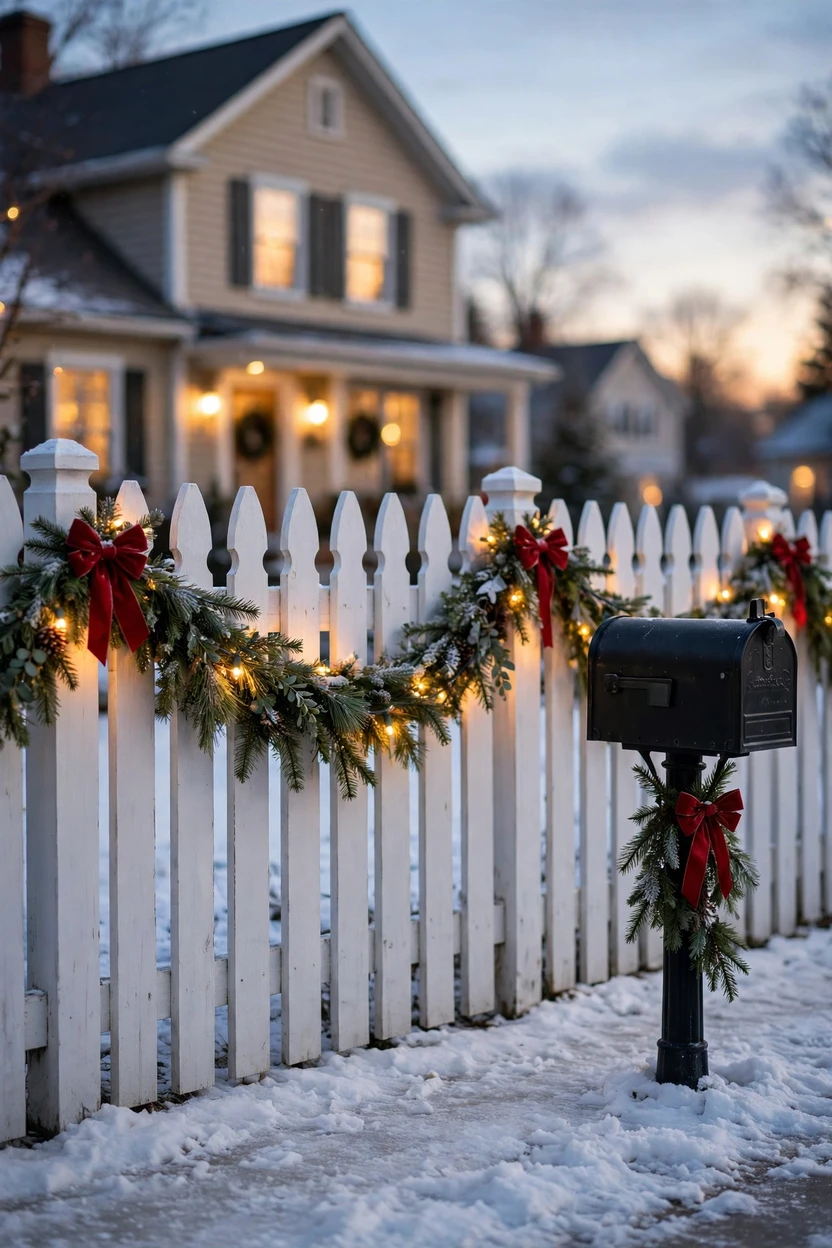
19. Garland the Fence and Mailbox
What it says: friendly to the whole street. A fence line wrapped in garland and warm white lights carries your display out to the sidewalk, so the property feels connected from edge to edge. Use zip ties through the pickets and keep the sag between posts even. Finish with a small garland, a bow, and a battery-powered strand on the mailbox. It’s a small signal to neighbors and delivery drivers that this house likes visitors. Pick battery lights for the mailbox, since running a cord to the curb is rarely worth the trouble.

20. Light a Few Arches Over the Path
What it says: generous and a little theatrical. A row of arches, made from PVC pipe, metal hoops, or garden stakes and wrapped in lights, creates a glowing tunnel to your door. Space the arches evenly and push the legs deep into the ground so wind can’t tip them. Make them wide enough for two people to walk through and tall enough to clear a hat. Start with three arches instead of ten, which looks cleaner and takes far less time. Keep them clear of car mirrors if they sit near the driveway.

Effects and Statement Christmas Light Ideas
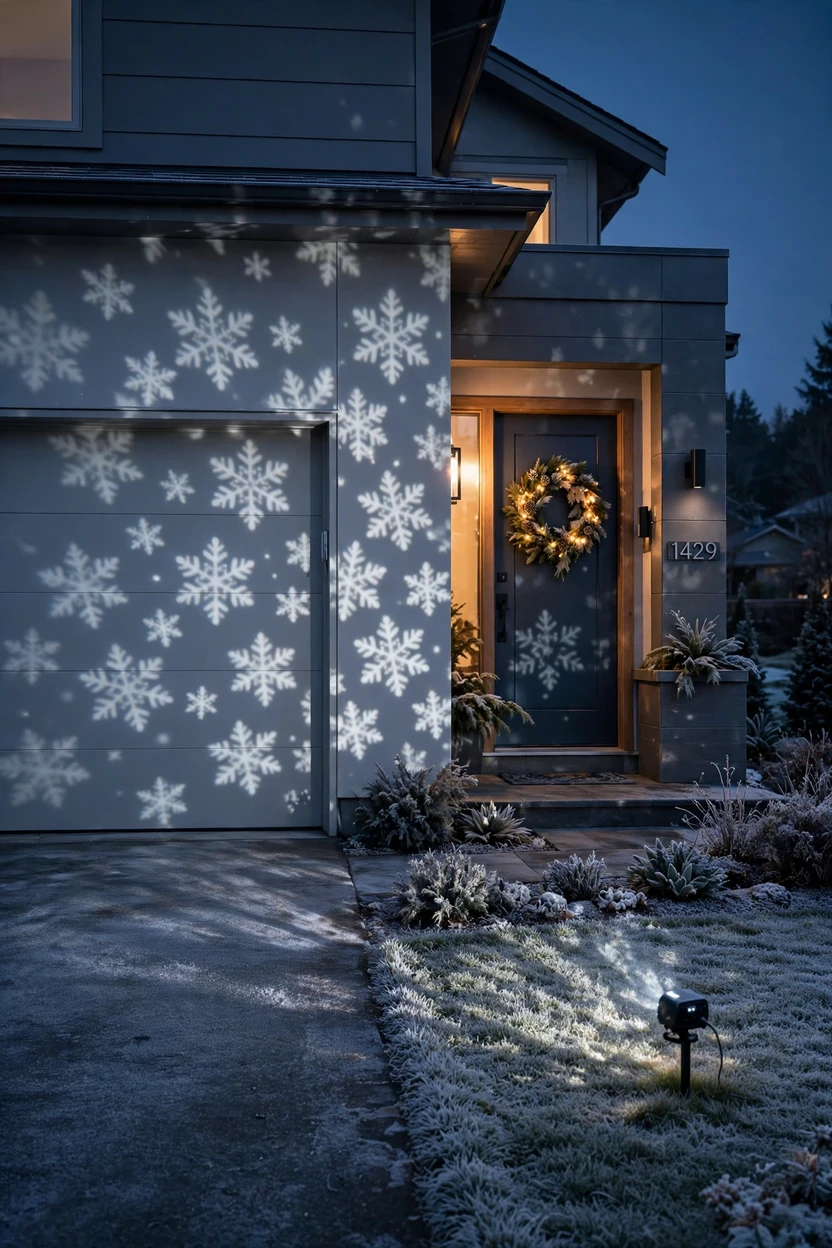
21. Project Snowflakes or Dots on the Garage Door
What it says: easy, modern, and low-maintenance. An outdoor projector sits on a stake in the lawn and shines slow-moving snowflakes, dots, or stars onto the garage door or a blank wall. There’s no ladder, no hanging, and no untangling. Follow the distance in the manual so the image stays sharp, and choose a white or warm pattern if you want a quiet look. Put it on a timer so it turns on at dusk and off at bedtime. It’s a great fit for renters, since nothing touches the house.
Related: 18 Christmas Wall Decor Ideas That Look Expensive for Less
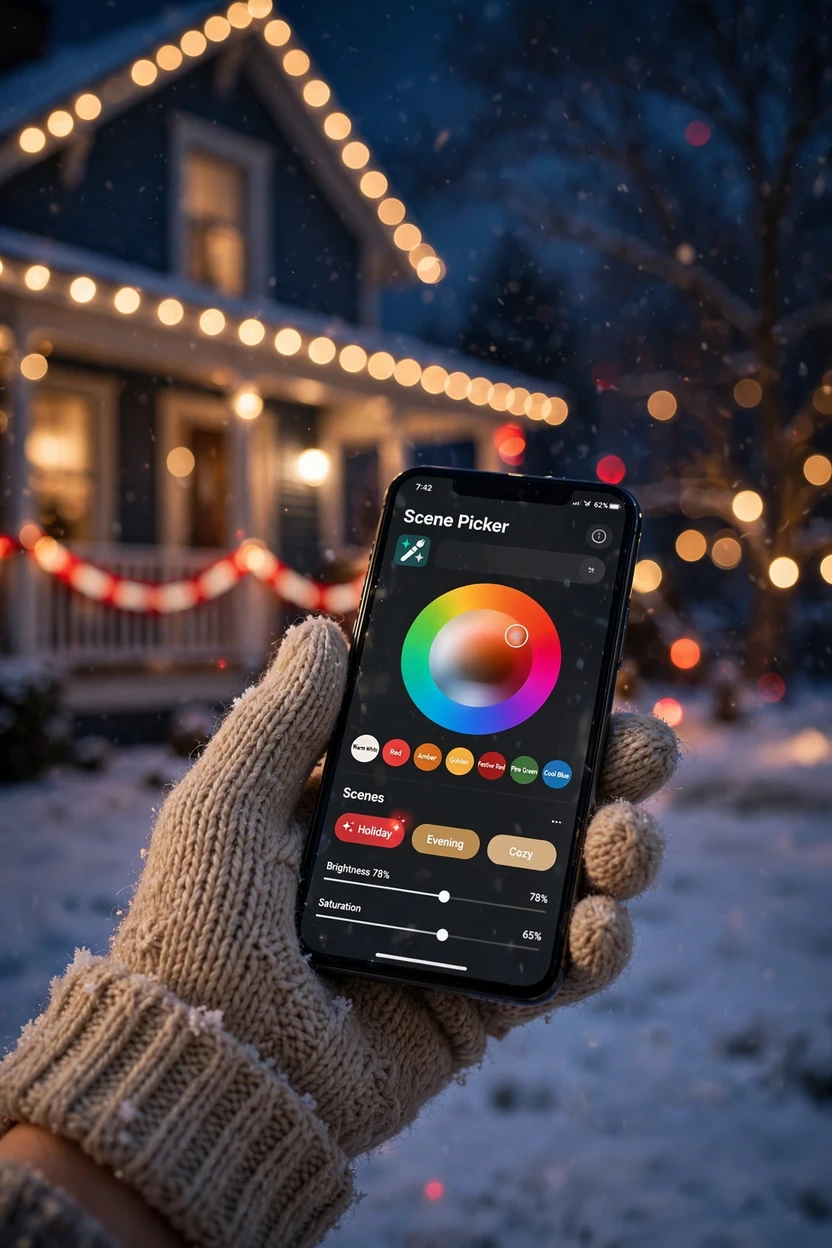
22. Use App-Controlled Lights for Different Moods
What it says: tech-savvy, playful, and aware of timing. App-controlled strands let you change colors from your phone, dim them, set a schedule, or switch scenes for different nights. Keep the house in warm white most evenings and save color for special nights, like Christmas Eve or blue and white for a Hanukkah gathering. Music sync is fun, but short weekend shows keep the neighbors happy. Choose a set rated for outdoor use, and check that your Wi-Fi reaches the front of the house before you buy.
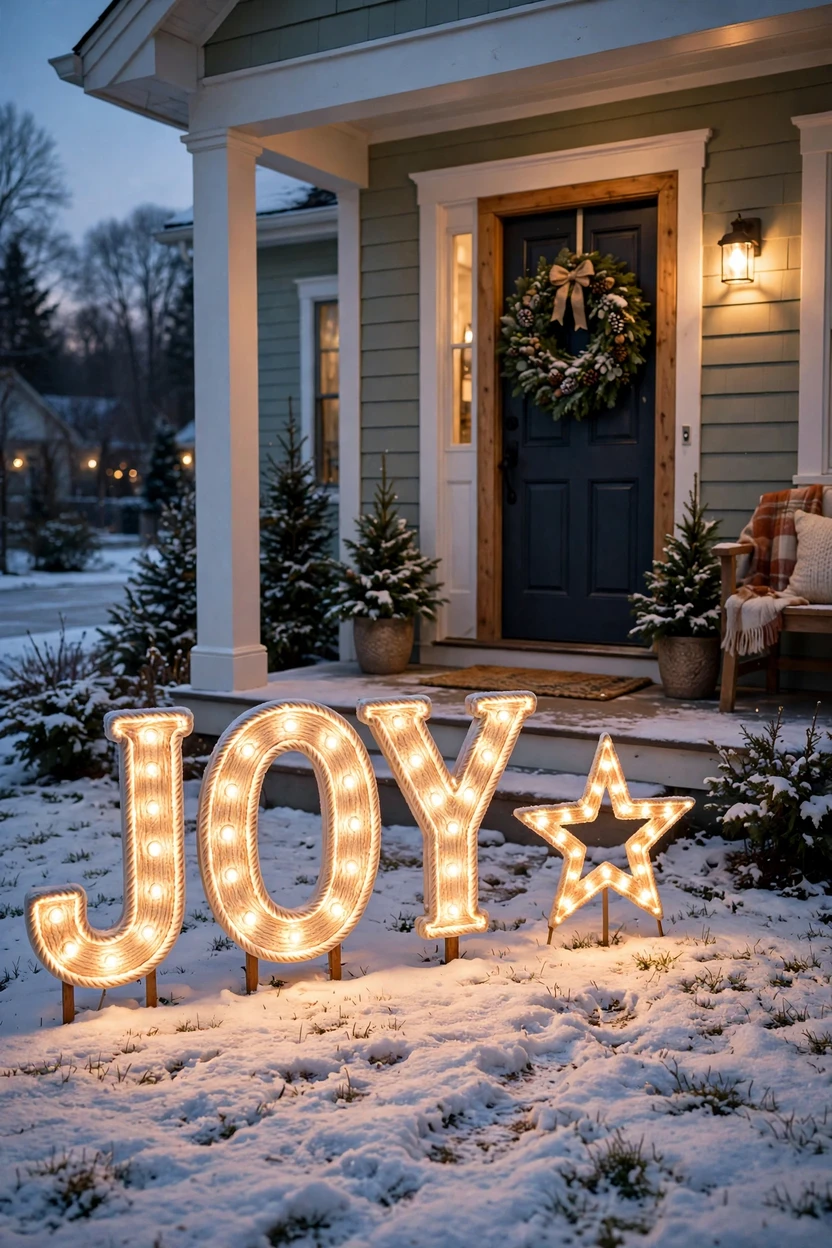
23. Spell It Out With a Lit Word or Silhouette
What it says: funny, warm, and not afraid to say it out loud. A lit JOY or NOEL sign on the porch or in the yard makes your message plain. A reindeer, sleigh, or star silhouette works the same way and adds a shape that string lights can’t make. Keep the size close to a front window, so it fits the house instead of competing with it. Choose warm white for a soft look or one bold color if you want it to pop. Anchor any standing piece with stakes so it stays upright in the wind.
Styling Tips: Make Your Lights Look Designed
- Choose one hero. Pick the roofline, one big tree, or the front door as the star, and let everything else play a supporting part.
- Stick to two colors. Warm white plus one accent, such as red or green, looks calm and pulled together. A tight palette also helps your lights match the house.
- Match the bulb color. Don’t mix 2700K warm white with cool white on the same surface, since the two will look mismatched side by side. Buy all lights for one area at the same time.
- Light in three layers. Use something high (roofline or tree), something at the middle (door, porch, windows), and something low (path or shrubs). Three layers give the eye places to travel.
- Leave some dark. Dark gaps make the lit parts glow. A house covered in light from top to bottom has nowhere to rest.
- Repeat a shape. Lines, circles, and cones look planned when they appear more than once.
- Check from the curb. Walk to the street at dusk and look back. Straighten any sagging line and fix any dark patch before you call it done.
- Light what you want seen. Skip the trash cans, the meter box, and the side yard.
- Use timers. Set the lights to come on at dusk and go off at a set hour, such as 10 or 11 p.m. It saves power and keeps the routine easy.
Your One-Weekend Install Plan
Friday evening (30 minutes): Walk around the house and decide on your hero, door, and ground-level glow. Measure the roofline, the hedge, and the path. Plug in and test every strand on the ground, and note which outdoor outlets are GFCI-protected.
Saturday morning: Start with the highest and farthest areas, like the roofline and the big tree, while you have the most energy. Work with a helper holding the ladder.
Related: 18 One-of-a-Kind Christmas Tree Ideas That Beat Perfectly Matched Sets
Saturday afternoon: Do the door, porch, wreath, and railing garland.
Saturday at dusk: Install path lights, net lights, and lanterns, then turn everything on so you can see the dark spots.
Sunday: Add timers, fix any sagging lines, and check the whole display from the curb. Take photos so you remember what you did for next year.
In January: Take everything down on a dry day. Wrap each strand around a piece of cardboard or a spool and label it by location.
How many lights should you buy? For a roofline, measure the length in feet and add about ten percent. For net lights, check the package size and match it to the hedge. For a tree trunk, plan for a tight spiral, which takes more lights than you expect.
Quick Comparison: Cost, Time, and Effort
Cost levels are rough guides, and prices vary by store and region.
| # | Idea | Cost | Time |
|---|---|---|---|
| 1 | Warm-white roofline | Higher | 2 to 4 hours |
| 2 | Icicle eaves | Medium | 1 to 3 hours |
| 3 | Window frames | Medium | 1 to 2 hours |
| 4 | Columns, arches, gables | Medium | 1 to 2 hours |
| 5 | Peak star | Medium | 30 minutes |
| 6 | Door garland | Medium | 45 minutes |
| 7 | Pre-lit wreath | Medium | 10 minutes |
| 8 | Railing and stairs garland | Medium | 1 hour |
| 9 | Pair of porch trees | Higher | 20 minutes |
| 10 | Lanterns on the steps | Medium | 15 minutes |
| 11 | Wrapped tree trunk | Medium | 1 to 2 hours |
| 12 | Cascading tree | Higher | 2 hours |
| 13 | Net-lit hedges | Medium | 30 minutes |
| 14 | Glowing light balls | Medium | 2 to 3 hours |
| 15 | Uplit tree | Low | 20 minutes |
| 16 | Tomato cage trees | Low | 1 hour |
| 17 | Candy cane path lights | Medium | 30 minutes |
| 18 | Paper-bag luminarias | Low | 30 minutes |
| 19 | Fence and mailbox garland | Medium | 1 hour |
| 20 | Path arches | Higher | 2 to 3 hours |
| 21 | Projector lights | Medium | 10 minutes |
| 22 | App-controlled lights | Higher | 1 hour |
| 23 | Lit word or silhouette | Medium | 20 minutes |
Outdoor Christmas Light Safety Basics
Good lights should make a house feel warm, not worry anyone. Run through this short list before you plug in.
- Use outdoor-rated lights and cords. Never use indoor strings outside, and check the label on extension cords too.
- Plug into a GFCI outlet. Press the test button first to confirm it still works. Rain, ice, and melting snow can reach connections, and a GFCI cuts the power fast.
- Check how many strands can connect. The label on the box gives the limit. LED strands usually allow more than older incandescent ones, but never go over the number printed on the package.
- Inspect every strand. Toss any with cracked sockets, frayed wire, or exposed copper.
- Fasten with clips made for gutters and shingles. Don’t push nails or staples through the cord.
- Keep cords out of the walking path. Run them along edges, and tape or cover any that must cross a walkway.
- Stay away from power lines. Don’t hang lights on trees that touch or sit near them.
- Use ladders with a helper. Keep three points of contact and move the ladder instead of reaching.
- Turn them off at bedtime. A timer does it for you. If a cord or plug feels hot, unplug it.
Common Mistakes to Avoid
- Skipping the test. Plug in every strand on the ground before you climb. It’s much easier to swap a dead strand there.
- Mixing white tones. Warm and cool white side by side look mismatched, even if each one looks fine alone.
- Buying too few lights. Short strands leave gaps at corners. Measure first and add about ten percent.
- Lighting everything. A house with no dark space looks busy. Choose a hero and let the rest breathe.
- Letting lines sag. A droopy roofline reads as messy. Clip every foot or so and pull gently, not tight.
- Wrapping too tight. Tight wraps on trees can mark the bark, and tight strands can snap in the cold.
- Ignoring the street view. What looks good from the ladder can look uneven from the curb. Check from there at dusk.
- Forgetting the weather. Paper luminarias, light stakes, and loose decor all need a plan for wind, rain, and snow.
- Leaving lights up too long. Weather wears out cords and sockets over time. Take them down in January.
Small-Space Alternatives
A small home, a rental, or an apartment can still say a lot with a few well-chosen lights.
- Balcony: Clip battery string lights to the rail, hang a wreath on the glass door, and set two lanterns on the floor. Use removable clips so nothing marks the railing.
- Townhouse stoop: A door garland and two small lit trees in pots give you the same balanced look as a bigger porch.
- Apartment window: Outline one window with battery lights and add a flameless candle on the sill.
- Renter-friendly effect: A projector on a stake shines patterns on a wall with nothing attached to the building.
- Tiny yard: One wrapped tree trunk and a row of luminarias look bigger than they cost.
- Rules to check: Read your lease or HOA guidelines for limits on hanging items, timing, and cords.
Budget-Friendly Alternatives
A good display doesn’t need a big spend. These ideas stretch a small budget.
- Under 25 dollars: Paper-bag luminarias, tomato cage trees, a thrifted pair of lanterns with LED candles, or a single net light set on one hedge.
- Under 75 dollars: A warm white line over the front door section, a door garland, and a few path stakes.
- Reuse what you have: Pull last year’s lights and test them first. Clip evergreen branches from your own yard for garland, where that’s allowed.
- Shop after Christmas: Lights, wreaths, and lanterns often cost much less in the weeks after the holiday. Choose LED lights, which use less power.
- Build it up over years: Add one new idea each season so you never need to buy it all at once.
Pro Styling Recommendations
- Pick the light temperature on purpose. Warm white, around 2700K, suits brick, wood, stone, and most siding. Cooler whites, around 3500K and up, can suit modern homes with metal and glass.
- Use texture instead of color. Pair larger bulbs on the roofline with smaller mini lights on shrubs, all in the same warm white. You get depth without a second color.
- Try red and warm white only. The two-color palette looks graphic and classic, and it works well on white or light-colored houses.
- Mix real greenery with lights. Garland, wreaths, and pine in planters soften the bulbs and make them look less like hardware.
- Light for the inside view too. Hang a strand or lantern where you can see it from your living room or kitchen window.
- Photograph at blue hour. The short window after sunset shows the display clearly against a deep blue sky, and the photo helps you plan next year.
- Watch this year’s direction. Lighting pros are reporting more warm white, cleaner architectural lines, wrapped feature trees, and app-controlled lights, with color used as an accent instead of the whole look.
Frequently Asked Questions
Final Thoughts
The first night you switch everything on, walk to the curb and turn around. Don’t count bulbs. Just notice what the house seems to be saying: calm, silly, formal, friendly. If that matches the people inside, you got it right. If it doesn’t, change one thing tomorrow, maybe the door, maybe a single line along the roof.
Lights are easy to adjust, and the best displays rarely finish in one weekend. They grow a little each year, the way a house does, until the whole street knows yours without a sign.