17 Outdoor Kitchen Layout Ideas Architects Swear By

An outdoor kitchen gets planned around the grill first, almost every time. The layout — how the cook moves between grill, sink, and prep space, how guests actually stand around without getting in the way — usually comes second, if it gets planned at all.
That’s backwards, and it’s why so many outdoor kitchens look great in photos and feel clumsy to actually cook in. Architects and outdoor kitchen designers start with workflow: a work triangle between the grill, sink, and refrigeration, clear circulation space so the cook isn’t bumping into guests, and enough counter on either side of the grill for prep and landing space.
These 17 layouts cover the classic shapes — L, U, G, galley, island — and go further into the specific scenarios most guides skip: poolside kitchens, sloped yards, small patios, and spaces that need to double as a bar or lounge. Each one is built around the same logic a professional would actually use to plan it.
Table of Contents
17 Outdoor Kitchen Layout Ideas
Linear Single-Run Layout Against a Wall or Fence
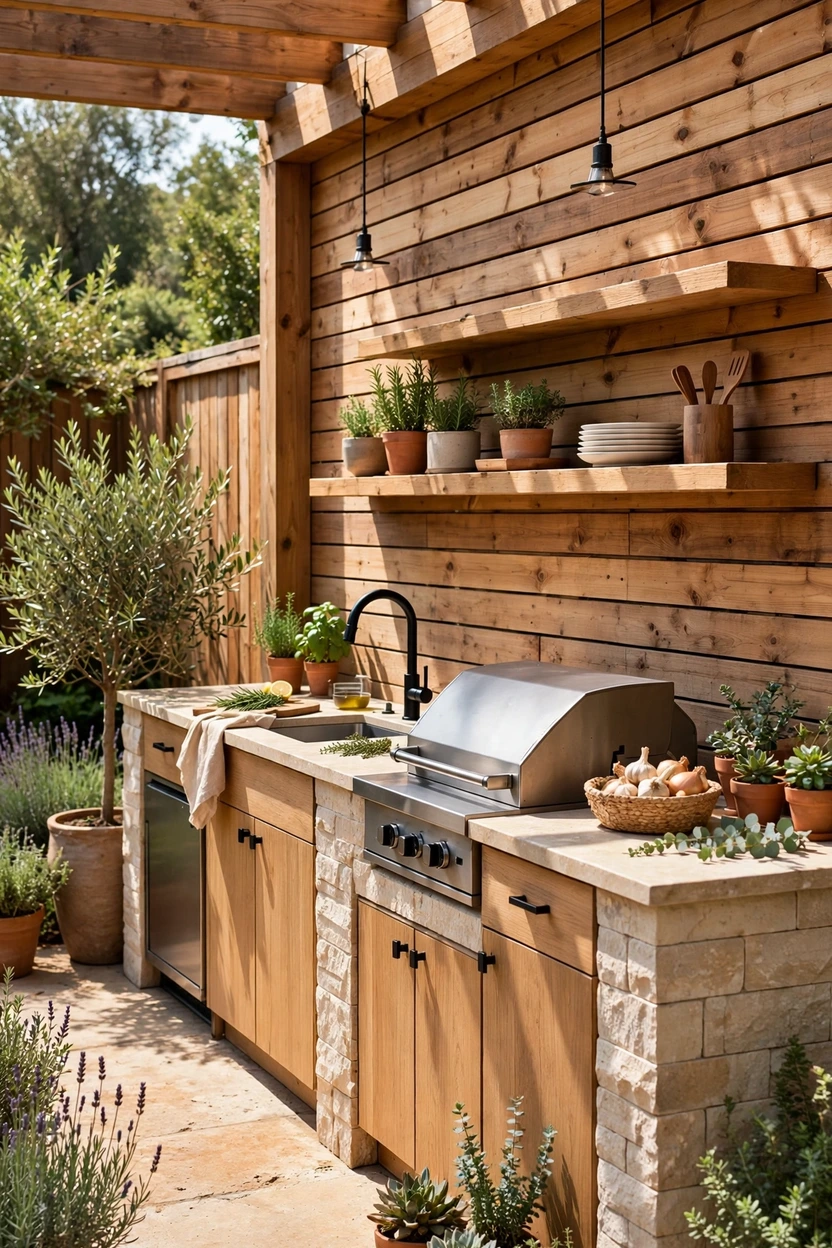
A linear layout places the grill, prep space, and any additional appliances in a single straight run along one wall or fence line, making it the most space-efficient configuration for compact backyards or narrow patios. This layout streamlines the cook’s workflow in one direction, moving left to right or right to left between zones, and frees up the rest of the patio for seating or a fire pit rather than surrounding the kitchen itself. Architects generally recommend at least 36 inches of clear circulation space in front of the run, keeping the cook’s working area distinct from the path guests use to move through the space. Because a single run doesn’t require returning walls or corners, it’s also typically the most straightforward and least expensive layout to build. This is the default starting point for most small to mid-sized backyards, and it works particularly well against an existing wall, fence, or property line.
Galley Layout With Two Facing Counters
A galley layout, also called a parallel or corridor layout, uses two facing runs of cabinetry and appliances with a walkway between them, maximizing both counter space and storage within a footprint similar to a single-run kitchen. Architects typically recommend at least four feet of clearance between the two facing counters, giving the cook enough room to move and work without feeling boxed in on either side. This layout suits long, narrow spaces particularly well, such as a side yard or a narrow courtyard, where a single-run layout alone wouldn’t offer enough total workspace. Splitting functions between the two runs, prep and cooking on one side, sink and refrigeration on the other, keeps the workflow logical and reduces backtracking during a typical cooking session. This is one of the more efficient layouts for homeowners who cook and entertain frequently but are working with a genuinely narrow footprint.

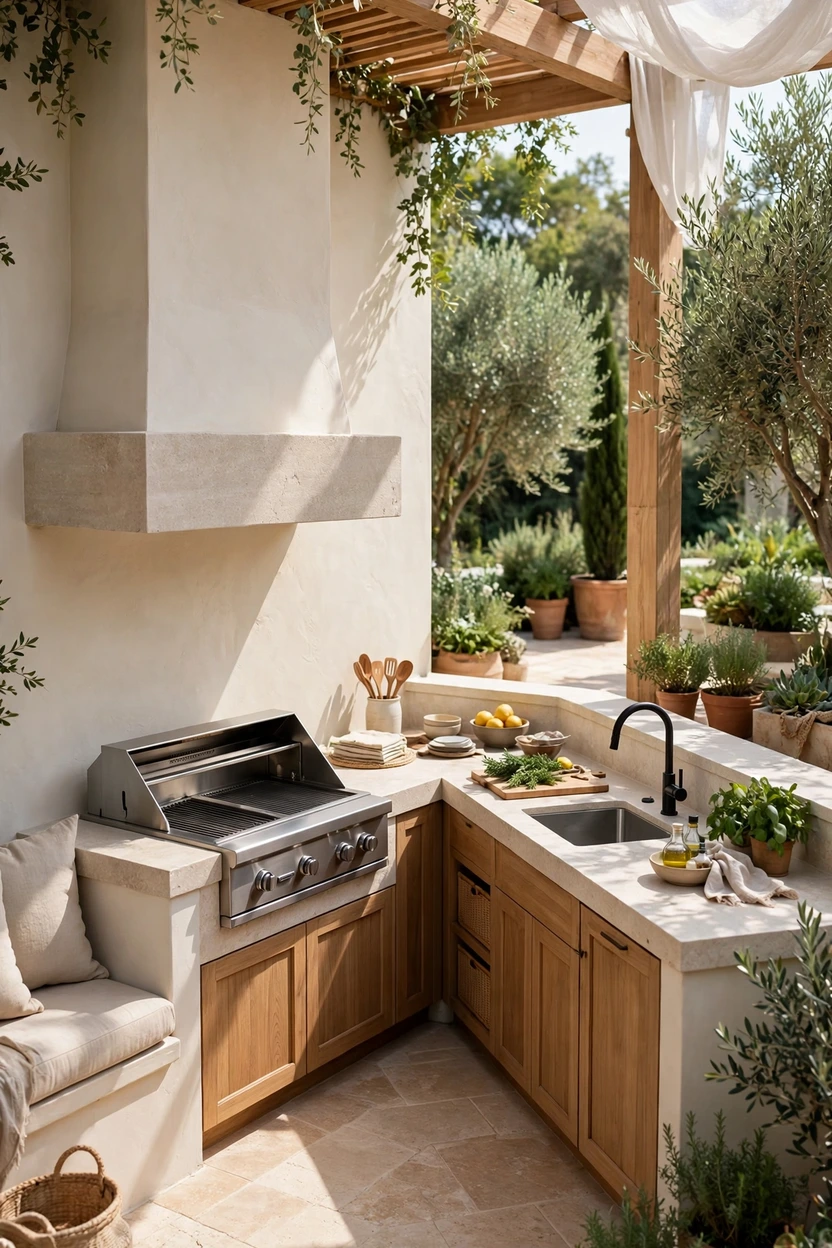
L-Shaped Layout for a Corner
An L-shaped layout wraps the kitchen around two adjacent walls or a natural corner of the patio, separating the cooking zone from a social or dining zone more clearly than a straight run can. This is frequently cited as the most versatile outdoor kitchen configuration, since it works in a wide range of backyard shapes and sizes while still creating a clear traffic flow between the two sections. Positioning the grill on one leg of the L and the sink or prep area on the return leg keeps the primary work triangle tight and efficient, even as the overall footprint expands. The outer corner of the L also naturally becomes a gathering spot for guests, since it sits adjacent to but out of the direct path of the cook’s main working zone. This layout is particularly well suited to backyards with an existing awkward or underused corner, turning what’s often dead space into the kitchen’s actual anchor point.
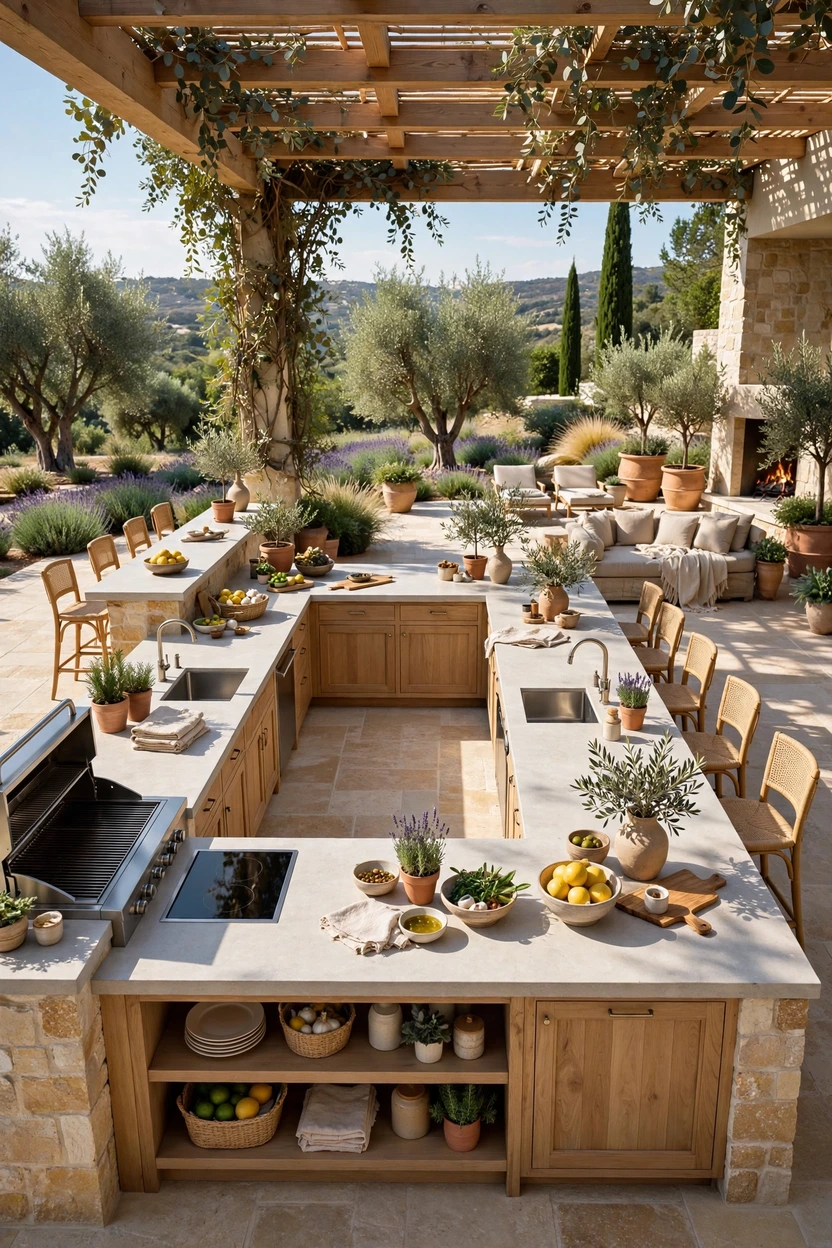
U-Shaped Layout Wrapping the Chef
A U-shaped layout wraps the cook on three sides, offering the most expansive prep surface of any standard configuration and allowing for distinct zones on each run: cooking on one side, cold storage on another, and a serving or bar ledge on the third. Architects often recommend a clockwise workflow within this layout, mirroring the logic professional kitchens use, with the grill on the center run, the sink directly opposite, and refrigerated storage completing the triangle. Because the U-shape surrounds the cook rather than just running alongside them, it requires considerably more total floor space than a linear or L-shaped layout, making it best suited for larger backyards or dedicated outdoor kitchen structures. The outer edge of the U often doubles as a natural bar ledge, letting guests pull up stools and mingle without stepping into the cook’s actual working lane. This is one of the most functional layouts for homeowners who cook complex meals outdoors regularly, not just grill occasionally.

G-Shaped Layout With a Peninsula Extension
A G-shaped layout takes the U-shape a step further, adding a peninsula extension off one end that creates an additional workspace or seating area beyond what the standard three-sided configuration offers. This layout provides the most total workspace and storage of any standard outdoor kitchen shape, which makes it best suited to the largest properties and the most ambitious entertaining setups. The peninsula extension is often used specifically as a bar seating area, physically separating it slightly from the main cooking zone while keeping it connected to the overall kitchen footprint. Because of its scale, a G-shaped layout requires careful planning around circulation, typically needing more than the standard 36 to 42 inches of clearance in the busier connecting areas where guests and the cook are both moving. This is a layout most homeowners only consider when building a dedicated outdoor kitchen structure from scratch, rather than retrofitting an existing patio.
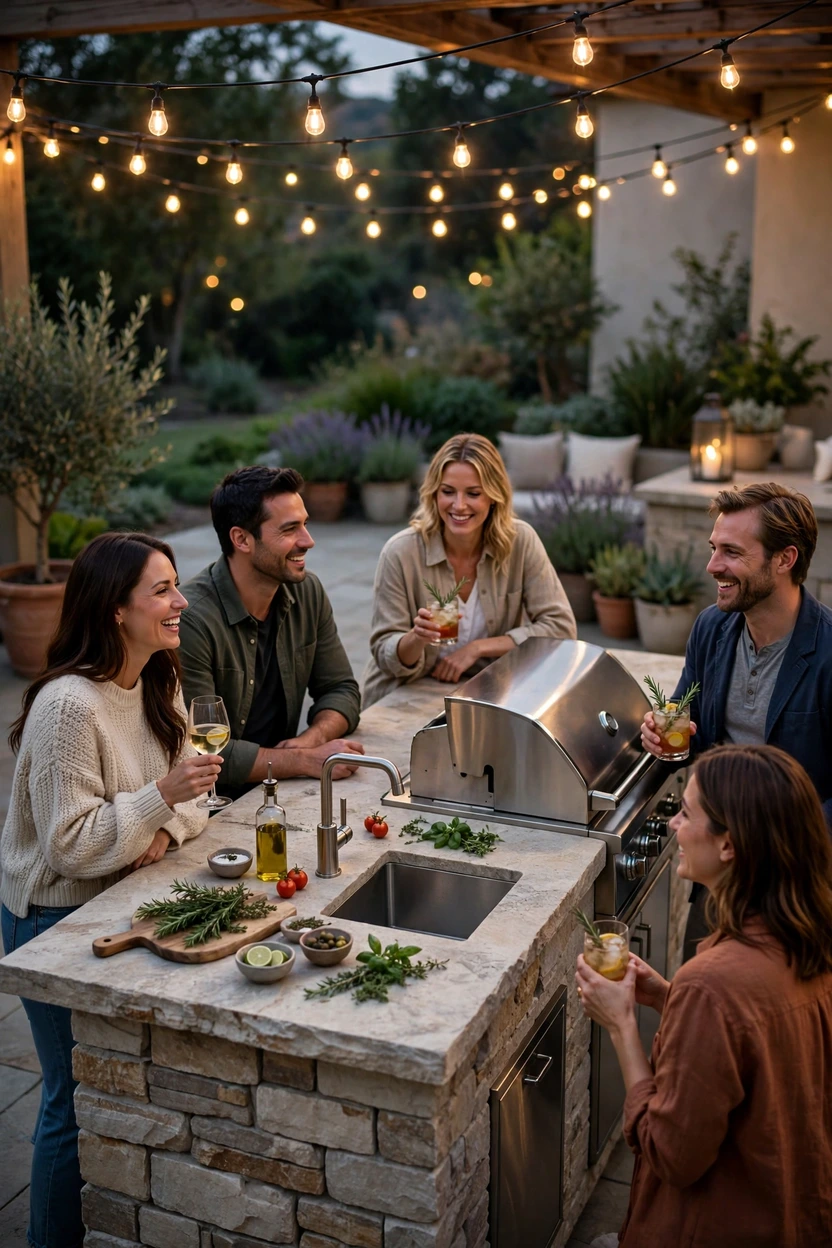
Island Layout as a Social Hub
A freestanding island layout positions the entire kitchen, or its primary cooking and prep functions, on a single standalone structure rather than against a wall, making it the layout most explicitly designed around socializing rather than pure efficiency. Guests can gather on all sides of the island, which puts the cook at the literal center of the entertaining space rather than facing a wall while everyone else socializes behind them. This layout typically requires the most generous clearance of any configuration, since circulation space is needed on every side rather than just in front of a single run. Architects often recommend this layout specifically for homeowners who see the outdoor kitchen as a social space first and a cooking space second, prioritizing open counter area and sightlines over maximum storage or appliance capacity. This is one of the most popular layouts in larger modern backyards specifically because it turns cooking into a genuinely communal activity rather than a separate task.
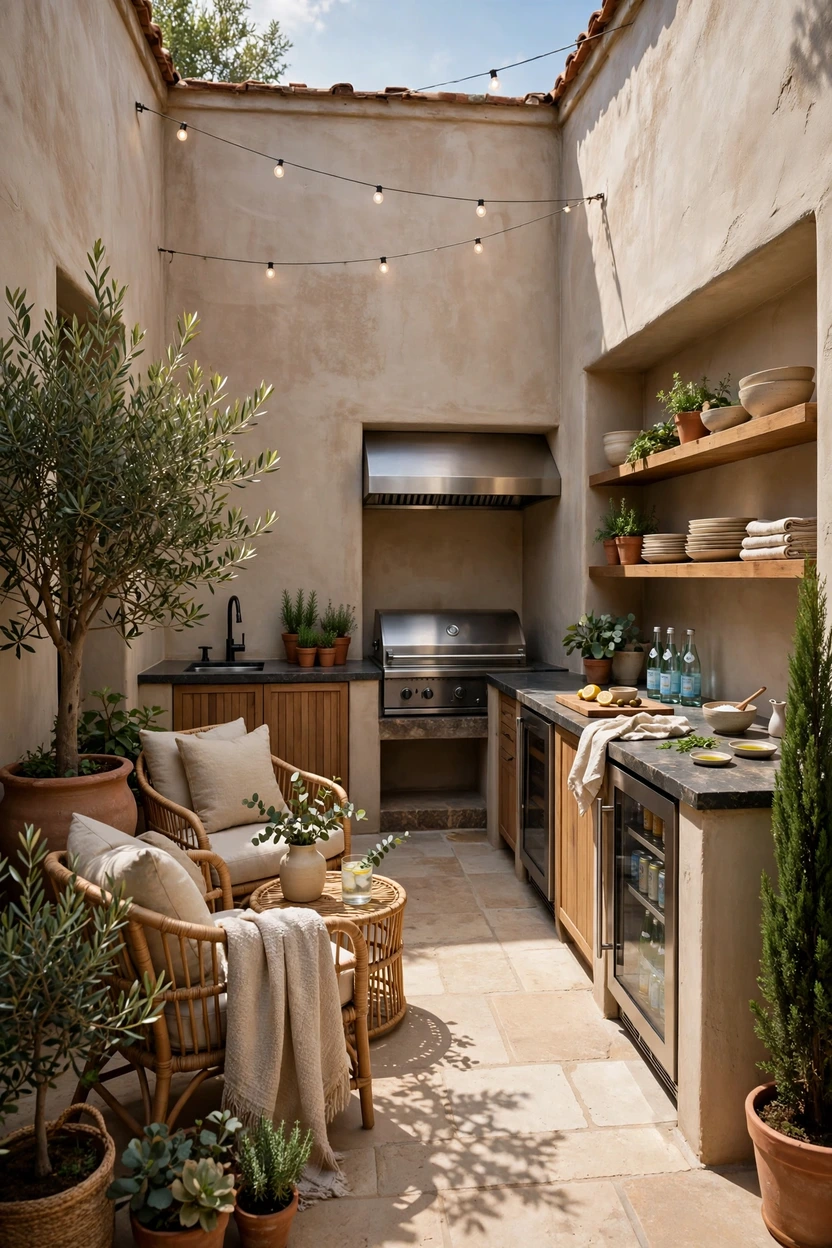
Courtyard Galley Kitchen
For homes with an enclosed or semi-enclosed courtyard, a galley layout scaled specifically to that footprint takes advantage of the courtyard’s natural walls on two sides, often requiring less additional structural build-out than an open backyard layout would. This configuration typically includes a grill station, ice maker or drink fridge, and a sink providing filtered water, arranged along the two facing runs the courtyard’s existing walls create. Because a courtyard is inherently more sheltered than an open yard, this layout also tends to need less additional weatherproofing or covered structure than a fully exposed kitchen would. The enclosed nature of a courtyard setting also creates a more intimate entertaining feel, distinct from a wide-open backyard kitchen, which suits homeowners who host smaller, closer gatherings rather than large parties. This is a strong option for homes with an existing architectural courtyard that’s otherwise an underused part of the property.
Related: 15 Retro Kitchen Ideas That Look Pinterest Perfect
Pergola-Covered Kitchen for Weather Protection
Positioning the outdoor kitchen beneath a pergola or roof extension protects both the cook and the kitchen’s finishes from direct sun and rain, which architects frequently cite as one of the most important practical layout decisions for long-term durability. Placing the grill and prep area under the deepest section of the roof overhang, rather than at the edge, keeps the cook dry and comfortable regardless of wind direction during a sudden rain shower. This covered structure also makes cleaning and maintaining the kitchen’s finishes significantly easier over time, since materials exposed to direct weather tend to degrade faster than covered ones. A pergola with adjustable louvers or a retractable canopy adds flexibility, allowing more direct sunlight when desired and full coverage when it isn’t. This layout consideration matters across nearly every kitchen shape on this list, since covering a linear, L-shaped, or island kitchen all benefit from the same protective logic.
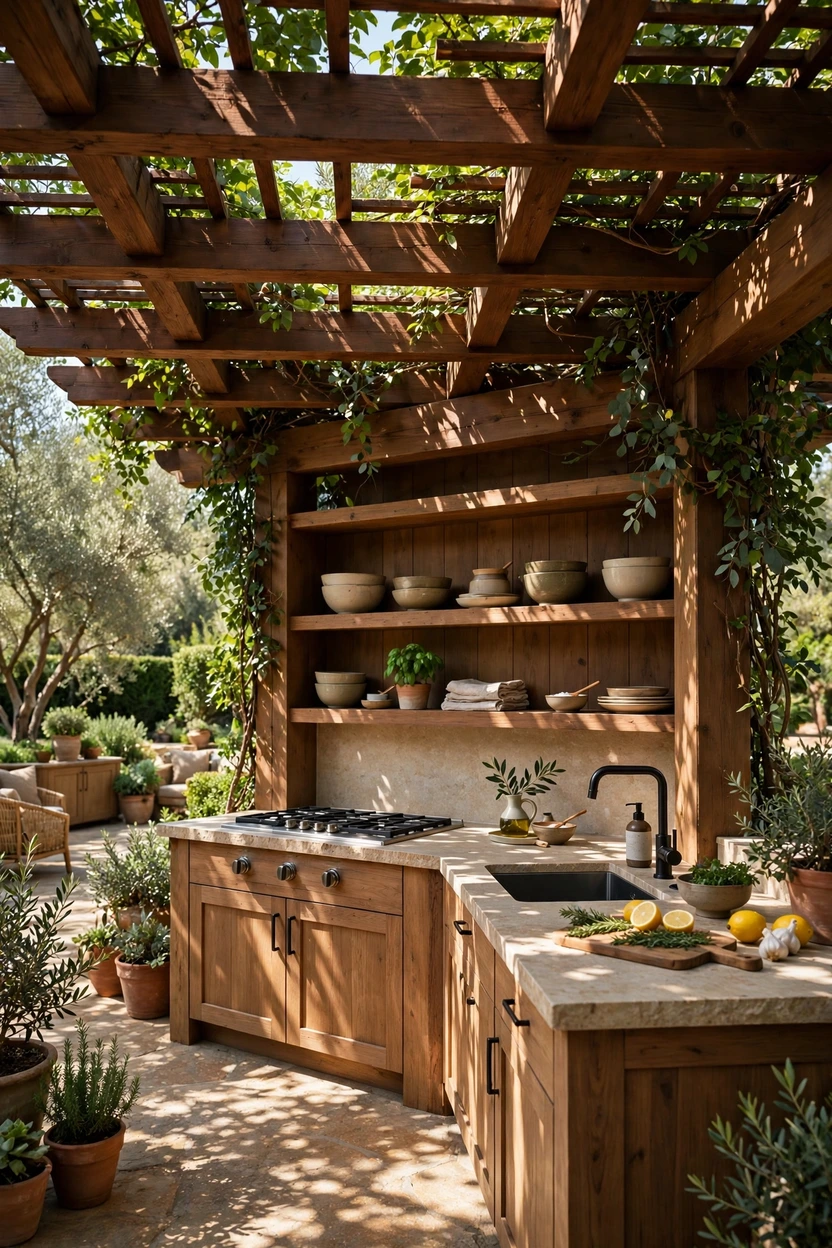
Poolside Outdoor Kitchen Layout
Positioning the outdoor kitchen along one edge of a pool deck, typically in a linear or L-shaped configuration, keeps food and drink service close to where guests actually spend most of their time during warm-weather entertaining. Architects generally recommend setting the kitchen back far enough from the pool’s edge to avoid splash zones affecting appliances and electrical components, typically a minimum of several feet depending on local pool deck codes. A raised bar ledge facing the pool lets swimming guests grab a drink or plate without needing to fully leave the water or pool deck area. Choosing non-slip, water-resistant flooring and countertop materials matters more in this layout than almost any other, given the consistent moisture exposure. This is one of the most popular layouts for backyards built primarily around pool-centered entertaining, since it keeps the kitchen functionally and visually connected to the space where guests naturally congregate.

Pass-Through Window Connecting Indoor and Outdoor Kitchens
Cutting a pass-through window or opening between an indoor kitchen and an adjacent outdoor cooking area lets both spaces function as one connected kitchen, allowing dishes, ingredients, and finished plates to move directly between them without a longer walk around the house. This layout works particularly well when the outdoor kitchen sits just outside an indoor kitchen wall, since it minimizes the additional plumbing and electrical infrastructure a fully separate outdoor kitchen setup would require. Architects often frame this pass-through with a small ledge or counter on the outdoor side, giving it a functional landing spot in addition to the opening itself. This configuration also means the outdoor kitchen doesn’t need every single appliance and utility duplicated from the indoor kitchen, since some prep and cleanup can still happen inside. This is a particularly practical option for homeowners retrofitting an existing patio adjacent to their indoor kitchen wall, rather than building a fully independent outdoor structure.
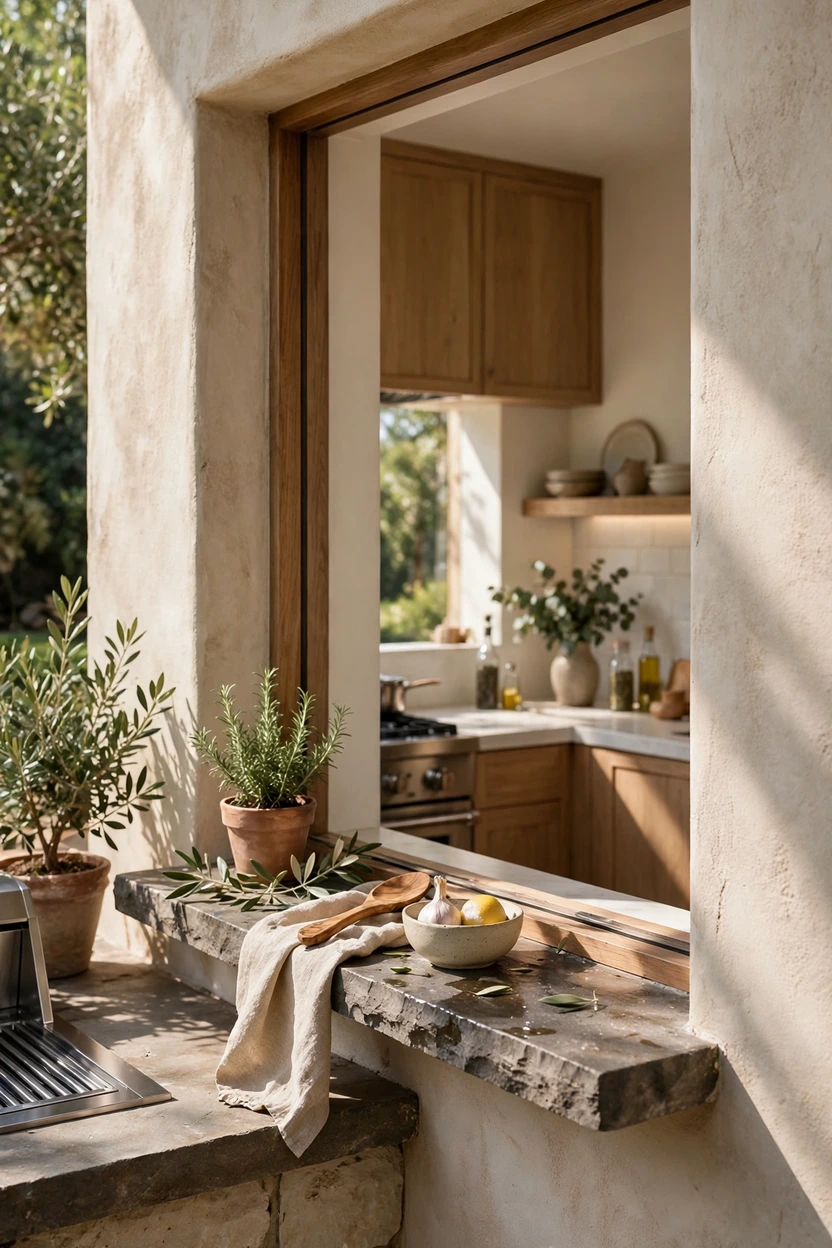
Compact Rooftop Kitchen Layout
Urban rooftop terraces demand a highly compact layout, typically a tight linear or small L-shape, that delivers full kitchen function within a genuinely limited footprint while accounting for the structural and weight-load constraints unique to rooftop construction. Architects designing for this setting often prioritize multi-functional, space-saving appliances, like a combination grill and side burner unit, over separate individual appliances that would take up more linear footage. Weight distribution matters significantly more in a rooftop layout than a ground-level one, since structural engineers typically need to confirm the roof can support the added load of stone counters, appliances, and gathering guests. Positioning the compact kitchen to take advantage of skyline views, rather than tucking it against an interior wall, also tends to be a priority unique to this setting. This layout proves that a fully functional outdoor kitchen doesn’t require a large footprint, provided the appliance and storage choices are made with genuine restraint.

Dedicated Bar and Lounge Zone Separate From Cooking
For larger properties, separating the primary cooking and prep zone from a distinct bar and lounge area, connected but not merged into a single continuous counter, allows the cook to work efficiently while guests have their own dedicated gathering space that doesn’t put them directly in the kitchen’s traffic path. This configuration often uses a shorter run or small island for the bar, positioned a deliberate distance from the main grill and prep zone, sometimes with a fire pit or seating area bridging the two. Architects designing large entertaining spaces frequently recommend this separation specifically because a single continuous kitchen counter can become a bottleneck when both cooking and socializing are trying to happen in the same narrow strip of space at once. This layout also allows each zone to be finished and furnished slightly differently, giving the bar area a more lounge-like feel while the kitchen zone stays purely functional. This is one of the more ambitious layouts on this list, generally suited to properties with enough total square footage to support two distinct built structures.

Pizza Oven Anchor Layout
Positioning a built-in pizza oven as the kitchen’s central anchor, with the grill, prep counter, and seating arranged around it, creates a genuine focal point that a standard grill-centered layout doesn’t offer in quite the same way. Because a wood-fired or gas pizza oven typically requires more clearance and ventilation planning than a standard grill, architects usually position it slightly apart from the main prep and cooking run, sometimes as its own small alcove or the anchor point of an L-shaped configuration. This layout works particularly well for homeowners who entertain around food preparation itself, since watching a pizza oven in action tends to draw guests in as much as the food it produces. Pairing the oven with a small dedicated prep counter directly beside it, for rolling dough or adding toppings, keeps that specific workflow efficient and separate from the main grill station. This is a distinctive layout choice that signals a kitchen built around a specific culinary experience, rather than general-purpose outdoor cooking alone.
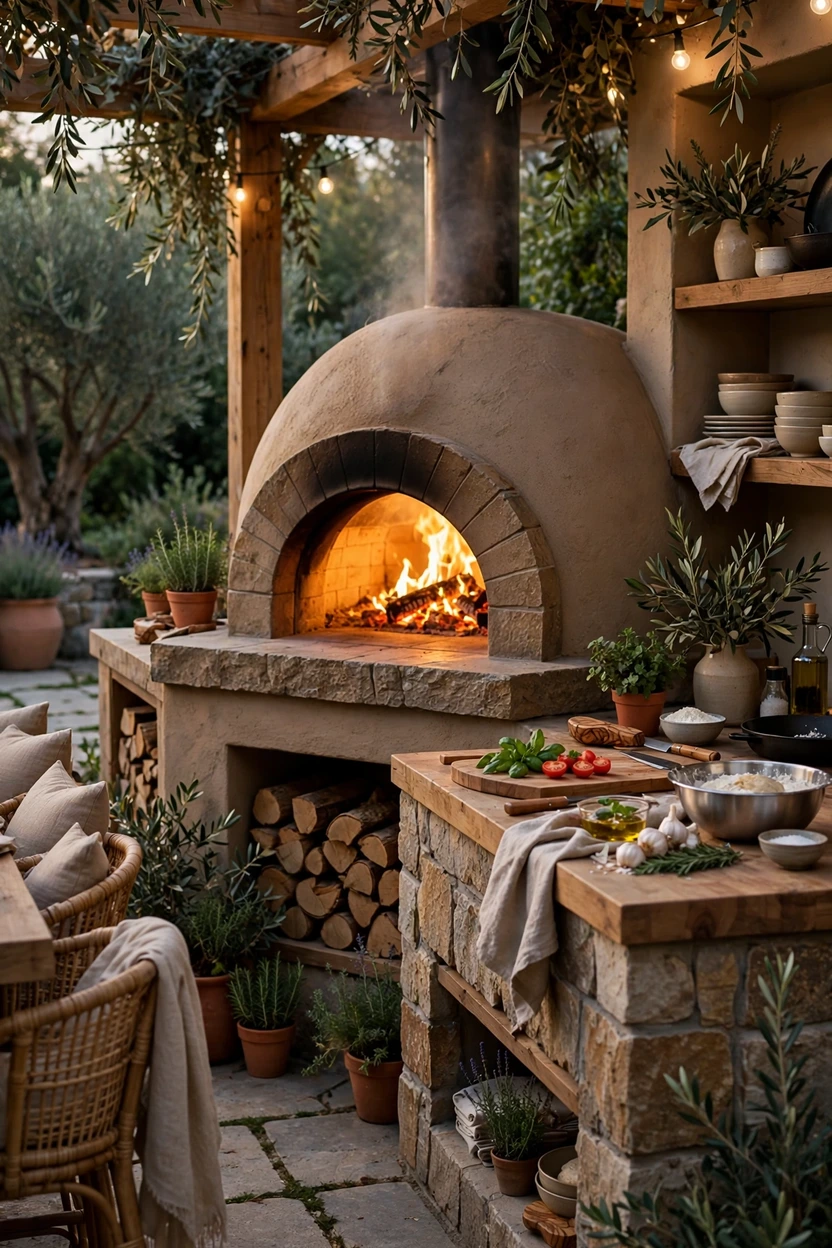
Peninsula With Overhanging Bar Seating
Adding a peninsula extension to an otherwise linear or L-shaped kitchen, with an overhanging counter edge sized for bar stools, creates built-in seating that faces the cook directly, similar to how a kitchen island functions indoors. Architects typically recommend at least twelve inches of counter overhang beyond the peninsula’s base to provide comfortable knee clearance for stool seating. This layout keeps guests engaged with the cooking process without requiring a fully separate island or bar structure, making it a more space-efficient way to add social seating than the standalone island layout. Positioning the peninsula so it doesn’t block the primary work triangle between grill, sink, and refrigeration keeps the kitchen functional even with guests seated directly across from the cook. This is one of the most commonly requested layout additions among homeowners specifically because it balances entertaining value against a more modest footprint than a full island requires.

Grill-as-Focal-Point Triangle Layout
Centering the entire kitchen design around the grill as the primary visual and functional focal point, with the sink and refrigeration positioned to complete a tight triangle on either side, prioritizes cooking efficiency above all other layout considerations. Architects building custom outdoor kitchen structures from scratch often specifically plan for a centered grill with a full-size sink positioned to one side, creating a genuine working triangle between the two elements similar to the classic indoor kitchen work triangle principle. This approach tends to result in a more compact overall footprint than a layout built primarily around social seating, since every element is positioned for cooking efficiency rather than guest circulation. This layout suits homeowners who see the outdoor kitchen primarily as a serious cooking space, prioritizing workflow over the more social, gathering-focused approach an island or peninsula layout offers. The clear visual hierarchy, grill front and center, also tends to give the kitchen a strong architectural presence even in a relatively modest footprint.
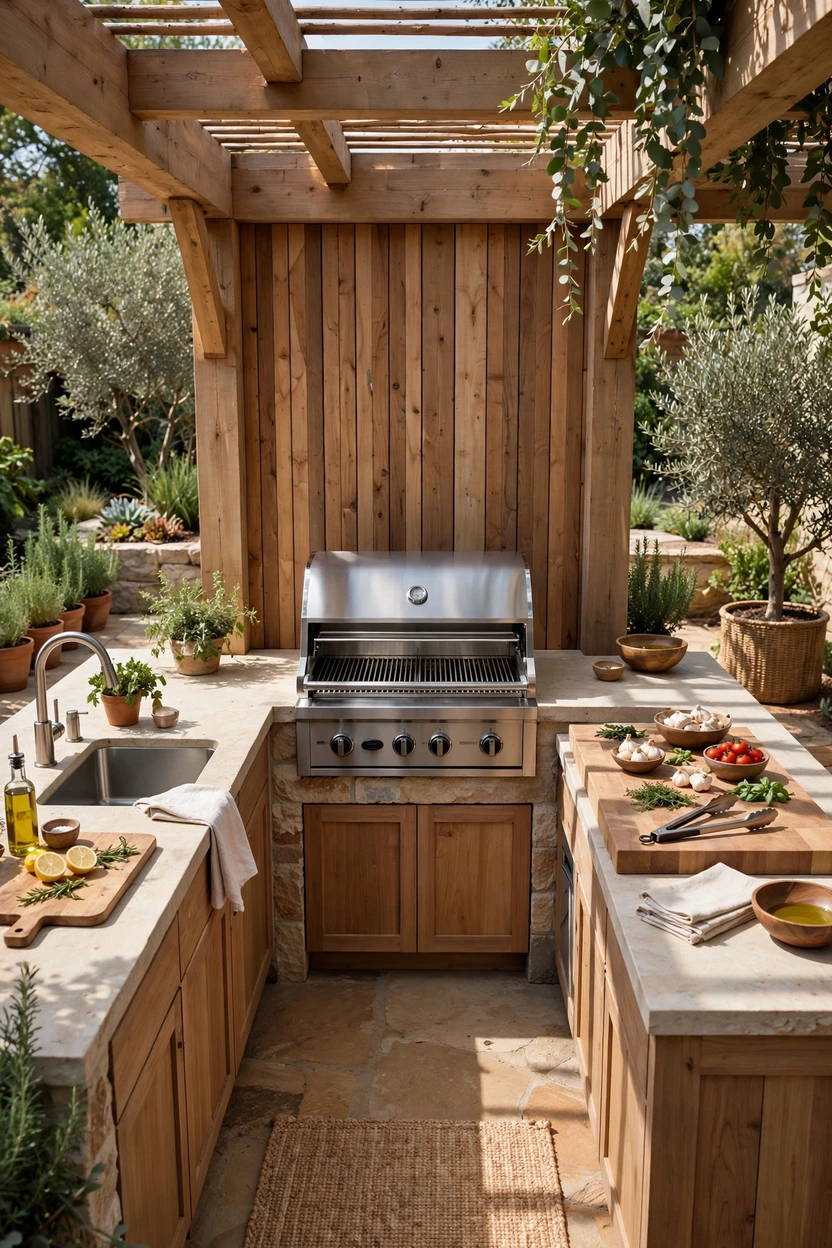
Multi-Level Layout for a Sloped Backyard
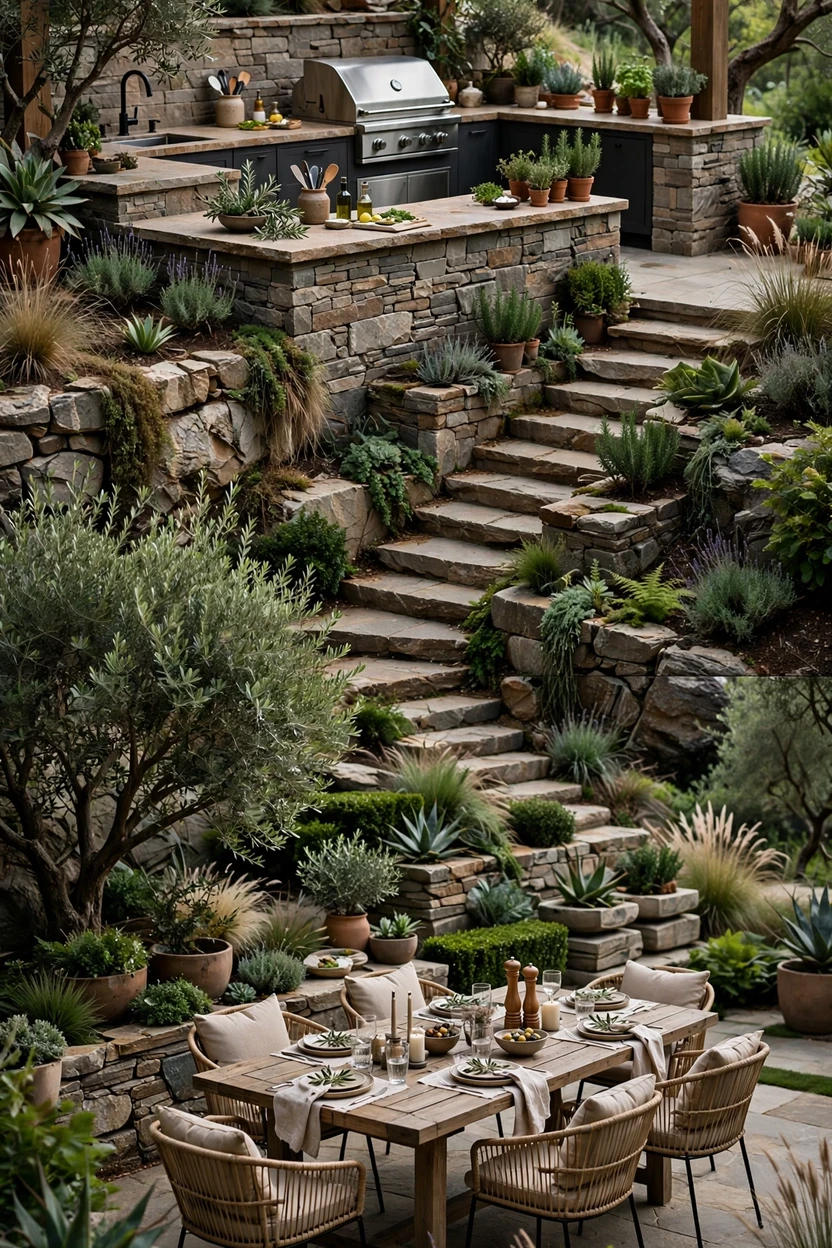
For properties with significant grade change, splitting the outdoor kitchen across two connected levels, typically with the main cooking zone on the upper, more accessible level and a dining or lounge zone on a lower level connected by steps, turns a challenging slope into a genuine design asset rather than an obstacle. Architects working with sloped sites often use retaining walls to create these level changes, incorporating the kitchen’s counter or bar seating directly into the retaining structure where the grade transitions. This layout requires more upfront structural and drainage planning than a flat-site kitchen, since water management becomes a bigger consideration on any sloped property. The resulting layered layout often creates more dramatic sightlines and a stronger sense of distinct zones than a flat, single-level kitchen would offer on the same property. This is a more complex, typically higher-budget layout, but one that solves a real site constraint many flatter-lot design guides don’t address at all.
Small Patio Single-Run Layout With Fold-Down Extensions
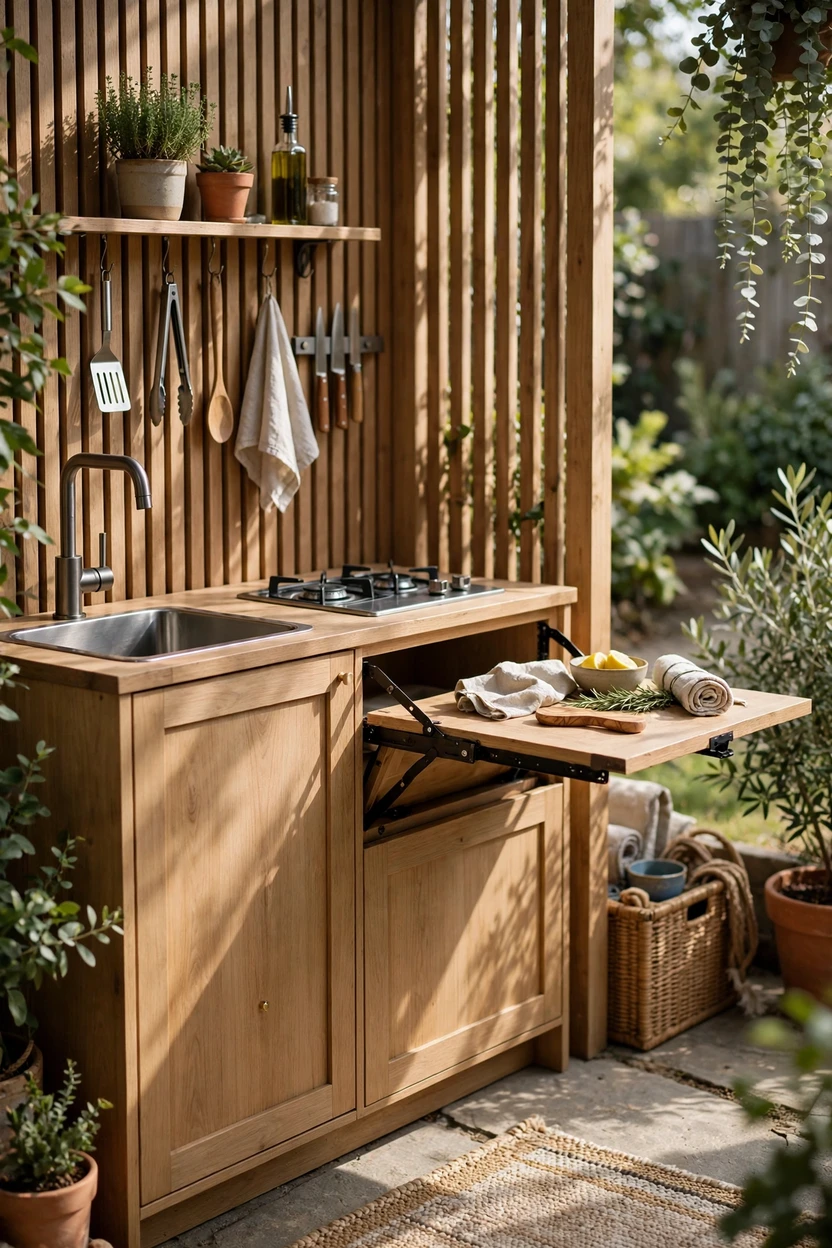
For the smallest patios, a compact single-run layout incorporating fold-down or slide-out counter extensions gives homeowners additional prep space when needed while keeping the kitchen’s footprint minimal the rest of the time. This approach borrows directly from small-space interior kitchen design, where flexible, expandable surfaces solve the same fundamental problem of needing more workspace than the available square footage technically allows. A fold-down side table attached to the main run provides landing space during actual cooking and prep, then folds away to keep the patio’s usable floor space maximized when the kitchen isn’t in active use. Choosing a compact grill with a smaller footprint, paired with this flexible counter approach, keeps the entire layout appropriately scaled for a genuinely small outdoor space. This is one of the most practical layouts for apartment patios, townhome yards, or any small outdoor space where a fixed, larger kitchen structure simply isn’t realistic.
Styling Tips for Outdoor Kitchen Design
Coordinate materials across every module of the kitchen, whether that’s a matching stone or a consistent cabinet finish, so a multi-zone layout reads as one cohesive design rather than several unrelated pieces placed near each other. Tie the kitchen’s material palette back to an existing backyard element, like a stone fire pit or a wood pergola already in place, to ground the new structure in the rest of the landscape. Keep hardware, lighting fixtures, and any metal accents consistent in finish across the whole kitchen, since mismatched metals are one of the more common details that make an otherwise well-planned layout feel unfinished.
Practical Implementation Ideas
Plan the work triangle between grill, sink, and refrigeration before finalizing any layout shape, since this relationship determines the kitchen’s actual cooking efficiency more than its overall footprint or style. Allow at least 36 to 42 inches of clear circulation space in front of any counter run, and 12 to 18 inches of landing space on either side of the grill specifically, so prep work never feels cramped. Confirm local codes and any structural requirements, particularly for rooftop, sloped-site, or pool-adjacent kitchens, before finalizing a layout, since these settings often carry additional engineering considerations beyond a standard flat backyard installation.
Related: 16 Boho Kitchen Ideas That Feel Collected, Not Costume
Common Mistakes to Avoid
Designing the layout around the grill alone, without planning circulation space or a genuine work triangle, is one of the most common mistakes, since it often results in a kitchen that looks impressive but is frustrating to actually cook in. Choosing a layout shape based purely on style rather than the property’s actual dimensions and traffic patterns frequently leads to a kitchen that either feels cramped or wastes usable patio space. Skipping weather protection planning, particularly for kitchens without any roof or pergola coverage, tends to shorten the lifespan of countertops, cabinetry, and appliances considerably faster than a covered layout would experience. Underestimating clearance needs around a peninsula or island, especially where guest seating and the cook’s working path overlap, creates ongoing daily friction that’s difficult to fix after construction is complete.
Small-Space Alternatives
On small patios, a single-run or compact galley layout, ideally paired with fold-down or slide-out counter extensions, delivers real function without requiring more permanent footprint than the space can comfortably support. Choosing multi-functional, compact appliances, like a grill with an integrated side burner, over several separate full-size units keeps a small layout from feeling overcrowded. Vertical storage solutions, like a slim cabinet or wall-mounted shelving above the counter run, add function without expanding the kitchen’s actual floor footprint.
Budget-Friendly Alternatives
A simple linear layout against an existing wall or fence is typically the least expensive configuration to build, since it requires no additional structural returns or corners compared to an L, U, or G-shaped kitchen. Starting with a freestanding grill and a basic prep counter, then expanding the layout in phases as budget allows, is a practical way to begin using an outdoor kitchen without committing to the full build-out immediately. Choosing a simpler, single-material countertop and cabinet finish across the entire layout, rather than mixing several premium materials, keeps material costs more contained without compromising the overall design cohesion.
Pro Styling Recommendations
Walk the actual site at different times of day before finalizing a layout, paying attention to how sun, shade, and prevailing wind affect where the cook and guests will naturally want to stand. Prioritize the work triangle and circulation clearances first, then layer in style and material choices second, since a beautifully finished kitchen that’s frustrating to cook in rarely gets used as often as one built around genuine workflow logic. Plan for weather protection from the outset, even if a pergola or roof structure comes in a later phase, since retrofitting coverage onto an already-built kitchen is typically far more disruptive and costly than planning for it initially.
FAQs
What’s the best outdoor kitchen layout for a small backyard?
A linear single-run layout is generally the most space-efficient configuration for a small backyard, since it requires the least total footprint while still providing a full cooking and prep workflow.
How much clearance does an outdoor kitchen need?
Most designers recommend at least 36 to 42 inches of clear circulation space in front of any counter run, with 12 to 18 inches of landing space specifically on either side of the grill.
What is a work triangle in outdoor kitchen design?
The work triangle refers to the relationship between the grill, sink, and refrigeration, positioned so the cook can move efficiently between all three without unnecessary backtracking.
Which outdoor kitchen layout is best for entertaining?
An island or peninsula layout tends to work best for entertaining, since it allows guests to gather around or across from the cook rather than standing behind a single wall-facing run.
Do outdoor kitchens need to be covered?
A pergola, roof extension, or other covered structure isn’t strictly required, but it significantly extends the lifespan of countertops, cabinetry, and appliances by protecting them from direct sun and rain.
What’s the best layout for a poolside outdoor kitchen?
A linear or L-shaped layout with a raised bar ledge facing the pool works well for poolside kitchens, keeping food and drink service close to where guests spend most of their time.
Can a small patio have a full outdoor kitchen?
Yes — a compact single-run layout with fold-down or slide-out counter extensions and multi-functional, space-saving appliances can deliver full kitchen function even in a genuinely small footprint.
What’s a common mistake in outdoor kitchen layout planning?
Designing the layout around the grill alone, without accounting for circulation space and a genuine work triangle between grill, sink, and refrigeration, is one of the most common and costly planning mistakes.
A linear single-run layout is generally the most space-efficient configuration for a small backyard, since it requires the least total footprint while still providing a full cooking and prep workflow.
Most designers recommend at least 36 to 42 inches of clear circulation space in front of any counter run, with 12 to 18 inches of landing space specifically on either side of the grill.
The work triangle refers to the relationship between the grill, sink, and refrigeration, positioned so the cook can move efficiently between all three without unnecessary backtracking.
An island or peninsula layout tends to work best for entertaining, since it allows guests to gather around or across from the cook rather than standing behind a single wall-facing run.
A pergola, roof extension, or other covered structure isn’t strictly required, but it significantly extends the lifespan of countertops, cabinetry, and appliances by protecting them from direct sun and rain.
A linear or L-shaped layout with a raised bar ledge facing the pool works well for poolside kitchens, keeping food and drink service close to where guests spend most of their time.
Yes — a compact single-run layout with fold-down or slide-out counter extensions and multi-functional, space-saving appliances can deliver full kitchen function even in a genuinely small footprint.
Related: 19 Rustic Farmhouse Kitchen Ideas That Stay Timeless
Designing the layout around the grill alone, without accounting for circulation space and a genuine work triangle between grill, sink, and refrigeration, is one of the most common and costly planning mistakes.
Conclusion
The best outdoor kitchen layout isn’t the one that looks most impressive in a single photo — it’s the one that actually works the fifty or so times a year it gets used. Plan the work triangle first. Give the cook real clearance. Choose the shape that fits the property’s actual dimensions, not just the layout that looked best in someone else’s backyard. Everything else, the stone, the lighting, the finishes, works a lot harder once the underlying layout logic is sound.