15 Dining Nook Ideas That Look Planned, Not Random

Picture it. Early light slides across a bench cushion. A pendant hangs low over a small round table. Your coffee has a spot to sit, and so do you.
Now picture the other version. A table pushed into a corner because it fit. Chairs that do not match on purpose. A light that is too high and a rug that stops short. Same corner, very different feeling.
The difference is rarely money. It is a handful of decisions that repeat: a color shows up twice, the light sits at the right height, the table and seat are sized to work together. That is what makes a nook look planned.
Quick answer: A dining nook is a small eating area tucked into a corner, bay window, or alcove, usually with bench or banquette seating and a compact table. To make one feel intentional, use a seat about 18 inches high, a table about 30 inches high, a low centered light, and one color or material that repeats at least twice.
Below are 15 ideas with the measurements and styling logic behind each one, so you can copy the look and understand why it works.
Table of Contents
The 15 Dining Nook Ideas
1. A Wraparound Banquette With a Round Pedestal Table
A banquette that follows two walls gives you the most seats in the least floor space. Pair it with a round table on a pedestal base, because there are no table legs to knock into. Aim for a seat about 18 inches high and a table about 30 inches high, which leaves the 10 to 12 inches of knee room most people need. A round table between 36 and 40 inches wide seats four in a snug corner. Cover the seat in a tight-weave performance linen or a wipeable woven fabric so breakfast spills wipe right off.

2. A Window-Wrapped Bench Where the View Is the Art
If your corner has a window, treat it as the main feature and build the seating around it. A bench under the glass keeps the room open, and a low backrest means the daylight still reaches the rest of the kitchen. Slide the table slightly forward so people sit with their backs to the room and their eyes on the yard. Frame the window with simple linen curtains hung high and wide, so the glass looks bigger and the curtains stay out of the way. This works best when the bench is about 16 to 18 inches deep, enough to sit comfortably without crowding the table.
Related: 20 Open-Plan Dining Area Ideas That Feel Intentional (Cozy, Defined & Easy to Copy)

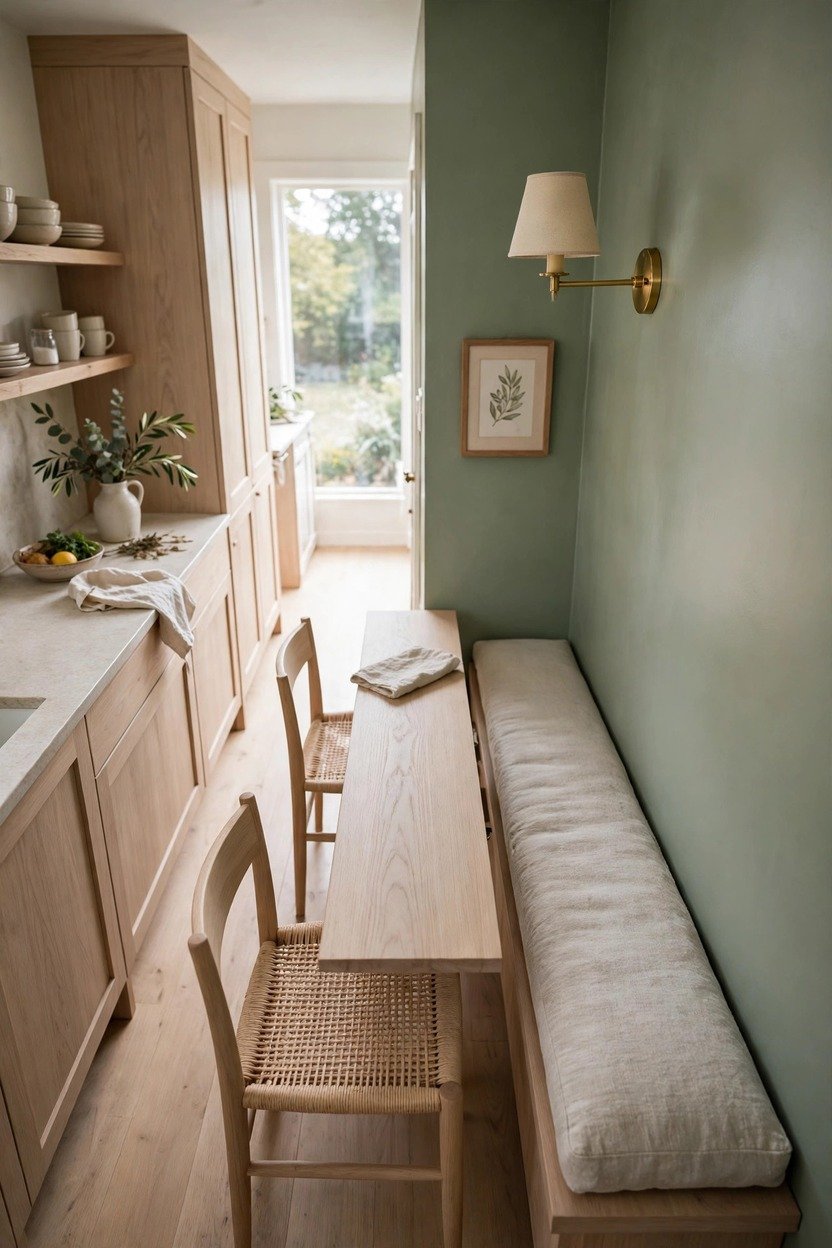
3. A Narrow Wall Bench and Slim Table for Tight Kitchens
No corner? A bench along one wall and a slim table can still make a real dining spot. Choose a table 24 to 30 inches deep, and look for a drop-leaf style so you can fold it down when you need the floor space. Leave about 36 inches behind the chair side so people can walk past without turning sideways. Pick chairs that tuck fully under the table, and keep the bench cushion thin so it does not steal legroom. Painting the wall behind the bench a shade darker than the rest of the room makes the whole setup look chosen, not squeezed in.
Related: 18 Elegant Dining Room Ideas That Actually Work
4. One Pendant, Hung Low and Centered
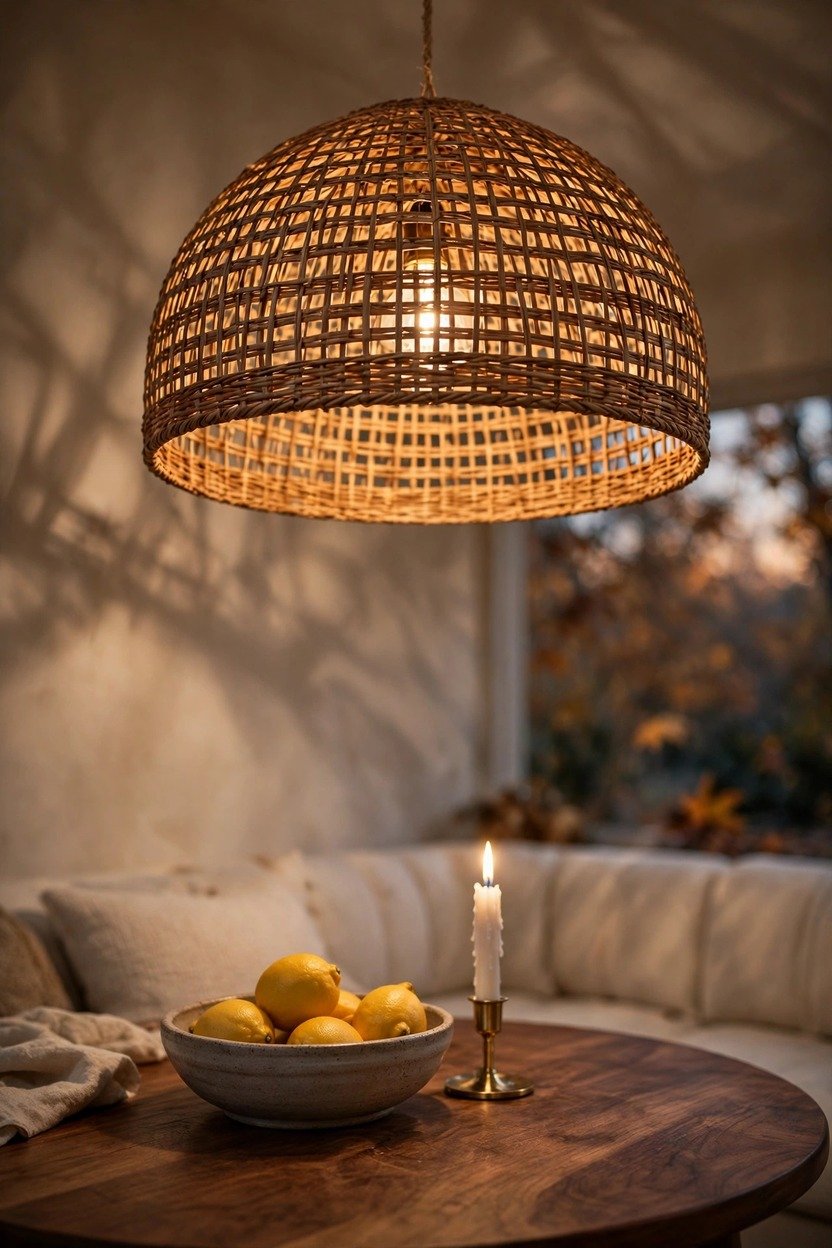
A light that hangs too high makes a nook feel like an afterthought. Hang one pendant directly over the middle of the table, about 30 to 36 inches above the tabletop, so it frames the table like a ceiling for the corner. Pick a shade about 12 inches narrower than the table, and the proportions will look right without any math beyond that. Woven rattan, ribbed glass, and linen drum shades all give a soft glow and avoid harsh glare. Put it on a dimmer, because the same bulb that works for breakfast can feel too bright at dinner.
5. Sconces on Both Sides of the Bench
Two wall lights at seated head height make a bench look built for the spot. One light throws a sharp shadow, but two soft sources fill in each other and leave faces looking warm. Placing them evenly on each side of the bench also creates symmetry, which tells the eye that someone planned this. Renters can use plug-in sconces and run the cord down the wall inside a paint-matched cord cover. Mount them around 60 to 66 inches from the floor, roughly eye level when sitting, and check the spacing with painter’s tape first.

6. A Painted Wall Behind the Seating
Paint is the cheapest way to say this corner is its own place. Pick a color one or two shades deeper than the rest of the room, or take the same color up the wall and across the trim for a wrapped look. Add simple picture-frame molding or beadboard up to about 36 to 48 inches, and the bench gains a back that looks built-in. Mid-tone colors like sage, clay, and dusty blue hide scuffs better than white behind a bench. Use a scrubbable satin or semi-gloss finish, since shoulders and cushions will brush this wall every day.

7. A Flat-Weave Rug Sized So Chair Legs Stay On
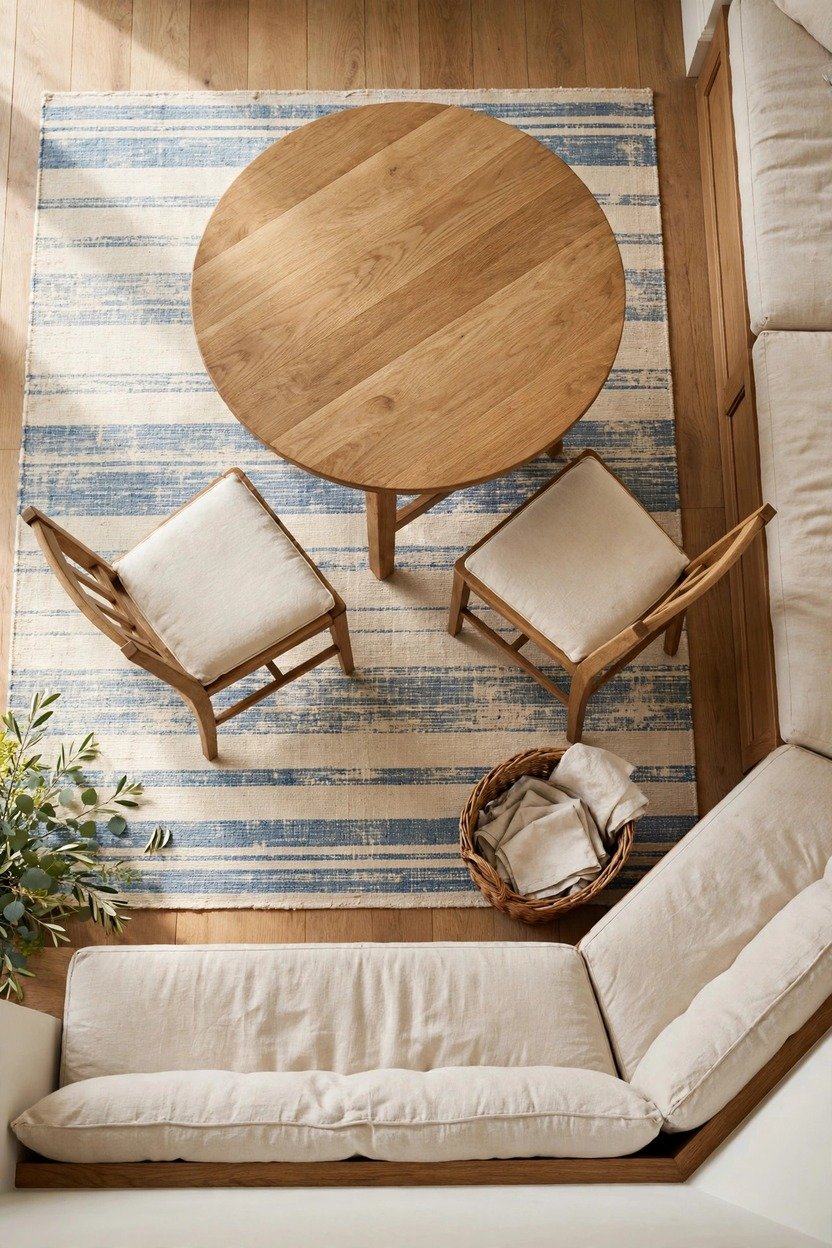
A rug that is too small is one of the fastest ways to make a nook look random. Choose one that reaches about 24 inches past the table edge on every side, so chairs stay on the rug when someone pulls them out. A low flat-weave or washable rug works better than shag, because chairs slide and crumbs hide in thick pile. In a small nook, a 5 by 7 foot rug or a 6-foot round usually covers a 36 to 40 inch table. Pick a pattern with a few colors you already use in the room, and the whole space will feel tied together.
8. Mismatched Chairs With One Repeating Detail
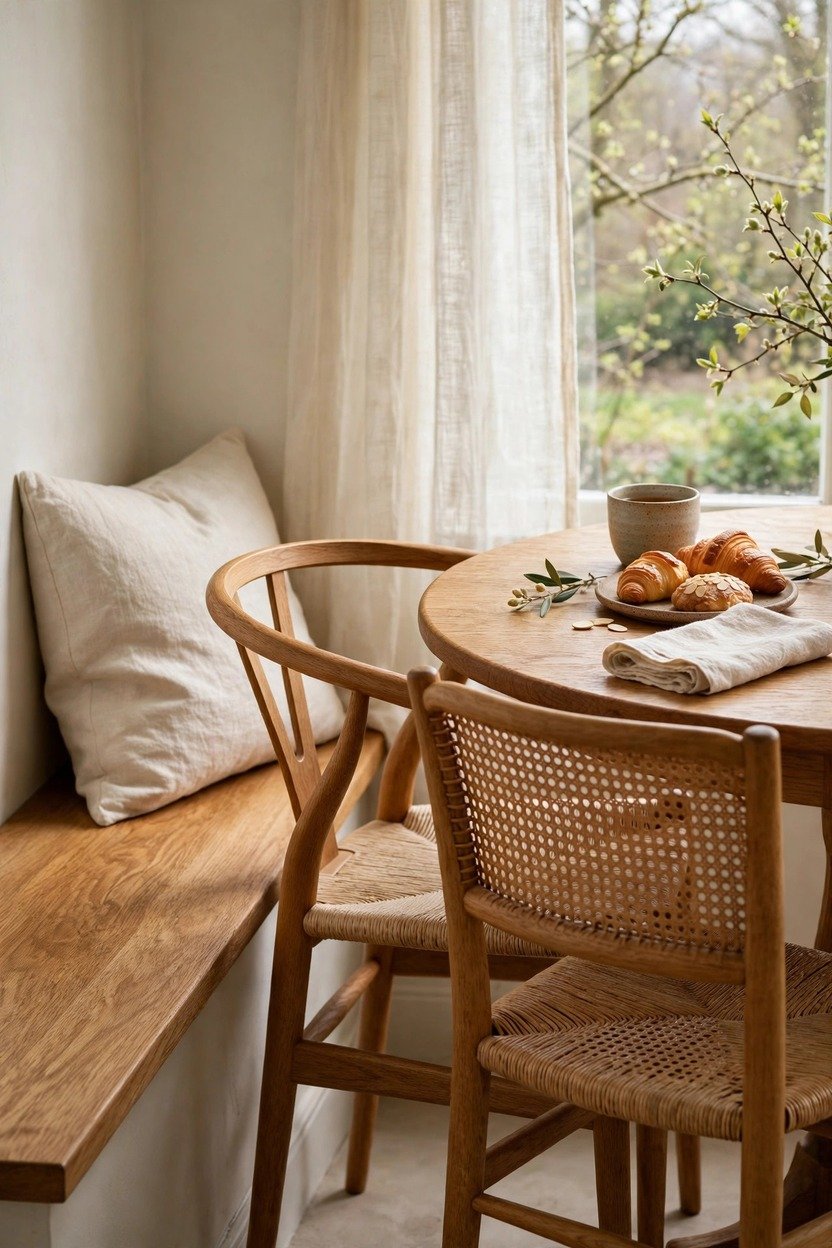
Mixing chairs can look collected, but only if something links them. Choose two or three chair styles, then repeat one thing: the wood tone, the leg shape, or the seat color. Pair a bench on one side with a pair of chairs on the other, and keep the chairs in a similar height range so no one sits taller than the table allows. A good rule is to keep seat heights within about an inch of each other. The mix breaks up that conference-table look, and the repeated detail keeps it looking decided.
9. One Big Piece of Art Above the Bench
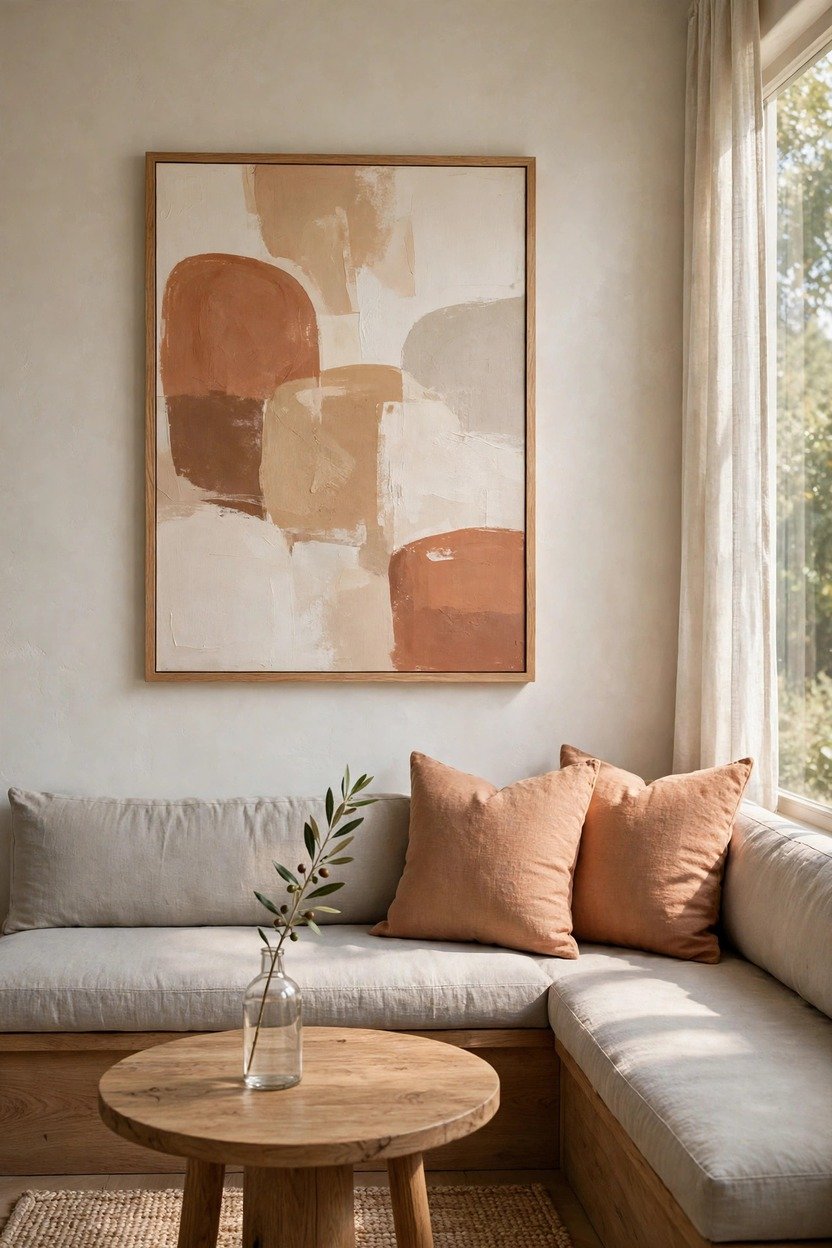
A single large piece of art anchors a nook better than a scatter of small frames. Choose a piece about two-thirds the width of the bench, and hang it so the bottom sits roughly 6 to 10 inches above the backrest or cushion. If you love small pieces, group them tightly on a shared grid so they read as one shape. Pick art with at least one color that already appears in the cushions or rug, and the corner will look connected. A wide frame with a white mat also helps the art look expensive without costing much.
10. Curves: An Arched Alcove or Round Everything
Curves soften a small space that has too many hard corners. A round or oval table is easier to walk around, and a curved banquette back can follow it so the two shapes echo each other. If you have an alcove, paint a simple arch on the wall behind the seat, or hang an arched mirror to get the same look without any building. Leave about 30 inches of free floor where people need to walk. Repeat the curve once more in a lamp, a vase, or a scalloped cushion edge, so it reads as a theme.

11. Lift-Up Storage Under the Seat
A bench with hidden storage turns dead space into a place for table linens, serving platters, and seasonal decor. Use hinged lids with soft-close supports so they do not slam, and add a lip or non-slip pad so the cushion stays put when lifted. Plan a small toe-kick of about 3 to 4 inches at the bottom so people can stand up without stubbing their feet. Label bins inside by season or use, and the nook stays tidy without needing a nearby cabinet. For a freestanding option, a storage ottoman or blanket-chest bench does the same job.

12. A Mini Coffee Station Beside the Nook
If the nook is your morning spot, give it a tiny coffee corner right beside it. A narrow shelf, a slim console, or a wall-mounted ledge holds a machine, two mugs, and a jar of beans without crowding the table. Use a tray to keep things grouped, and tuck cords out of sight. Open shelves about 10 to 12 inches deep are enough for mugs and a small plant. Choose mugs and canisters in one or two colors so the little station looks deliberate, not like a drift of kitchen leftovers.

13. Two Freestanding Benches Set in an L
You can get a corner nook without building a thing. Set one long bench against the longer wall and a shorter bench butted against its end, so the two form an L. Make sure both benches share the same seat height, or the corner will step up and look like a mistake. Cover them with one long cushion run or matching cushions in the same fabric, so your eye reads one seat instead of two. A small round table in front and a rug underneath finish the look, and everything walks out the door with you when you move.
Related: 19 Small Dining Room Ideas That Never Feel Cramped | Layouts & Decor
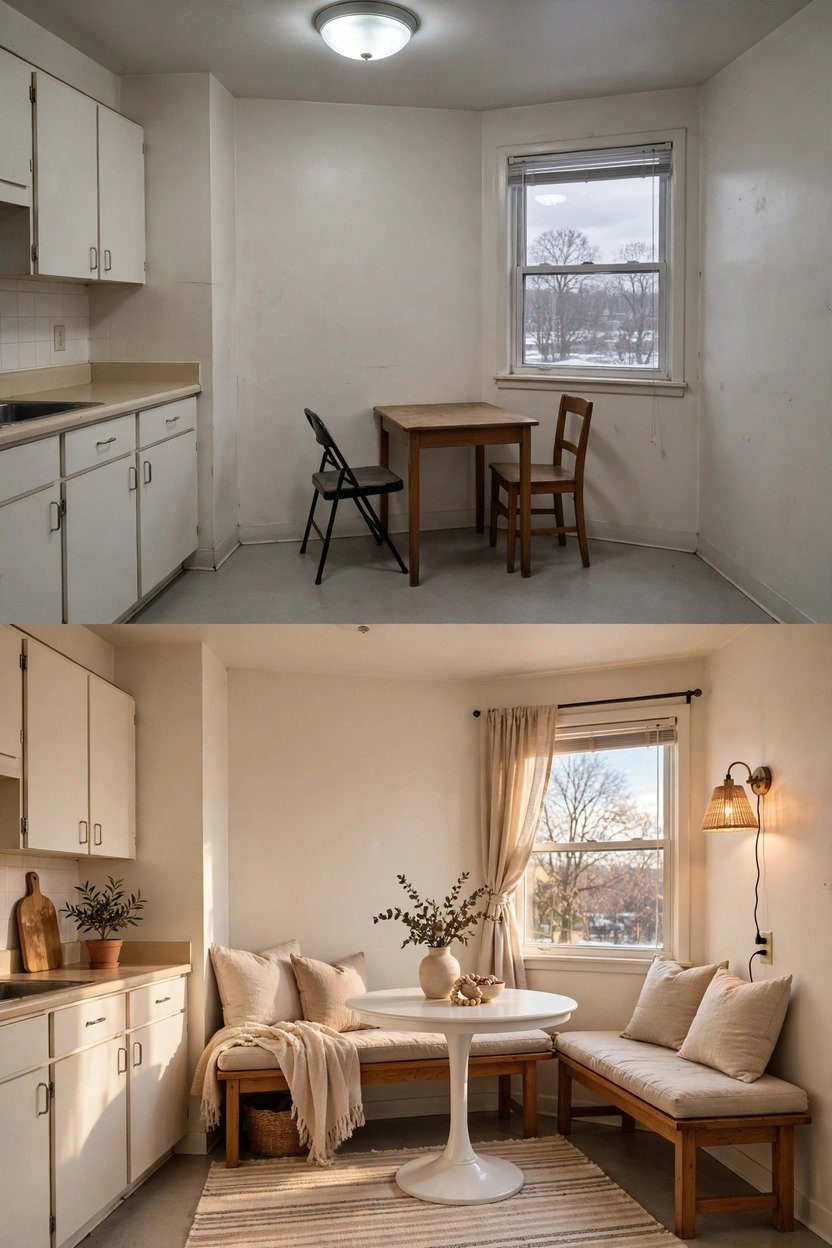
14. Layered Textiles in Two Pattern Sizes
Textiles make a nook feel soft, and pattern size is what keeps them from looking busy. Choose one large pattern, such as a wide stripe, and one small pattern, such as a tiny check, then tie them together with a solid in the same color family. Use cushion covers you can unzip and wash, since this is the seat people actually sit on every day. A half-height café curtain on the window gives privacy while letting daylight reach the table. Stop at three fabrics in total, and the layers will look chosen, not piled.

15. A Seasonal Tabletop Vignette
Keep the big pieces calm, then let the table do the seasonal work. Swap just three small things each season: a vase, a bowl, and a candle or tray. Spring can be tulips in a clear glass bottle, summer a bowl of lemons, autumn dried grasses in a stoneware jar, and winter pine sprigs with a beeswax taper. Group the items on a tray or runner so they read as one moment, and keep the middle clear enough for plates. An odd number of objects at mixed heights looks natural and takes about two minutes to change.

Styling Tips
- Repeat things in threes. Pick one color, one wood tone, and one metal, and use each at least three times in the nook. Repetition is what makes a corner look decided.
- Mind the heights. Keep the table around 30 inches, the seat around 18 inches, and the pendant 30 to 36 inches above the table. When the numbers agree, the nook feels comfortable before anyone says why.
- Anchor the corner with one big thing. A large art piece, a deep wall color, or a wide pendant gives the eye a place to land.
- Stay with warm bulbs. Look for about 2700K and add a dimmer, so the nook glows at night instead of glaring.
- Soften the hard parts. One cushion with a firm foam core, one rounded edge, one woven texture. Mix hard and soft in every sightline.
- Keep the table top short. Two or three objects and a runner is enough. People need room for plates.
- Add something living. A small plant on the sill or a stem in a bottle makes a nook look lived in.
- Edit the cords. Hide plug-in light cords with paint-matched covers so the details look finished.
Practical Implementation Ideas
Plan it in the order below, and you will skip the most common regrets.
- Measure the footprint. Write down the width, depth, and window height. A 5-foot square is a common minimum for a small round table with a bench. Six seats usually needs closer to 7 by 10 feet.
- Tape it on the floor. Mark the table and seat with painter’s tape, and leave about 36 inches behind the chair side so people can pass. Live with the tape for a day.
- Choose seating first. Built-in, freestanding bench, or banquette set. This sets the table size and the light position.
- Match the table to the seat. Aim for a 10 to 12 inch gap between the top of the seat and the underside of the table. Let the table overhang the seat by 1 to 3 inches, no more.
- Order cushions last. Foam thickness changes seat height, so wait until the bench is in before you finalize the fabric.
- Add light in two layers. One centered pendant plus soft side light. Use a dimmer if you can.
- Finish with the rug, art, and a seasonal vignette. These are the pieces that make the nook look styled instead of just furnished.
Common Mistakes to Avoid
- A table that is too big. If you cannot slide in and out, the nook gets used for laptops and mail instead of meals.
- A seat and table that disagree. A seat that is too high makes knees bump the table edge. Check with a tape measure before buying.
- A pendant hung too high. It floats and makes the nook look unfinished. Bring it down to 30 to 36 inches above the table.
- A rug that stops short. Chair legs catch on the edge. Size it up so the legs stay on the rug.
- Too many patterns at the same size. They fight. Use one large and one small, plus a solid.
- A tall backrest in front of a window. It blocks light and shrinks the room. Choose a low profile.
- Skipping cushion comfort. A seat that feels like a plank empties the nook fast. Use medium-firm foam and a back cushion.
- Forgetting outlets. Plan where cords go for sconces, a coffee station, or a phone charger before anything is mounted.
Small-Space Alternatives
- Use a fold-down table. A wall-mounted drop-leaf table gives you a place to eat and folds flat when you need the floor.
- Go small and round. A 27 to 30 inch round table with two stools or chairs fits a corner that cannot take a bench.
- Use the window ledge. A deep sill or narrow counter under a window with two slim stools makes a breakfast bar for two.
- Float a bench. A bench placed against a wall with a slim console in front can double as a table and a drop zone.
- Borrow living room space. In an open plan, a small round table behind the sofa with a low rug can read as a dining nook.
- Choose a pedestal base. No corner legs means more knee room and easier sliding in and out.
Budget-Friendly Alternatives
- Paint first. A quart of paint on the wall behind the seat changes the look more than most furniture.
- Buy a secondhand bench. Reupholster or add a new cushion, and nobody will know it was a find.
- Use plug-in sconces. They cost far less than hardwired lights and come with you when you move.
- Make your own cushions. Cut foam to size and wrap it in a zip cover. It saves money and lets you wash the cover.
- Thrift your frames. Spray paint a group of mismatched frames in one color for a gallery look.
- Dress a plain table. A round tablecloth or a good runner covers a worn top and adds softness.
- Add a slipcover. If your chairs are tired but sturdy, a slipcover refreshes them in an afternoon.
Pro Styling Recommendations
- Check fabric durability. For a daily seat, look for upholstery rated for heavy use, with a rub count of around 15,000 or higher.
- Test the seat at table height. Sit with a plate in front of you before you commit to dimensions. Comfort is what you are actually buying.
- Choose a seat depth that fits your body and the room. Many people find 16 to 20 inches comfortable. Subtract the thickness of a thick back cushion from that number so legroom stays the same.
- Leave a toe-kick on built-ins. A recess of about 3 to 4 inches lets people stand up without catching their feet.
- Plan the light before the paint. A light shade can change how a wall color reads, so test samples with the bulbs you plan to use.
- Dimmers are worth it. One small switch changes the nook from morning counter to evening table.
- Keep the palette tight. Three main colors and one accent is enough. Pull them from the rug or the art and repeat them.
FAQs
Conclusion
A nook does not need a big budget or a big corner. It needs a few decisions made on purpose: a seat that fits the table, a light that sits low, a rug that reaches the chairs, and one color you see more than once.
Start with the tape on the floor. Sit down in the space before you buy anything. Then add the layers one at a time, and let each one repeat something from the last.
When the nook finally feels right, you will notice it in small ways. People linger. The coffee gets cold because the conversation is better. That is the sign it looks planned, because you planned it.