16 Mud Kitchen Ideas for the Ultimate Sensory Play Setup
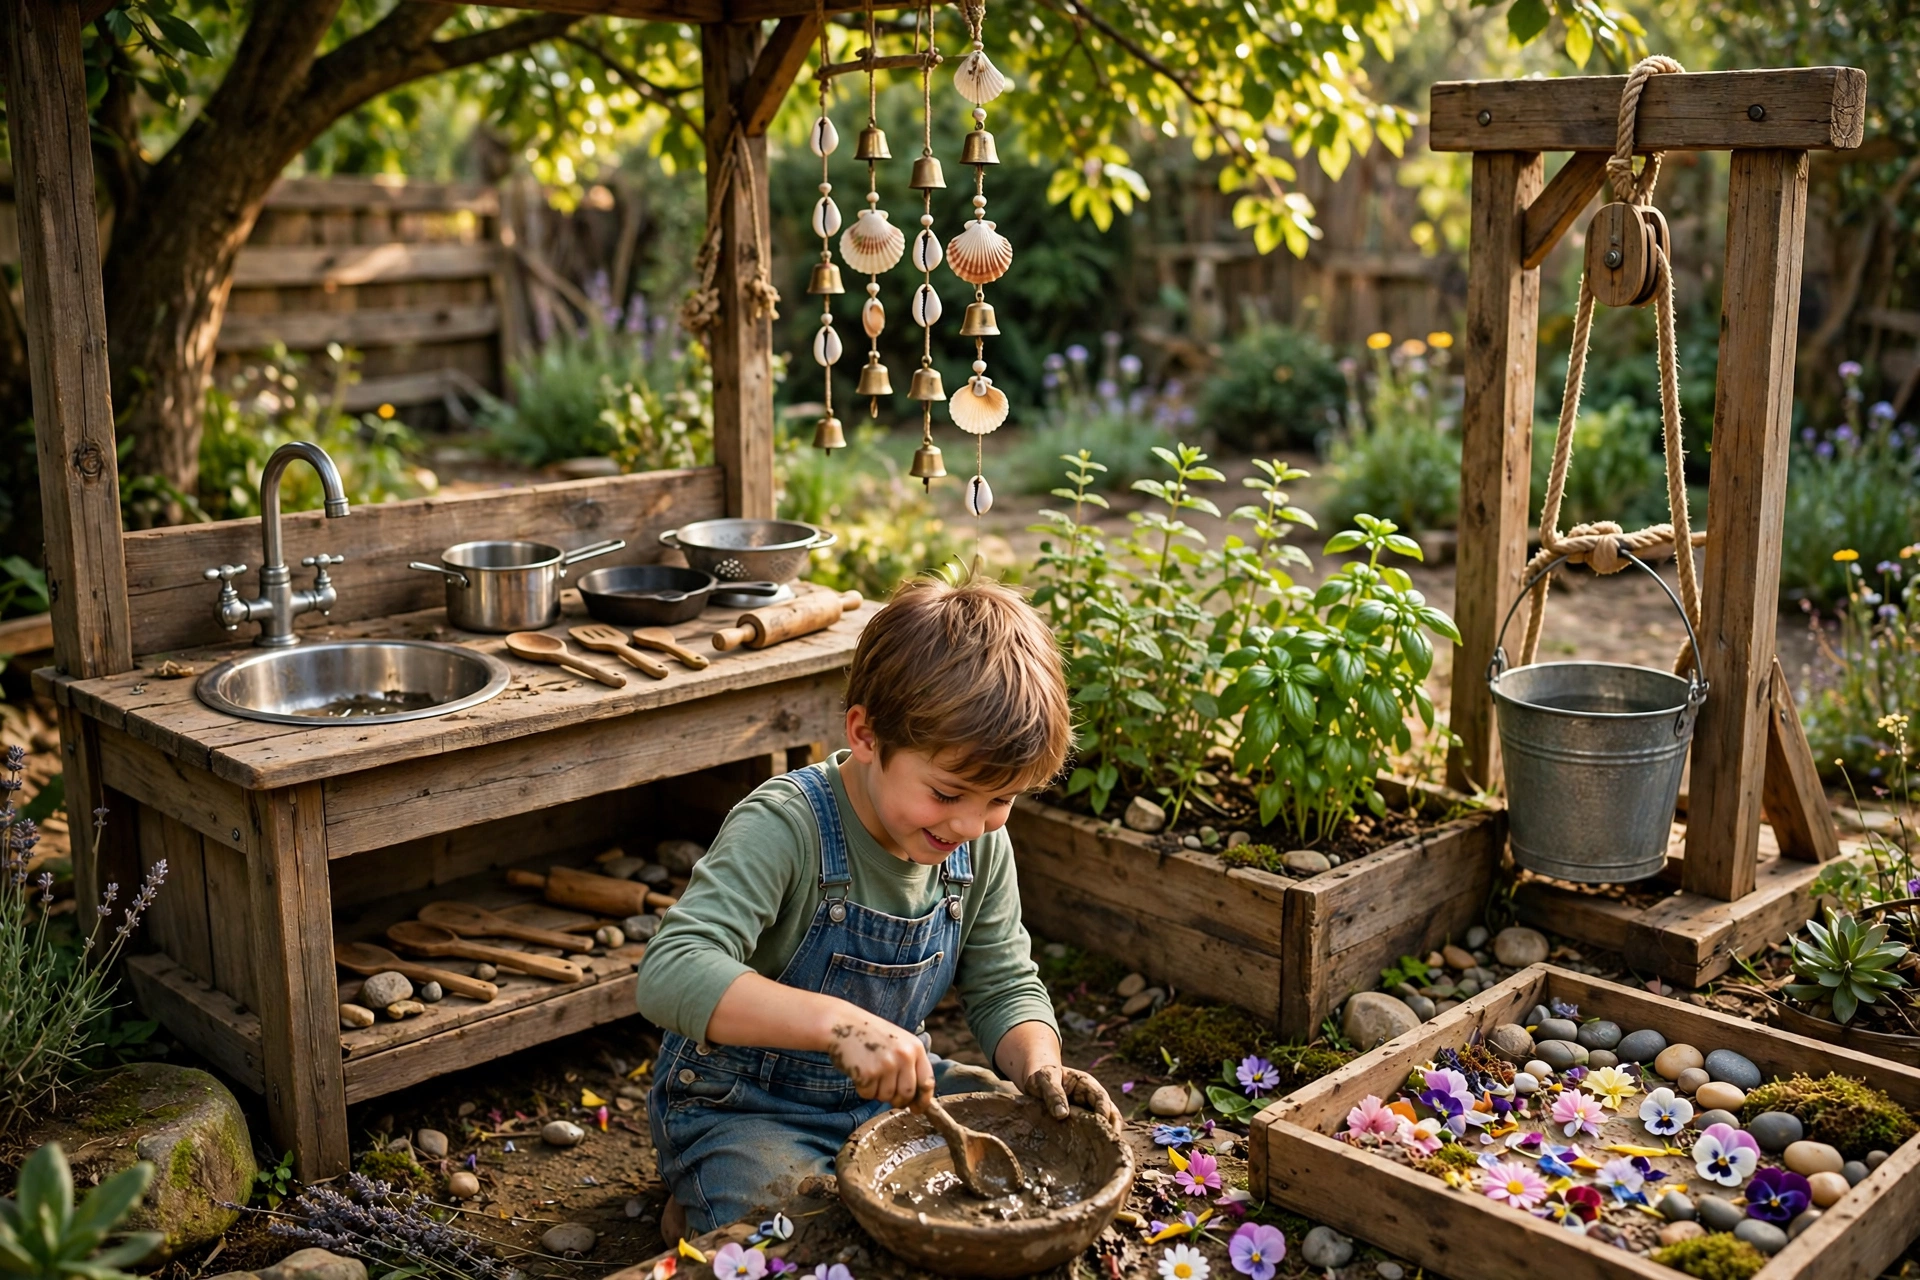
A mud kitchen is easy to picture: a little wooden counter, a few pots, a pile of dirt, and a hose. That’s a fine starting point, but it only really engages one sense — touch — and touch is just one piece of what makes sensory play actually valuable for a developing kid.
Most mud kitchen guides are style guides. Pastel cabinets, rustic pallet wood, whimsical fairy-garden touches — all genuinely charming, and none of it addressing the actual point of sensory play, which is giving a child’s brain and body a rich, varied set of inputs to process: textures, sounds, smells, colors, weights, and movement, all at once.
These 16 ideas build a mud kitchen around that fuller picture. Some are about materials, some are about layout, and a few are about resisting the urge to make it too tidy. All of them are aimed at the same goal — a setup that does more for a child’s development than a pile of dirt and a bucket ever could on its own.
Table of Contents
Design for All Five Senses, Not Just Touch
Sensory play is often shorthand for “messy play,” but the actual developmental goal is exposing a child to varied input across touch, sound, sight, smell, and movement, and a mud kitchen that only offers mud and water is really only covering one of those five categories well. Building the layout around all five from the start — a scented element, a sound-making element, a visual color station, a movement or heavy-work component, alongside the tactile mud itself — turns a simple play station into something closer to a full sensory gym. This matters because each sense engages a slightly different part of a developing brain, and varied input across all of them is what actually builds the neural connections sensory play is credited with supporting. A mud kitchen designed this way doesn’t need to be larger or more expensive than a basic one; it just needs each of the ideas that follow to be chosen with a specific sense in mind rather than added randomly. Think of the rest of this list as a checklist for making sure no sense gets left out.

Build a Heavy Work Station for Proprioceptive Input
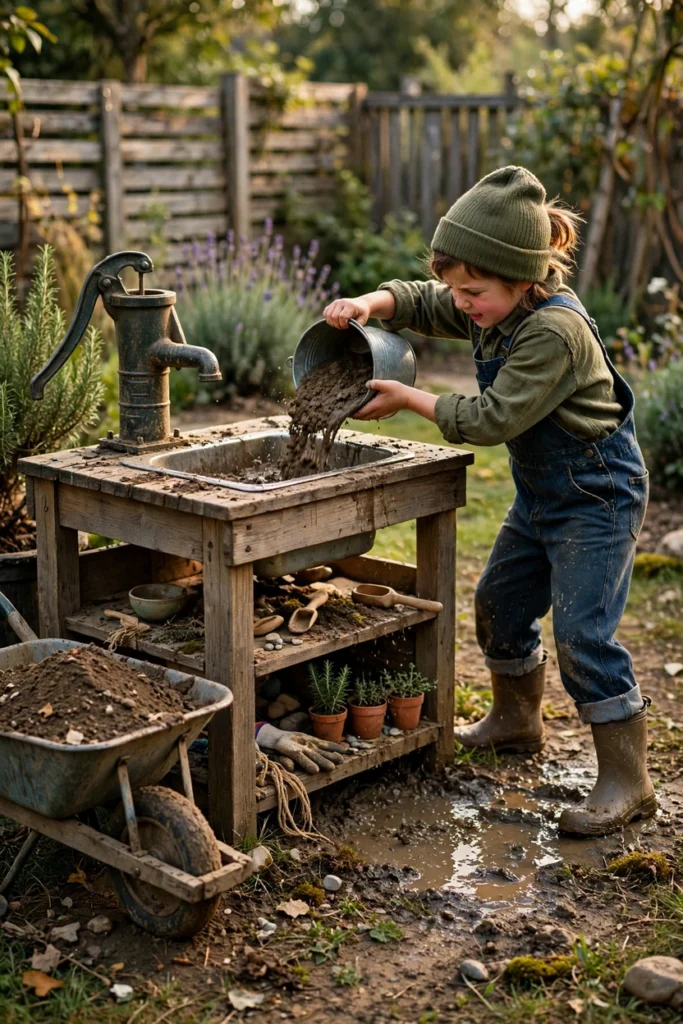
Digging, hauling a full bucket of water, and stirring thick mud all require real muscular effort, and this kind of resistance-based activity, often called heavy work, gives a child’s body proprioceptive input — the sense of where their body is and how much force they’re using — that calmer sensory activities don’t provide. Setting up a designated heavy work zone within the mud kitchen, such as a low wheelbarrow for hauling dirt, a hand pump for water, or a large basin for mixing bigger batches, gives this specific kind of input its own intentional space rather than leaving it to happen incidentally. This is especially valuable for children who seek out physical input to help regulate their energy or focus, since heavy work has a genuinely calming, organizing effect on the nervous system for many kids. Positioning this station slightly apart from the finer motor work — pouring small amounts, mixing with spoons — lets both types of play happen without one interrupting the other. A mud kitchen with a real heavy work component does more for a child’s physical development than one built purely around fine motor pouring and stirring.
Add a Scented Herb Corner Kids Can Harvest From
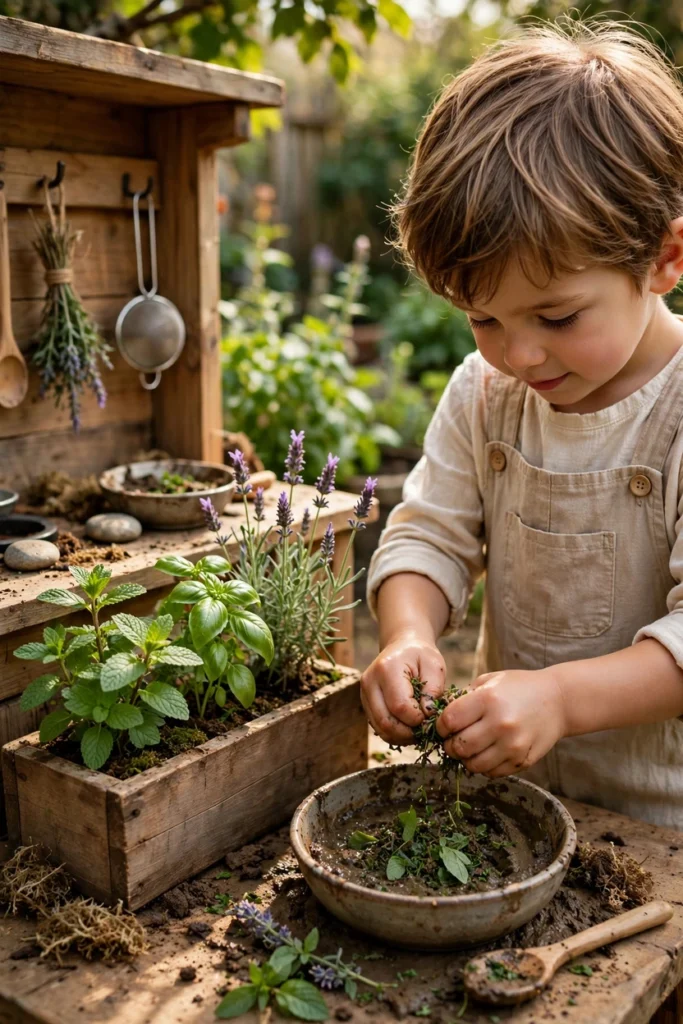
Smell is one of the most overlooked senses in typical mud kitchen setups, even though it’s strongly tied to memory and emotional processing in ways touch and sight aren’t. Planting a small container garden of fragrant, child-safe herbs — mint, basil, lavender, rosemary — right next to the mud kitchen gives kids something real to pick, crush, and stir into their mud “recipes,” turning an ordinary batch of mud soup into a genuinely aromatic sensory experience. This kind of scented mud bakery concept, where herbs and petals become actual ingredients in pretend cooking, adds a layer of sensory richness that plain dirt and water can’t replicate on their own. Labeling each plant also introduces early reading and plant identification alongside the sensory benefit, giving this one small addition several developmental jobs at once. Choosing hardy, easy-to-grow herbs means the planter can survive being picked at regularly, which matters since the entire point is for kids to actually touch and use it rather than admire it from a distance.
Create an Auditory Zone With Hollow Pots and Chimes
Sound rarely gets designed into a mud kitchen intentionally, even though the clang of a metal pot, the rattle of pebbles in a tin, and the gentle chime of wind bells all give a child a completely different kind of sensory feedback than touch or smell does. Hanging a simple set of natural wind chimes — made from shells, bamboo, or repurposed metal utensils — near the kitchen adds ambient sound that shifts with the wind, while a designated “drum station” using upside-down pots and wooden spoons gives kids an outlet for the kind of rhythmic banging most of them are already inclined to do anyway. Filling a few sealed tins or bottles with pebbles, rice, or sand creates simple shaker instruments that tie sound exploration directly into the same natural materials already used elsewhere in the kitchen. This auditory layer also supports early language and listening skills, since distinguishing between different sounds is a building block for phonemic awareness later on. A mud kitchen with even one or two of these sound elements engages a sense most setups skip entirely.

Layer Multiple Textures Beyond Just Mud
Mud itself is a rich sensory material, but a kitchen that only ever offers one consistency — wet, thick mud — limits the tactile range kids actually get to explore. Stocking the space with dry dirt, coarse sand, fine sand, small smooth river rocks, rough bark, and soft moss alongside the mud gives kids a genuine spectrum of textures to compare, from crumbly and dry to slick and cold to rough and dense. Letting children control the ratio of water to dry material themselves, rather than pre-mixing everything to one consistency, adds a layer of cause-and-effect learning to the tactile experience, since they directly observe how texture changes as more or less water gets added. Storing these different materials in separate labeled bins or baskets around the kitchen keeps them from all blending into one indistinguishable pile before play even starts. This range of textures is often what separates a mud kitchen that gets used for twenty minutes from one that holds attention for an entire afternoon.
Related: 16 Boho Kitchen Ideas That Feel Collected, Not Costume
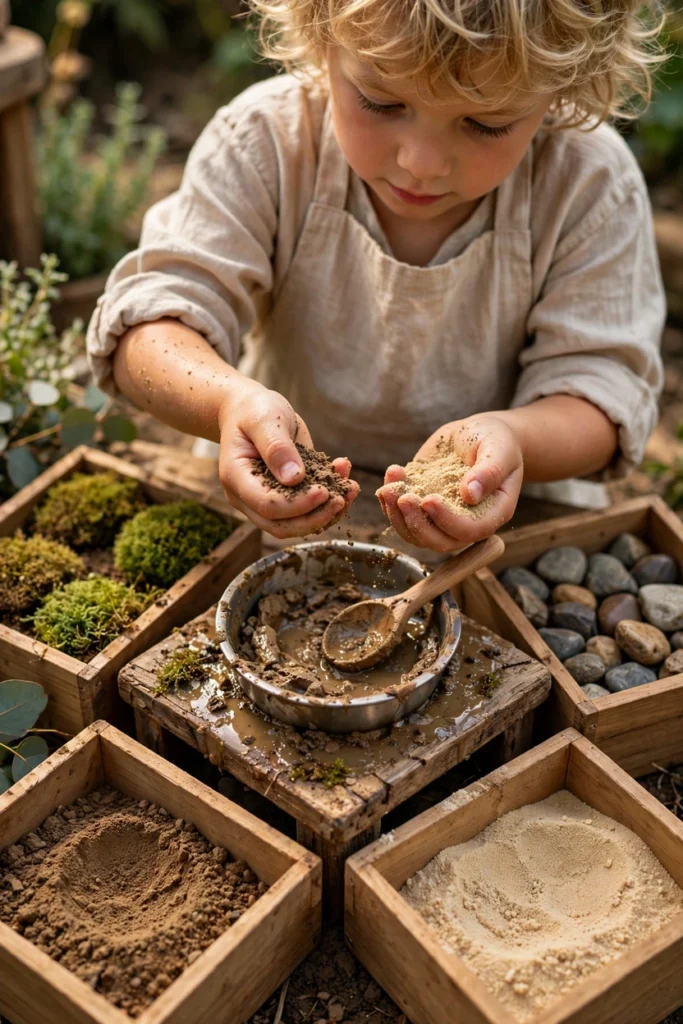
Install a Real Water Source for Cause-and-Effect Play
A mud kitchen without reliable access to water limits itself to whatever’s already damp, which cuts off a huge amount of the cause-and-effect learning that comes from actually transforming dry dirt into mud in real time. A simple garden hose with a low-flow nozzle, a large filled water jug with a spigot, or a small hand pump connected to a reservoir all give kids independent control over adding water without needing an adult to manage a hose every time. This independence matters as much as the water itself, since being able to control exactly how much water goes into a mixture, and watching the resulting texture change, is a genuine science lesson happening through play rather than instruction. A small basin or sink built into the kitchen setup, even a large plastic tub repurposed for the job, gives water a contained place to pool and drain rather than flooding the whole play area unpredictably. This single addition — real, controllable water — often does more to extend play time than any other single upgrade on this list.
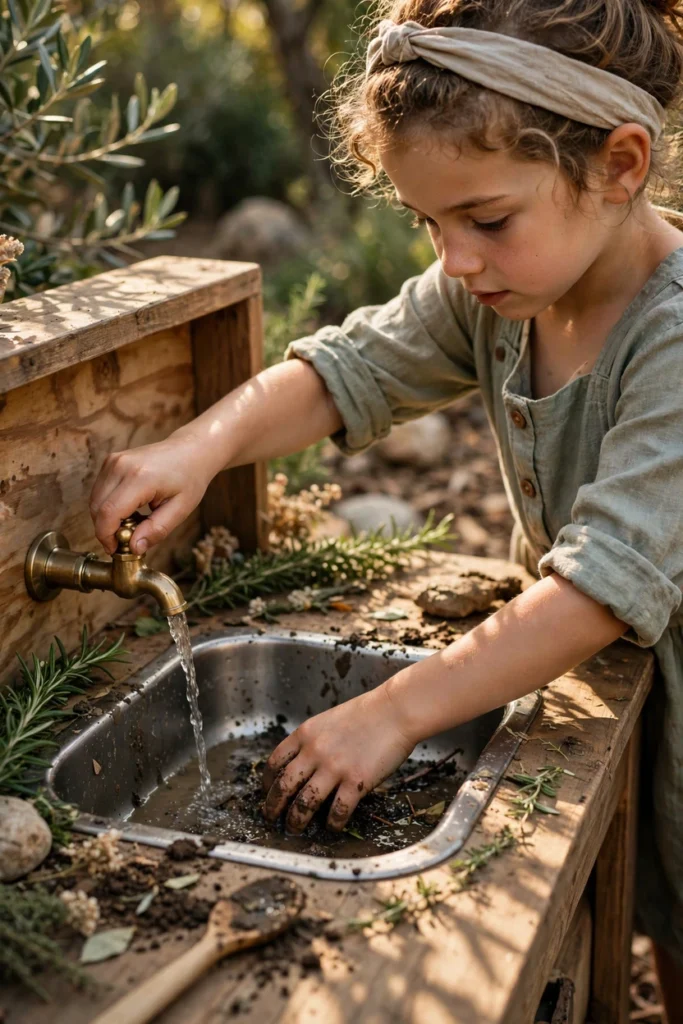
Add a Visual Ingredient Station With Natural Colors
Sight is easy to assume is automatically covered outdoors, but a deliberately curated collection of colorful natural materials — flower petals, colorful leaves, berries from safe non-toxic plants, painted rocks — gives kids a richer visual experience than green grass and brown dirt alone provide. Arranging these visual “ingredients” in small labeled containers or a divided tray, similar to a real kitchen’s spice rack, invites kids to notice and select based on color and pattern as part of their pretend cooking process. Rotating what’s available seasonally — bright petals in spring, colorful fallen leaves in autumn — keeps this visual station changing throughout the year rather than becoming static and overlooked. This idea also connects naturally to early color recognition and sorting skills, since kids often start grouping and organizing these visual materials by color entirely on their own without being prompted. A dedicated visual ingredient station turns “pretty things in the yard” into an intentional part of the sensory setup rather than incidental scenery.

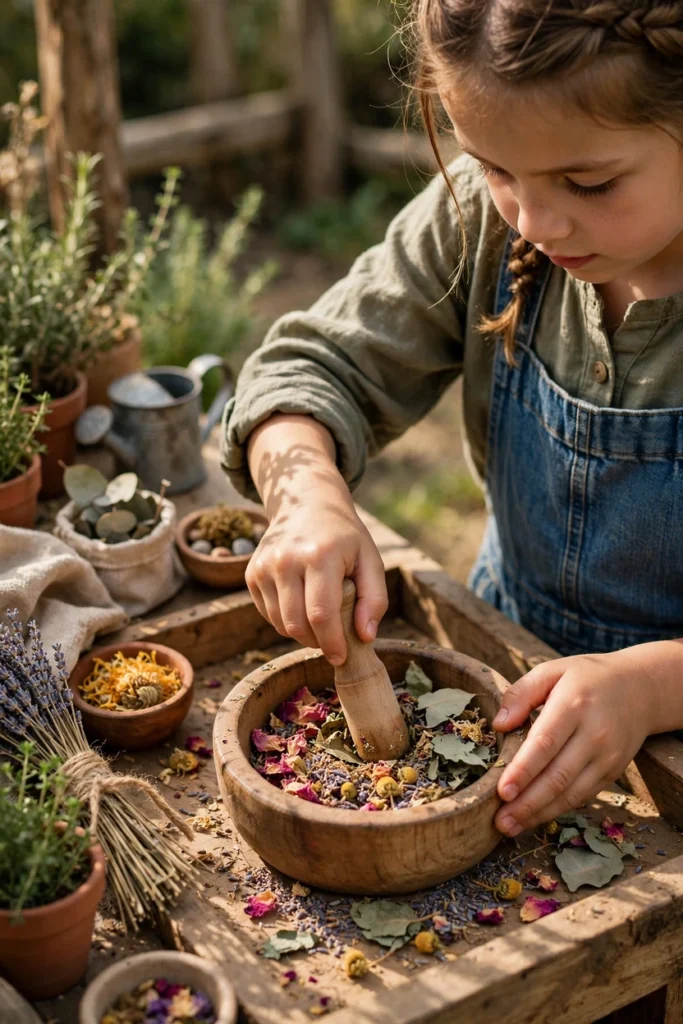
Include a Grinding and Pounding Station
Beyond mixing and pouring, grinding and pounding — using a mortar and pestle, a rock and a flat stone, or a small hand mill — introduces a different kind of fine and gross motor challenge that most mud kitchens skip in favor of simpler scooping and stirring tools. Crushing dry leaves, flower petals, or soft clay-like mud into finer textures gives kids a visible, satisfying transformation to work toward, and the repetitive motion itself has a naturally focusing, almost meditative quality for many children. A child-safe mortar and pestle set, or even just two appropriately sized rocks, is an inexpensive addition that opens up an entirely different category of sensory and motor work than the rest of the kitchen typically offers. This kind of station also tends to appeal specifically to kids who prefer more repetitive, rhythmic activities over the more open-ended mixing and pouring most of the kitchen encourages. Adding even one grinding tool rounds out the range of physical actions available across the whole setup.
Set Up a Washing Station to Bookend the Mess
A designated washing station right at the edge of the mud kitchen — a bin of clean water, a small towel, and maybe a bar of soap — gives the whole sensory experience a clear beginning and end, rather than mess simply trailing off into the rest of the yard or house. This isn’t just about cleanliness; the ritual of washing hands, rinsing tools, and drying off afterward is itself a sensory transition, moving from thick, cold mud to warm, soapy water to a dry towel, which helps some kids shift gears more smoothly than an abrupt stop to messy play would. Washing muddy toys and pots as part of the process also extends the play itself, since scrubbing a dirty pot clean is its own satisfying task with a visible before-and-after result. Positioning this station close enough to be part of the kitchen’s flow, rather than requiring a trip all the way inside, keeps kids more likely to actually use it consistently. It’s a small addition that makes the whole setup feel more complete and considerably easier for a parent to manage.

Build in Different Working Heights
A single counter height works for one age and size of child, but siblings of different ages or a mixed group of neighborhood kids will get far more consistent use out of a kitchen with two or three different working heights built in. A lower shelf or ground-level basin lets toddlers dig in and participate at their own level, while a standard counter height serves preschool and early elementary kids more comfortably. This isn’t just about comfort — a working height a child can actually reach without straining or needing to be lifted supports the kind of independent play that makes sensory exploration feel self-directed rather than adult-assisted. Adjustable or stackable crates under a counter can also let the same station work for a growing child over several years, rather than being sized for only one specific age. Thinking through height the same way a kitchen designer would for an adult space translates directly into how usable and how long-lasting the mud kitchen ends up being.

Choose a Base Material Mix, Not Just Dirt
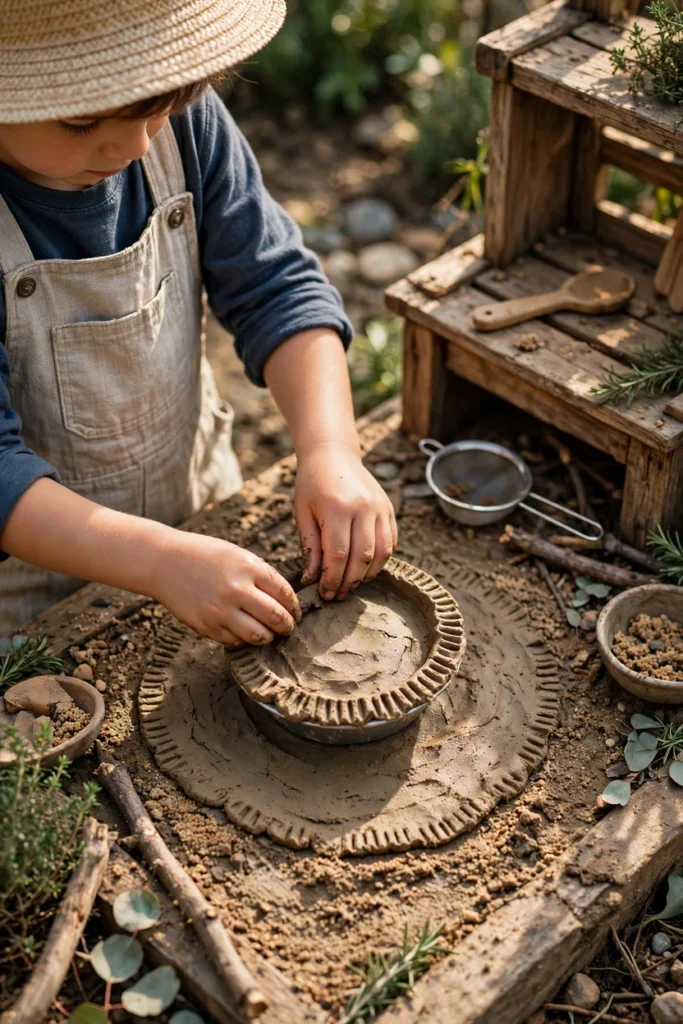
The ground material directly under and around a mud kitchen matters as much as what’s on the counter, and a mix of native soil, coarser garden sand, and a bit of clay-rich dirt tends to hold together and behave more satisfyingly when wet than straight dirt from most yards does on its own. Clay-heavy soil holds its shape well for “mud pie” style play but can be too sticky and heavy on its own, while sandy soil drains and dries too quickly to stay workable for long. Blending the two, roughly two parts native soil to one part playground-grade sand, creates a base that stays moldable longer and washes off skin and clothing more easily than pure clay does. This is worth setting up intentionally before the kitchen is built, rather than just using whatever soil happens to already be in that corner of the yard, since the base material affects how satisfying the actual mud-making experience is far more than any of the tools or accessories do. A well-chosen base mix is one of the least visible but most functionally important decisions in the entire setup.
Add a Chalkboard or Recipe Card Station
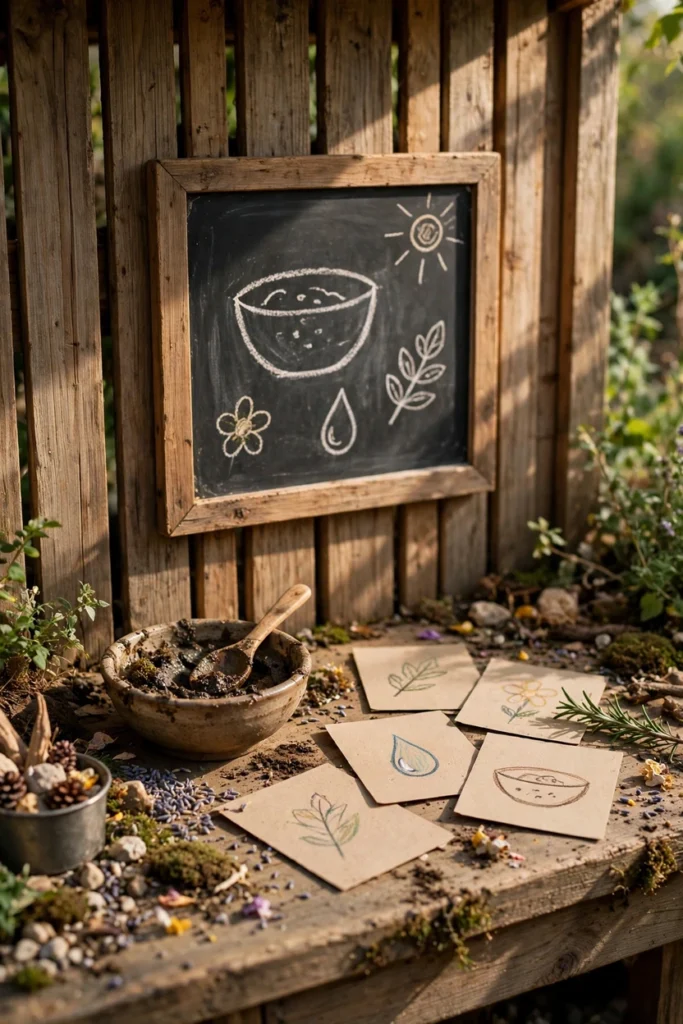
A small chalkboard surface or a set of simple illustrated recipe cards gives pretend cooking a language and literacy dimension that pure sensory exploration doesn’t provide on its own. Kids can “write” or draw their mud recipes, label their creations, or follow a picture-based recipe card for a specific mud pie or soup, layering early reading, sequencing, and writing practice on top of the sensory experience. This works especially well for slightly older preschool and early elementary kids who are starting to show interest in letters and words but still benefit enormously from open-ended sensory play. Rotating seasonal recipe cards — a “spring petal soup” card, an “autumn leaf stew” card — ties this literacy element to the same seasonal material rotation covered later in this list. It’s a low-cost addition, often just a small chalkboard panel mounted to the kitchen’s back wall, but it adds real developmental range to what might otherwise be purely sensory play.
Create a Shaded Calm Corner Next to the Mess
Sensory play is stimulating by design, and some kids need a nearby low-stimulation spot to retreat to for a few minutes without leaving the play area entirely, especially if the mud kitchen sits within a larger, busier outdoor space. A shaded corner with a soft mat, a few quiet natural objects like smooth stones or pinecones, and no active “task” attached to it gives a child somewhere to pause and regulate before rejoining the more stimulating mixing and pouring nearby. This is a detail borrowed directly from sensory room design for children with sensory processing differences, but it benefits any child who occasionally needs a moment of lower input during an otherwise busy sensory experience. Positioning this corner within sight of the main kitchen, rather than requiring a child to leave the play area to find calm, keeps the whole space feeling connected rather than split into “play” and “rest” zones that compete with each other. This is a small, easy addition that makes the mud kitchen work better for a wider range of temperaments and needs.

Design an Accessible Layout for Sensory Sensitivities
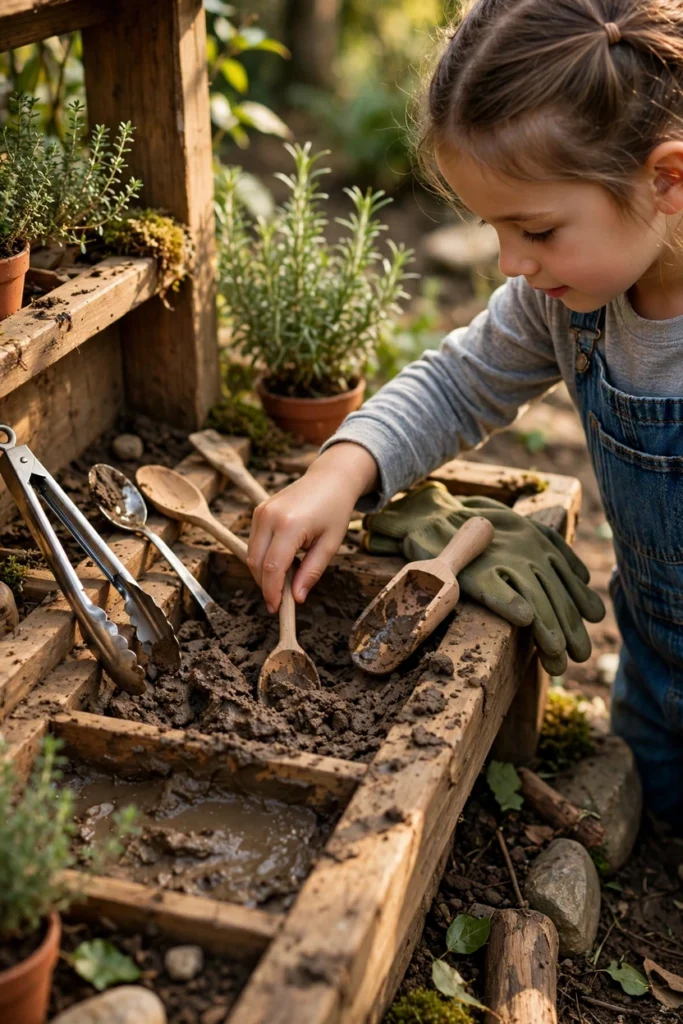
Sensory play is often assumed to be universally appealing, but some children, including many with sensory processing differences, find certain textures or intensities genuinely overwhelming rather than enjoyable, and a thoughtfully designed mud kitchen can accommodate that range rather than assuming one-size-fits-all enthusiasm. Offering tool options — tongs, spoons, and gloves alongside bare-hand access — lets a child who’s sensitive to certain textures still participate fully without direct skin contact with mud if that’s what they need. Keeping at least one drier, less intense texture station available alongside the wettest, muddiest option gives a child room to ease into more intense sensory input gradually rather than facing an all-or-nothing choice. This kind of flexible, layered intensity is a core principle in inclusive sensory play design and makes the mud kitchen genuinely usable by a wider range of children, including those with sensory processing considerations. A mud kitchen built with this flexibility in mind supports more kids, more consistently, than one built around a single assumed level of tolerance for mess and texture.
Rotate Materials Seasonally
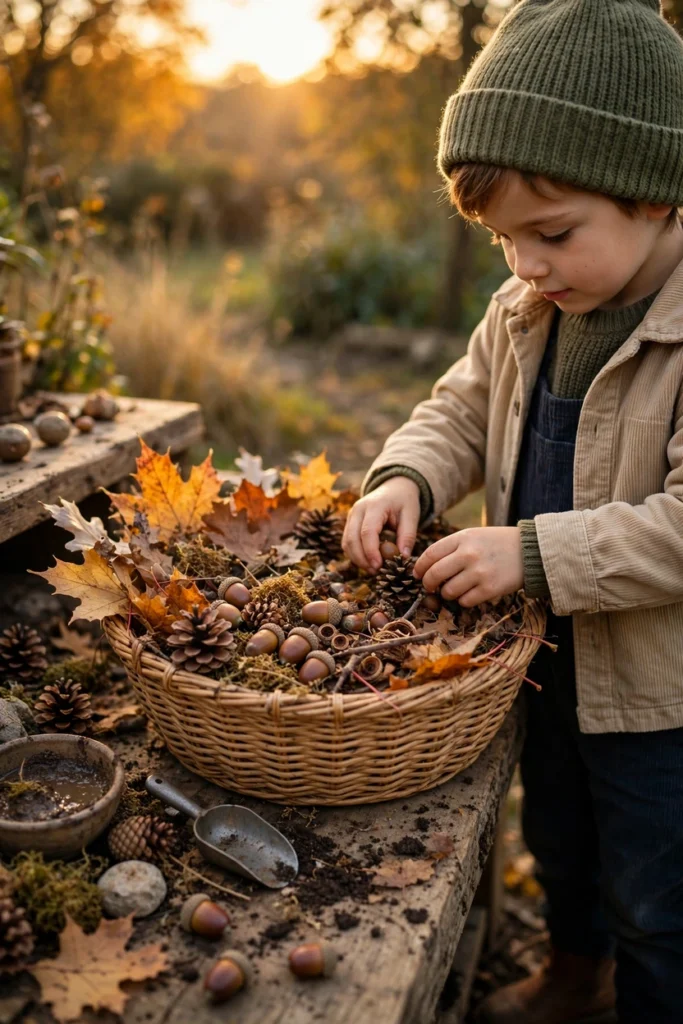
A mud kitchen that offers the exact same materials year-round eventually becomes predictable, while rotating what’s available with the seasons — fresh petals and soft new leaves in spring, pinecones and colorful fallen leaves in autumn, even clean snow for texture contrast in winter where climate allows — keeps the sensory experience genuinely fresh without needing to rebuild or expand the kitchen itself. This rotation also naturally introduces kids to seasonal changes in the natural world, since noticing that spring materials are soft and colorful while autumn materials are crisp and earthy is itself a piece of environmental observation happening through play. A simple seasonal bin system, swapped out every few months, keeps this rotation manageable without requiring constant sourcing of new materials throughout the year. This idea works well alongside the recipe card station, since seasonal ingredients pair naturally with seasonal recipe themes. A mud kitchen that changes with the calendar holds a child’s interest far longer than one that looks identical in July and November.
Related: 19 Rustic Farmhouse Kitchen Ideas That Stay Timeless
Let the Kitchen Get Genuinely Messy
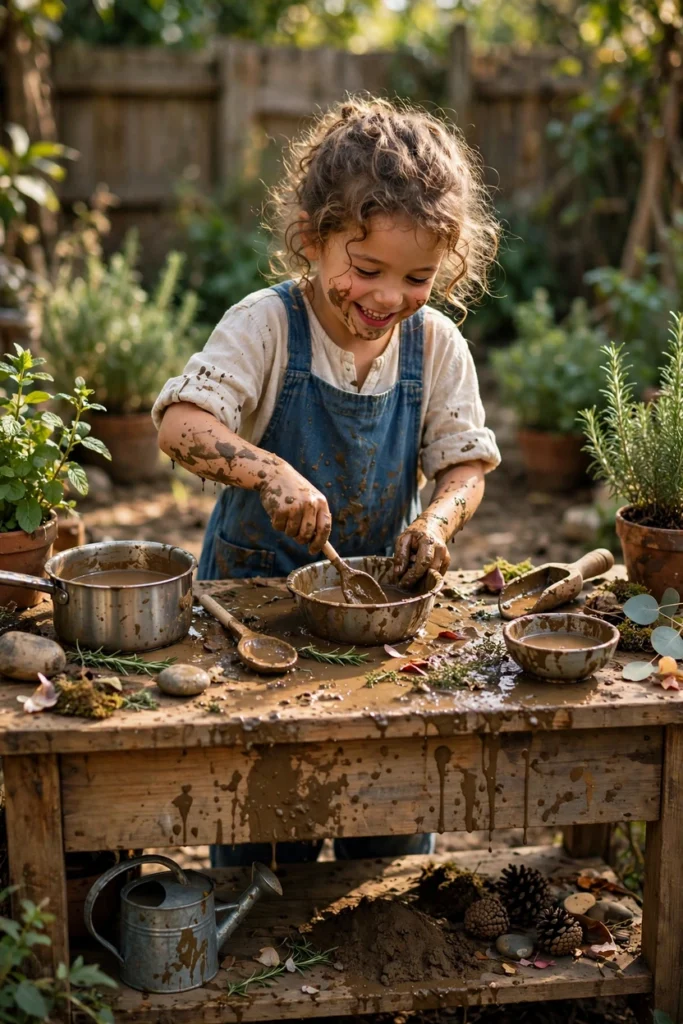
The instinct to keep a beautifully styled mud kitchen looking tidy for photos works directly against the entire point of the setup, since the richest sensory learning happens exactly when things get properly, thoroughly messy rather than staying contained and controlled. Resisting the urge to intervene every time mud splatters outside its intended zone, or to clean a station the moment play moves to the next activity, lets kids experience the full, uninterrupted sensory arc of an activity rather than a curated, pre-cleaned version of it. This doesn’t mean abandoning structure entirely — the washing station and defined zones covered earlier still matter — but it does mean accepting that a mud kitchen getting real, regular use will look considerably less picture-perfect than one styled purely for a photo. Setting expectations with any observing adults, including grandparents or caregivers who might be inclined to tidy constantly, helps preserve the kind of open-ended, adult-hands-off exploration that makes sensory play developmentally valuable in the first place. A mud kitchen that looks a little chaotic by the end of a good play session is usually a sign it’s doing exactly what it’s supposed to do.
Styling Tips
- Use natural materials like wood and metal for the kitchen structure itself, since they weather well outdoors and tend to hold up better than plastic under constant water and mud exposure.
- Group tools and materials by sense or station rather than scattering them randomly, so the multi-sensory design is visible and intuitive, not just theoretical.
- Keep at least one open, undesignated surface or bin for pure improvisation, since not every part of the kitchen needs an assigned sensory purpose.
- Choose weather-resistant labels or tags for bins so the organizational system survives outdoor conditions over a full season.
Practical Implementation Ideas
- Test your base soil-and-sand mix in a small batch before building the whole kitchen around it, adjusting the ratio until it holds shape well when wet.
- Install the water source and washing station at the same time as the main kitchen structure, rather than as an afterthought once the rest is built.
- Introduce one or two new sensory elements at a time rather than building the full 16-idea setup all at once, letting kids adjust to each addition.
- Walk through the layout at your child’s actual height and reach before finalizing shelf and counter placement.
Common Mistakes to Avoid
- Building a kitchen that only addresses touch, leaving sound, smell, sight, and movement as afterthoughts or missing entirely.
- Choosing pure clay or pure sandy soil as the base material instead of a blended mix that actually holds together well when wet.
- Overstyling the space and then discouraging genuine mess once play actually starts.
- Skipping a washing station, which makes the whole experience harder to manage and less satisfying to conclude.
Small-Space Alternatives
- Use a vertical setup with wall-mounted shelves and hooks to fit multiple sensory stations into a small patio or balcony footprint.
- Choose a compact tabletop mud kitchen with a small attached basin for apartments or yards with very limited space.
- Rotate fewer sensory stations at once in a small space, swapping which ones are set out on a given day rather than displaying everything simultaneously.
- Use stackable, nested bins for different textures and materials to save space when the kitchen isn’t in active use.
Budget-Friendly Alternatives
- Repurpose an old plastic play kitchen, a set of pallets, or scrap wood instead of buying a purpose-built mud kitchen structure.
- Use secondhand pots, pans, and utensils from thrift stores instead of purchasing a new play kitchen accessory set.
- Grow herbs from seed rather than buying established plants for the scented herb corner.
- Make simple sound tools from repurposed containers filled with rice, beans, or pebbles instead of buying instruments.
Pro Recommendations
- Involve your child in choosing which sensory stations to prioritize first, since their own preferences often reveal which type of input they’re most drawn to.
- Reassess the setup every few months as your child grows, adjusting heights, tool sizes, and material intensity to match their current stage.
- Keep a simple maintenance routine — refreshing dry materials, replacing worn ropes or chimes — so the kitchen stays fully functional across seasons.
- Observe which stations get the most repeated use and expand those specifically, rather than assuming every idea needs equal space in the layout.
FAQs
What age is a mud kitchen appropriate for?
Most mud kitchens work well from around age two through early elementary school, with adjustable working heights and tool sizes helping the same setup serve a wider age range over time.
Do I need real plumbing for a mud kitchen sink?
No — a large basin, bowl, or repurposed container filled manually or connected to a simple hose works just as well as plumbed water for sensory play purposes.
What’s the best soil mix for a mud kitchen?
A blend of roughly two parts native garden soil to one part coarse sand tends to hold its shape well when wet without becoming too sticky or too crumbly.
How do I keep a mud kitchen from smelling bad over time?
Regularly refreshing standing water, allowing mud to dry out between uses, and avoiding letting organic material sit wet for extended periods all help keep odor manageable.
Is mud play safe for kids with sensory sensitivities?
Many children with sensory sensitivities can still enjoy a mud kitchen when given tool options like gloves or spoons and a range of texture intensities to choose from, rather than requiring direct bare-hand mud contact.
What materials should I avoid in a mud kitchen?
Avoid toxic plants, sharp or brittle tools, and any materials treated with chemicals, and always confirm herbs and plants included are safe if a child puts them near their mouth.
How often should I rotate mud kitchen materials?
Related: 20 Farmhouse Cottage Kitchen Ideas for a Warm, Fresh Look
Seasonal rotation, roughly every few months, keeps the sensory experience fresh without requiring constant new purchases or a complete kitchen rebuild.
Can a mud kitchen work in a small yard or on a patio?
Yes — vertical shelving, wall-mounted tools, and a compact tabletop kitchen with a small basin can bring most of the same sensory benefits into a much smaller footprint.
Conclusion
A mud kitchen becomes genuinely valuable the moment it stops being just a pile of dirt with a cute wooden counter and starts being a deliberate collection of sensory experiences — something to smell, something to hear, something heavy to haul, something to compare by touch. None of the 16 ideas here require a total rebuild; most can be layered onto a kitchen you already have, one station at a time. Start with whichever sense feels most missing from your current setup, add it, and watch which one your child gravitates toward first. That’s usually the best guide for where to build next.