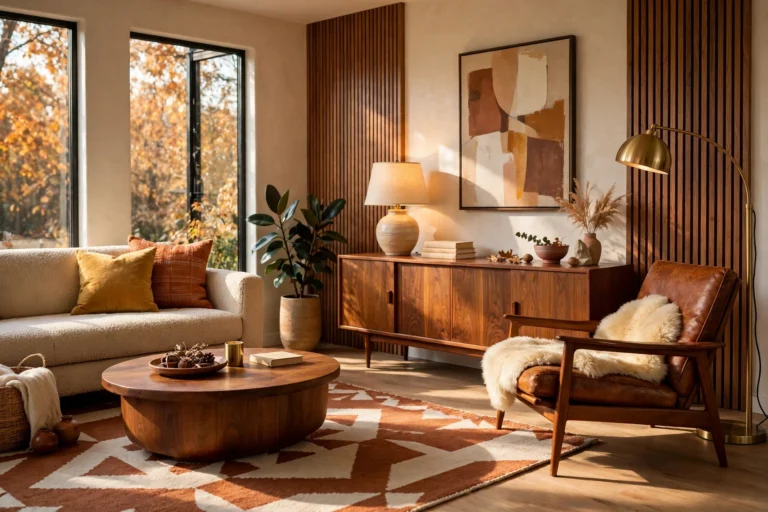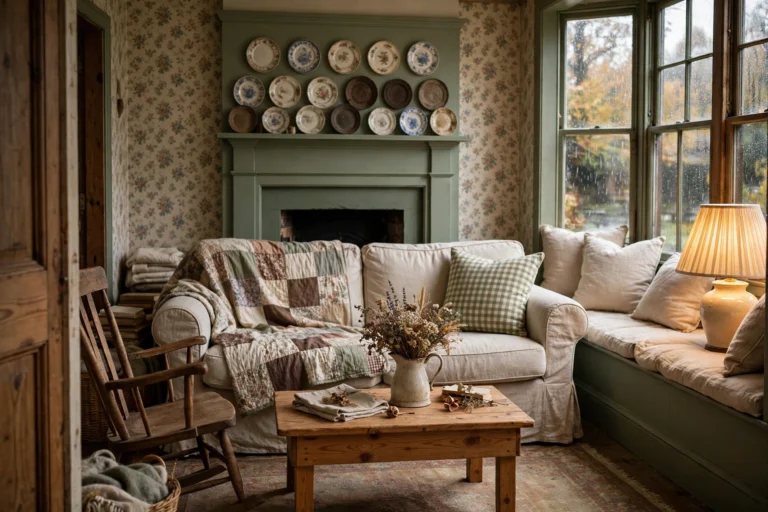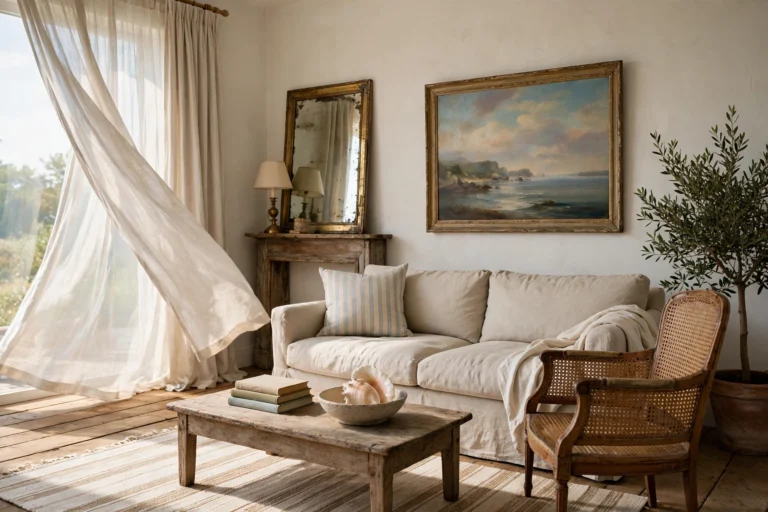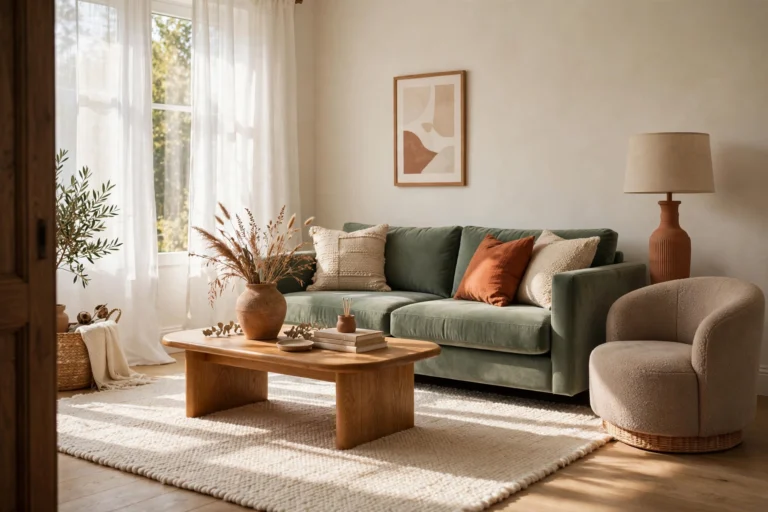
17 Living Room Wall Art Layering Ideas for a Focal Point

A guest walks in and looks around. Their eyes bounce from the TV to a lonely print to a pile of frames on a shelf. Nothing is wrong, but nothing leads. The room has art, yet it has no focal point.
That is the problem layering solves. When you stack and overlap pieces with a clear lead, the eye knows where to land, and everything else supports it.
This guide gives you 17 living room wall art layering ideas with real measurements, easy no-drill options and lighting tips, so your wall looks collected, calm and clearly designed.
Quick Answer: What Is Wall Art Layering?
Wall art layering means overlapping or stacking art, mirrors, shelves and objects at different sizes and depths, so they read as one group with a clear lead piece. Start with one large anchor, hang or lean it first, then add smaller pieces in front or beside it. Hang the center at about 57 inches from the floor, or 6 to 8 inches above furniture, and keep gaps between frames at 2 to 3 inches.
Table of Contents
17 Wall Art Layering Ideas
Pick One Anchor Piece Before You Buy Anything Else
Every layered wall needs one lead. Choose the largest or boldest piece first, and let everything else support it. Over a sofa, aim for art that is about two-thirds to three-quarters of the sofa’s width, so a 36 inch piece over a 60 inch sofa is a good fit. Hang the anchor first, then build around it. When the anchor is right, the rest of the layers feel easy.

Hang the Art 6 to 8 Inches Above the Sofa
Art that floats too high feels disconnected from the room. Place the bottom edge 6 to 8 inches above the back of the sofa, and center the art on the sofa, not on the wall. If this puts the center a bit lower than 57 inches, follow the furniture. A piece this close ties the sofa and wall into one calm picture. Leave a little extra gap only if the sofa has a very tall back.

Lean a Large Piece on the Mantel and Layer a Small One in Front
Leaning art on a mantel feels relaxed and gives you easy layers. Rest a big framed piece or a mirror at the back, and set a smaller frame in front, overlapping by about a quarter to a third. Add a candle, a small vase or a stack of books at one end for height. Keep the lean steady with museum putty or a small wedge, and keep the art away from direct heat. If you hang something above the mantel, keep it at least 4 to 6 inches up.

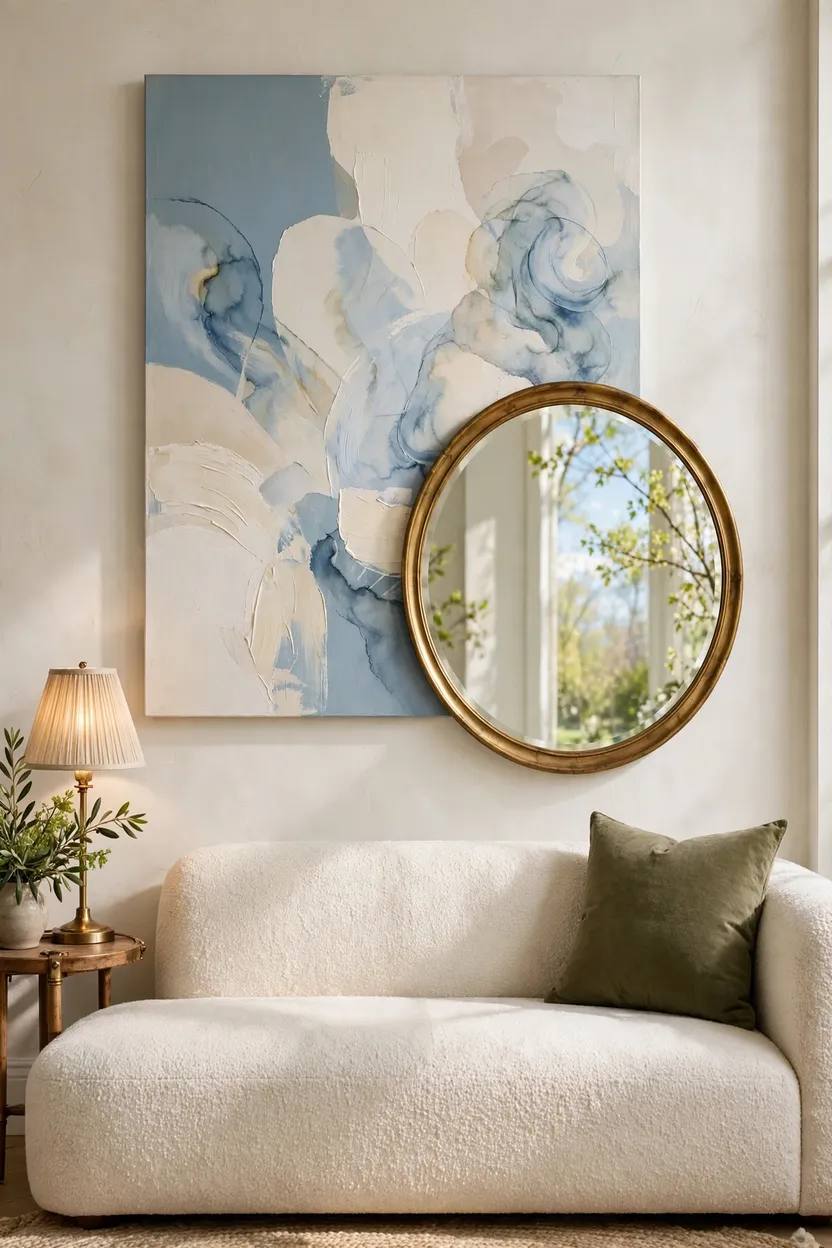
Layer a Round Mirror Against Rectangular Art
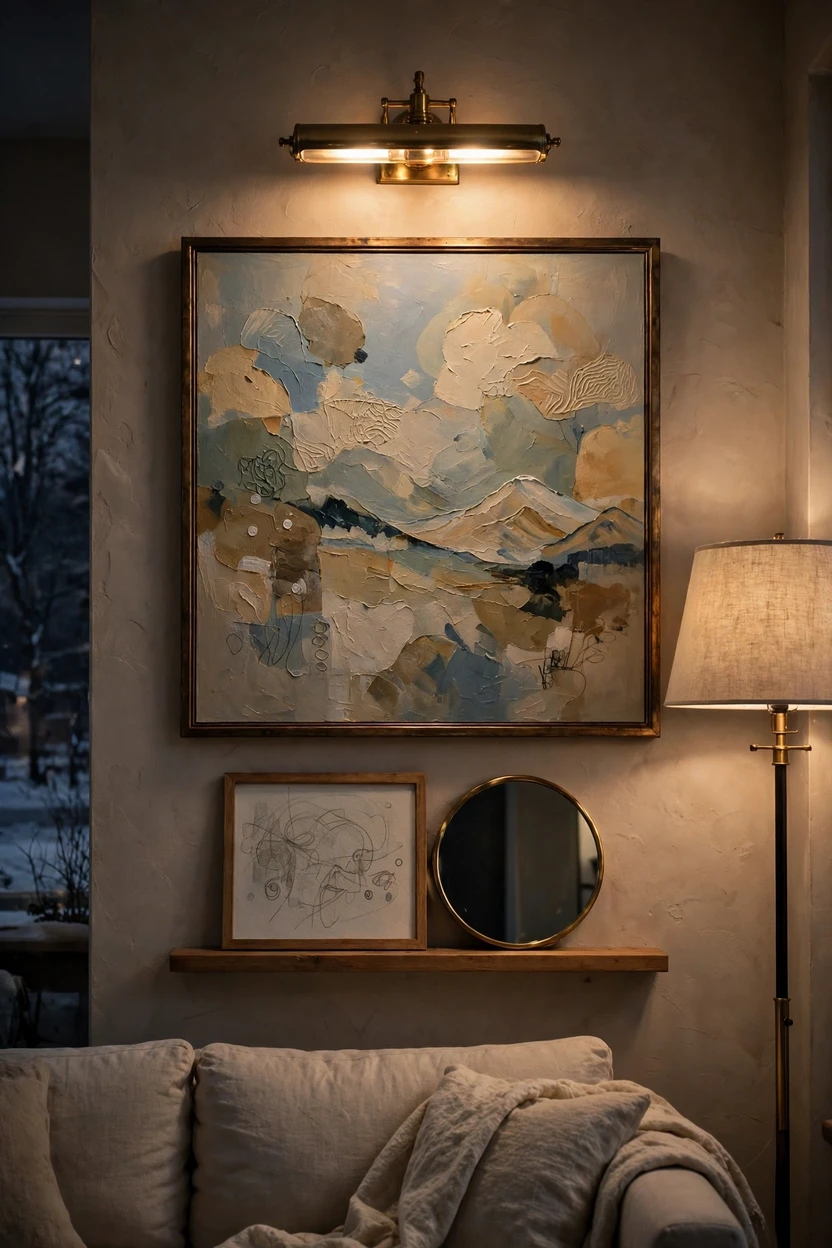
Shape contrast makes a layered wall feel alive. Pair a round or arched mirror with a rectangular painting, and make the two different sizes so they don’t compete. Overlap the mirror slightly in a lower corner, or hang it right beside the art. The mirror bounces light and adds a second texture. Avoid placing a mirror and art of the same size side by side, since it looks stiff.
Related: 18 Christmas Wall Decor Ideas That Look Expensive for Less
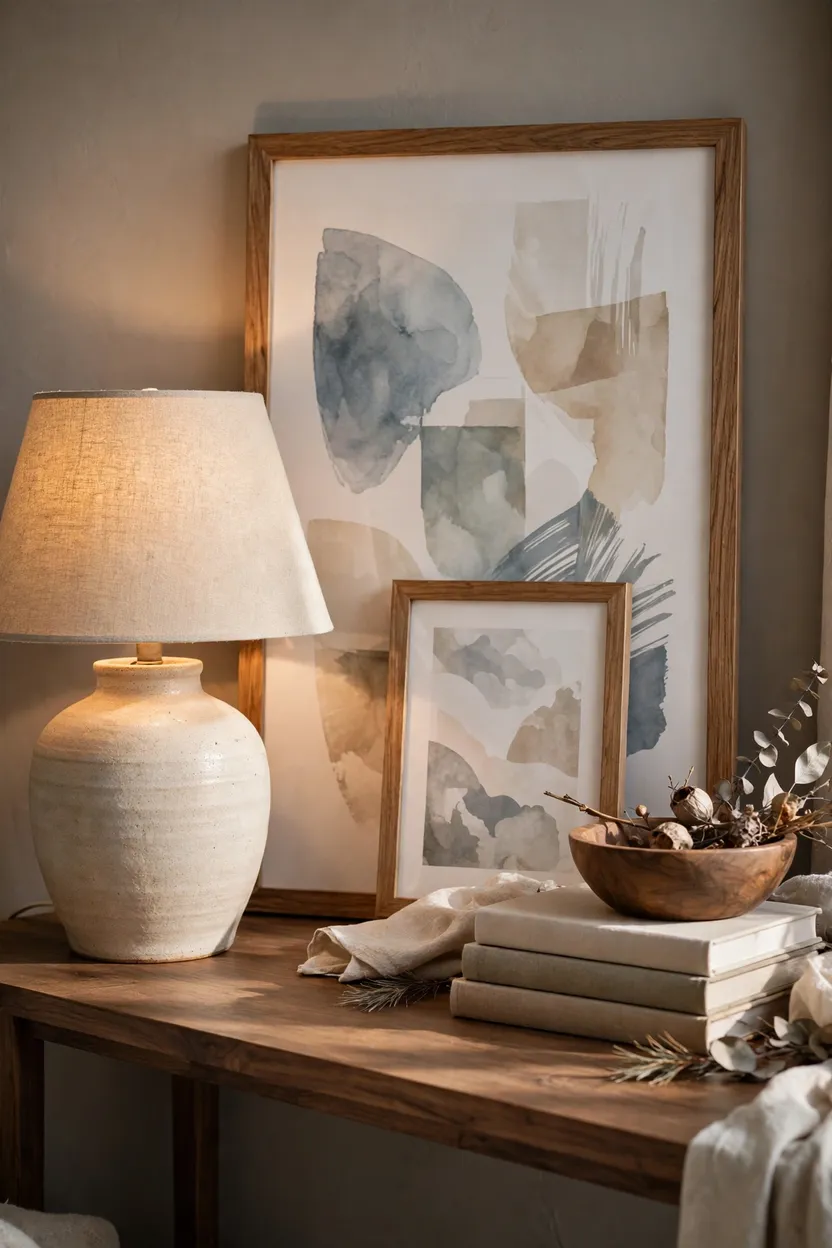
Stack a Smaller Frame in Front of a Big One on a Console
A console or sideboard is a good spot for layered depth without any holes. Hang or lean the biggest piece on the wall behind it, then set a smaller frame slightly off-center in front. Add a lamp on one side and a low bowl or books on the other, so the group makes a triangle. Keep the furniture surface at least as tall as the lowest frame to avoid a wobbly look. Change the front piece whenever you want a new mood.
Add a Picture Ledge Above the Sofa and Overlap Frames
A picture ledge lets you layer art with no extra holes. Choose a ledge about 3 to 5 inches deep with a front lip. Mount it 6 to 10 inches above the sofa, or so the center of the frames sits near 57 inches. Put the tallest frames at the back, and overlap each front frame by a quarter to a third. Mix in a small vase or a book for a different height.

Build a Salon-Style Gallery Wall Around a Hero Piece
A gallery wall works best when it has one clear star. Place the biggest piece slightly off-center, and arrange smaller frames around it. Keep the gaps between frames at 2 to 3 inches, and treat the whole group as one shape. Center the full arrangement at about 57 inches from the floor. Lay everything out on the floor or with paper templates first, so you drill only once.

Hang a Trio to Make One Big Shape
Three matching or related frames make a larger focal point than one small piece. Use three frames of the same height, set 2 to 3 inches apart, and treat them as one unit. The total width should be about two-thirds the width of the sofa or console. A triptych of one image across three panels also works well. Keep the spacing even, because uneven gaps spoil the look.

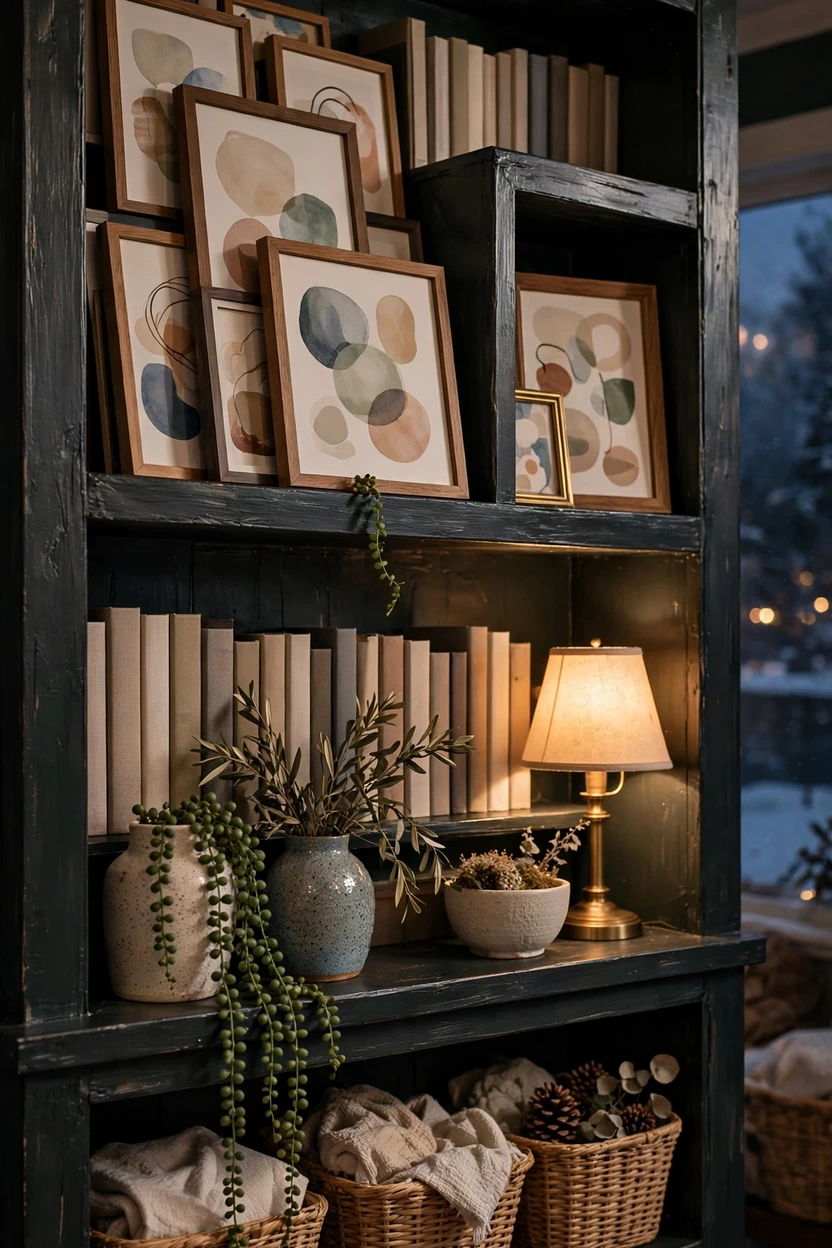
Layer Art Into Bookshelves and Built-Ins
Shelves are a built-in layering tool. Lean art in front of a row of books, tuck a small frame into a niche, and stand a vase or a plant in front of it. Vary heights and depths, and leave about a third of each shelf empty. Use baskets or boxes on lower shelves to hide clutter. Art on shelves makes the whole wall feel layered and personal.
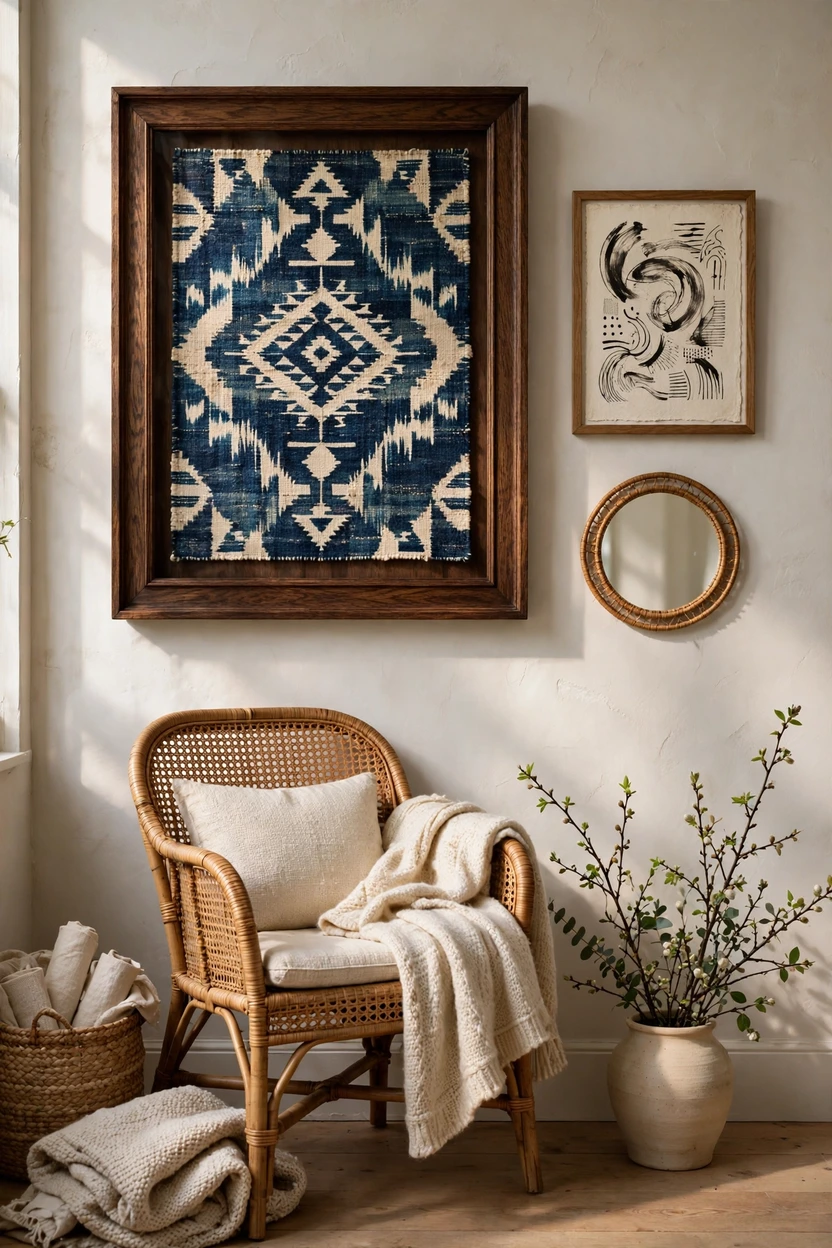
Frame a Textile as Art
Fabric brings texture that paint and paper can’t. Frame a vintage scarf, a woven piece or a small textile behind glass with a spacer, so the fabric doesn’t touch the glass. Hang it near paintings, or layer it with a mirror. Keep it out of direct sun so the colors don’t fade. A textile can also be the first piece you build the room’s palette around.
Layer Objects in Front of the Art
Depth comes from things that stand, not only things that hang. Set a vase, a small sculpture, a tray or a plant in front of a leaning or hung piece. Keep the front object shorter than the art, and don’t cover the part you love most. Put taller items on one side and a low item on the other, so the group makes a gentle triangle. This is the easiest way to make a plain shelf or console feel finished.
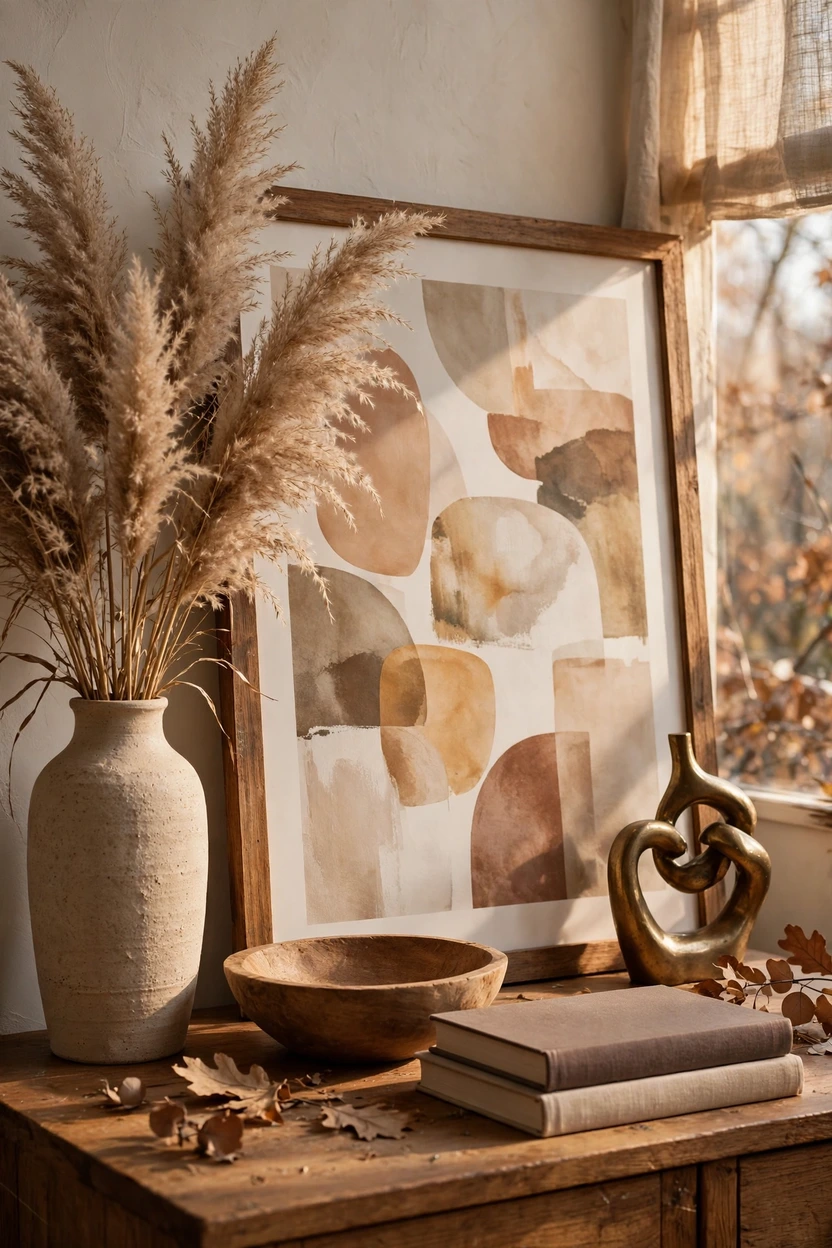
Light the Focal Point So It Glows
Good light makes the lead piece pop. Add a plug-in or battery picture light above the main piece, with a warm 2700K bulb. Avoid a strong downlight right above the art, which can throw ugly shadows, and watch for glare on glass. A floor lamp set to wash light across the wall also works well for layered groups. Keep valuable pieces out of strong direct sun, so they don’t fade.
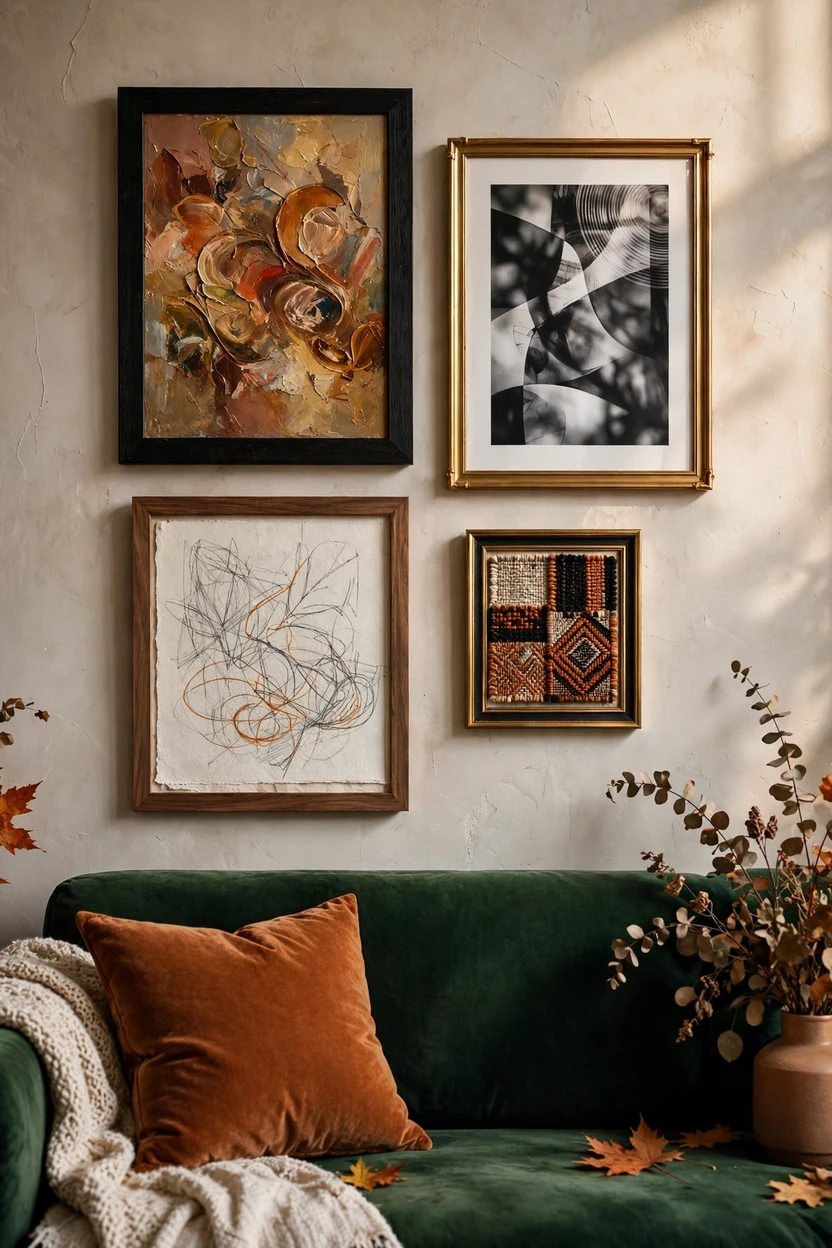
Mix Frames and Mediums With One Shared Color
A layered wall can include a painting, a photograph, a sketch and a textile, as long as something ties them together. Pick one color to repeat in at least three pieces, like rust or deep green. Use only two or three frame finishes, such as black, brass and wood, so the wall doesn’t feel random. Vary the sizes, with one large, a few medium and a few small. The shared color makes the mix look planned.
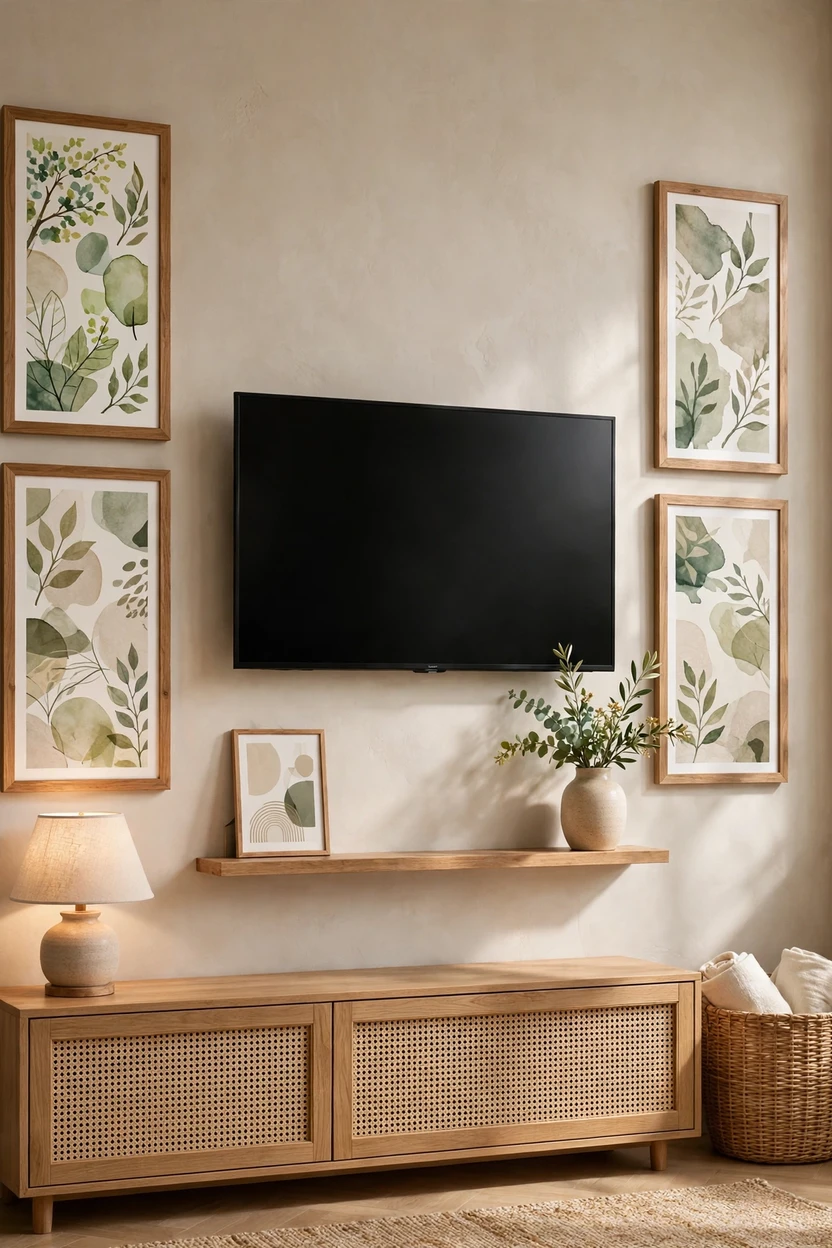
Balance the TV Wall With Art on Both Sides
A dark TV can steal the focal point when it is off. Place art on both sides of the screen, and layer a ledge or a pair of sconces nearby. Center the whole group on the TV, and keep the art about the same visual weight on each side. Use a slim console below with a lamp and a bowl to soften the cords. When the TV is on, the art frames it, and when it is off, the wall still looks good.
Layer Vertically on a Tall, Narrow Wall or Corner
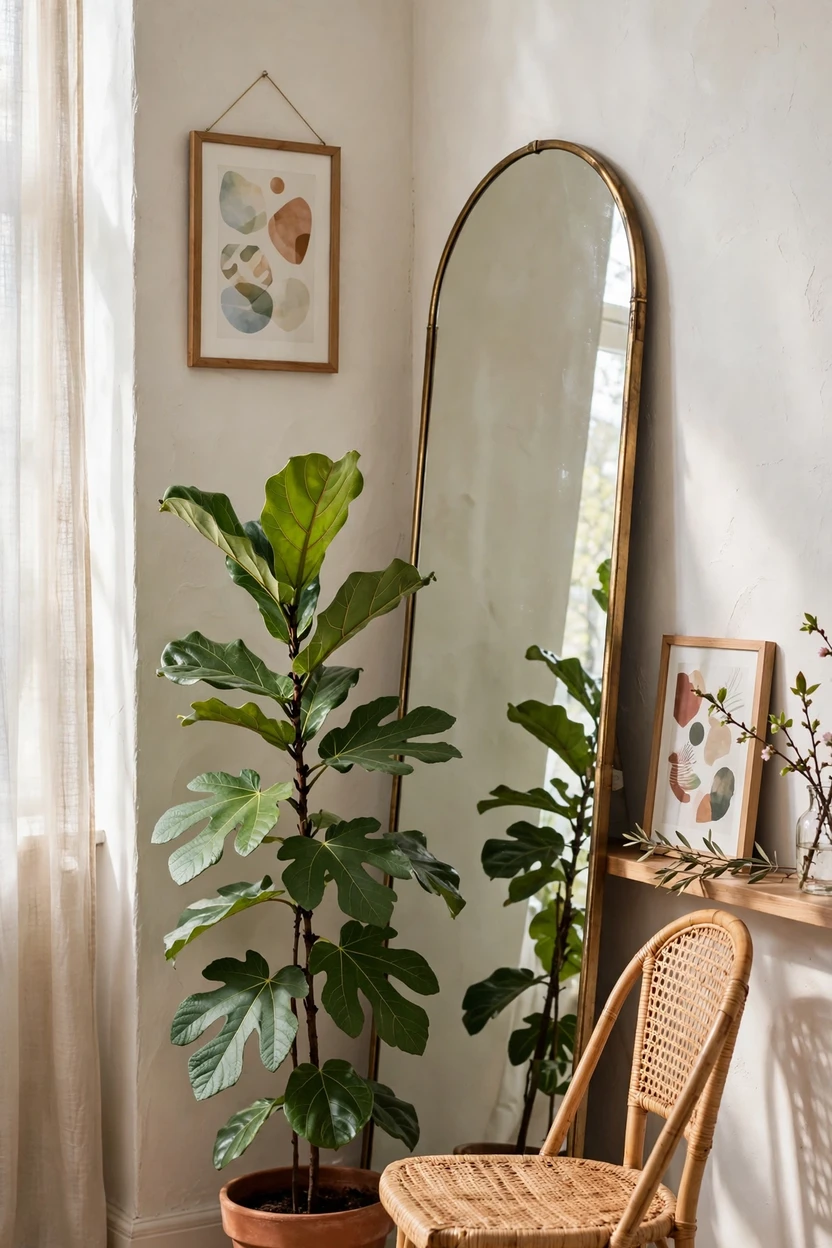
A narrow wall or corner suits stacking. Hang a tall mirror or a tall frame, add a smaller frame lower, and set a plant or a floor lamp at its base. A ladder shelf or a skinny ledge lets you lean a few small pieces, one above the other. Keep the width narrow and let height do the work. This pulls the eye upward and makes a low ceiling feel taller.
Lean Oversized Art on the Floor for an Easy Statement
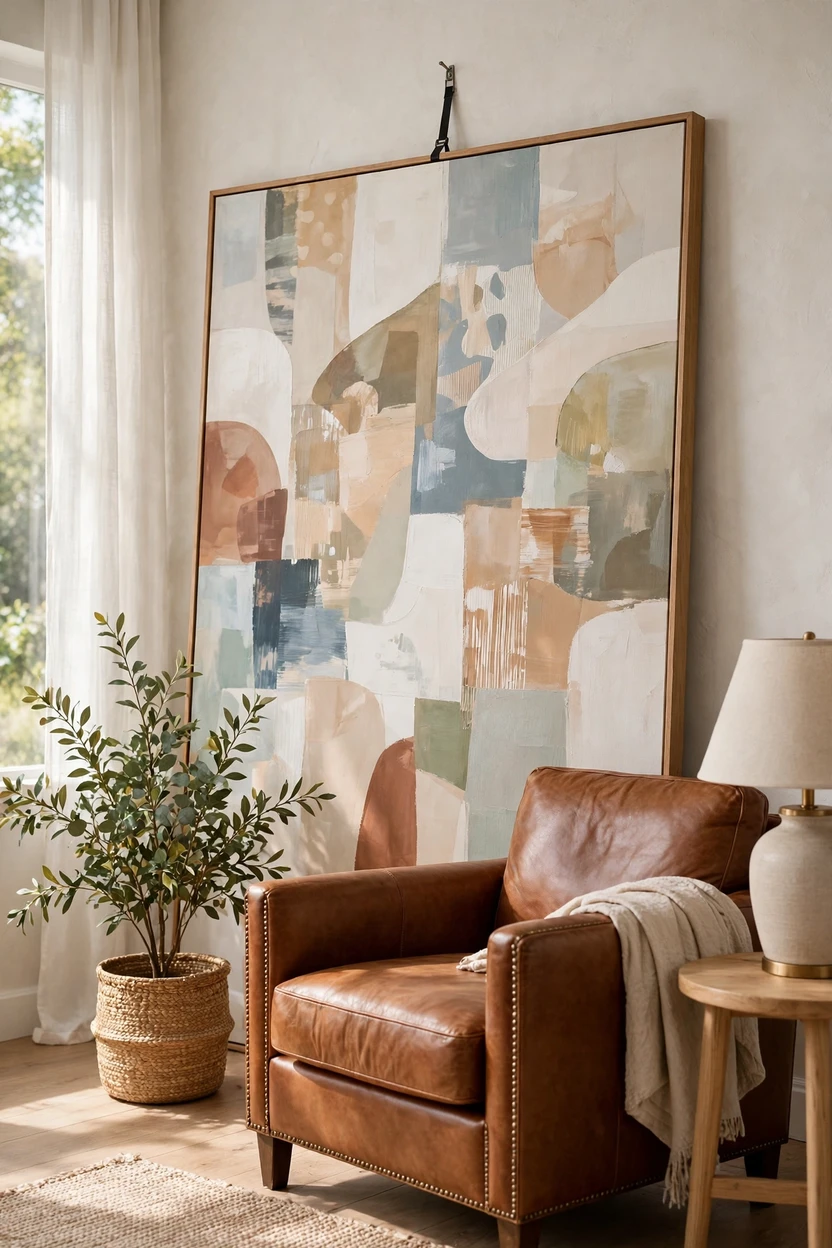
Leaning a huge piece on the floor makes a bold, relaxed focal point with no holes. Choose a frame at least 40 by 60 inches, and set it behind a chair, a plant or a low console. Use anti-tip putty or a small wall strap, especially around kids, pets or in areas with earthquakes. Pick sturdy frames with solid backs, and avoid heavy glass that could slide. It is a great option for renters.
Use a Hanging Rail or Ledge So the Layers Can Change
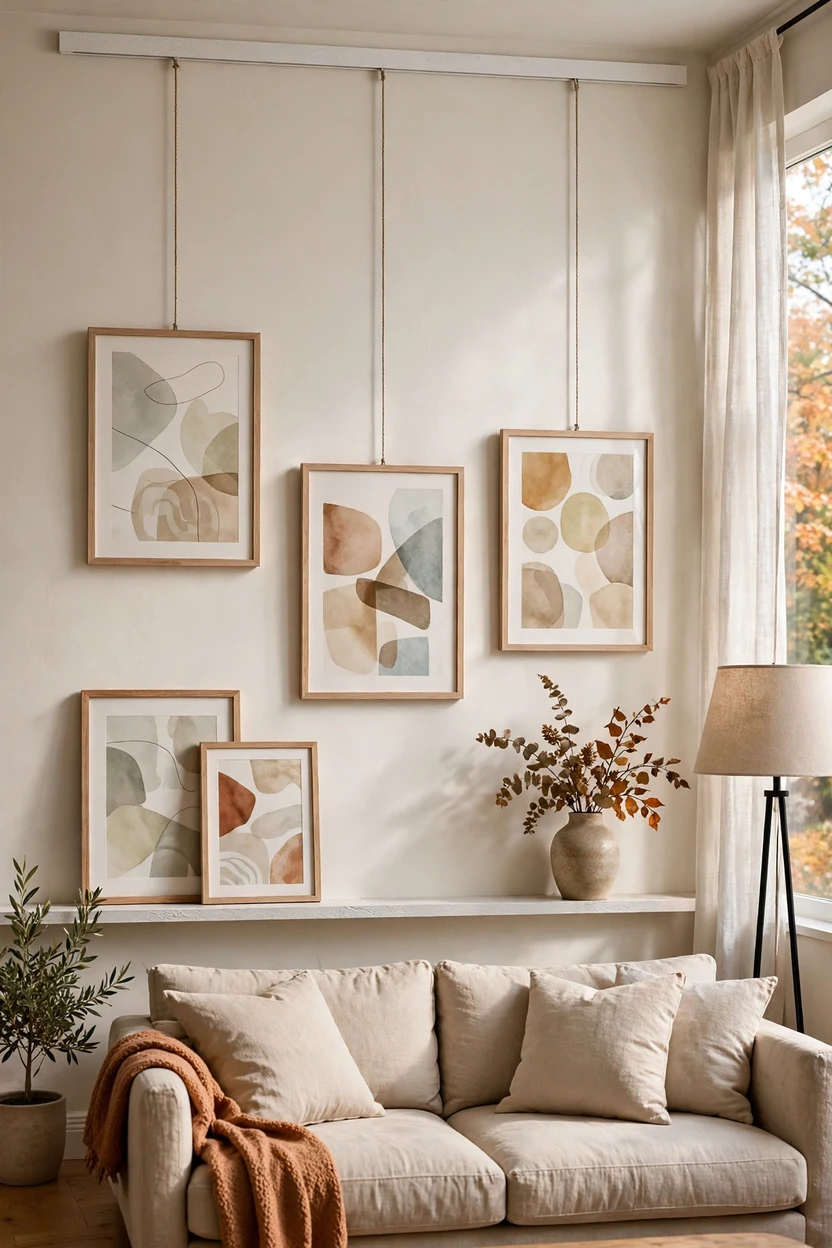
A layered wall should be able to grow and change. Install a picture rail or a rail hanging system, or a long ledge, and swap pieces whenever you like. Change one piece each season, and remove one item when you add a new one, so the wall stays edited. For heavy pieces, use studs or proper anchors, and put two hooks on large frames, set about a third of the frame’s width apart. A changing wall keeps the focal point fresh.
Styling Tips and a Wall Art Numbers Cheat Sheet
These rules keep a layered wall calm and clear.
The one-lead rule: one piece should be the star. Everything else supports it.
The three-layer rule: a back layer (the anchor), a middle layer (smaller frames or a mirror) and a front layer (objects like a vase or a lamp).
The repeat rule: repeat one color, one material or one shape at least three times.
Related: 20 Luxury Living Room Color Palette Ideas Designers Approve
The breathing-room rule: leave empty wall around the group. Space makes the layers look intentional.
Wall Art Numbers Cheat Sheet
- Center height for a single piece: about 57 inches from the floor (57 to 60 inches in high rooms).
- Above furniture: bottom edge 6 to 8 inches above a sofa, console or mantel. Some designers use up to 10 inches.
- Width above furniture: about two-thirds to three-quarters of the furniture width.
- Gallery wall center: about 57 inches for the whole group.
- Space between frames: 2 to 3 inches.
- Overlap on a ledge: about a quarter to a third of the frame behind.
- Picture ledge depth: 3 to 5 inches, with a front lip.
- Mount a ledge: 6 to 10 inches above furniture.
- Above a mantel: at least 4 to 6 inches higher.
- Large frame hooks: two hooks, about a third of the frame width apart.
- Picture light bulb: warm white, around 2700K.
- Frame finishes to mix: two or three.
Trends in Living Room Wall Art
Oversized statement art is still a favorite, but gallery walls have relaxed into looser, more personal groups. Vintage pieces, framed textiles, textured plaster art, picture ledges and leaning art are all popular, along with warm neutrals and earthy colors. The most current look is a mix: one big anchor with a few smaller layers around it, in your own mix of old and new.
Practical Ways to Put It Into Action
Try this order over a weekend or two.
- Step 1: Choose the wall and the lead. Decide which wall is your focal wall, and pick the anchor piece.
- Step 2: Measure and mark. Measure the furniture width, mark the center and test the size with paper or painter’s tape.
- Step 3: Hang the anchor first. Use the 57 inch and 6 to 8 inch rules, and use proper hardware.
- Step 4: Add the middle layer. Add a mirror, a ledge or smaller frames around the anchor with 2 to 3 inches between them.
- Step 5: Add the front layer. Place a lamp, a vase or a stack of books, and add a picture light.
- Step 6: Step back and edit. Look from the door and from the sofa, and remove one thing.
Common Mistakes to Avoid
- Choosing art that is too small. A tiny print over a big sofa looks lost.
- Hanging art too high. It floats away from the furniture and the eye.
- Layering same-size pieces. They block each other and look cluttered.
- Creating several competing focal points. Pick one lead and let the rest support it.
- Skipping the shared thread. Without a repeated color or material, mixed pieces look random.
- Covering the best part of the art. Overlap the corners, not the center.
- Forgetting lighting. A dark wall hides the effort.
- Using weak hardware. Heavy mirrors and big frames need studs or anchors.
- Leaning glass without securing it. Use putty or a strap, especially around kids and pets.
- Putting art too close to heat or sun. Keep it away from direct sun and fireplace heat.
Small-Space Alternatives
- Use one hero piece and two small supporting pieces, instead of a large gallery.
- Layer vertically on a narrow wall, using a tall mirror and a small frame.
- Use a slim ledge, about 3 inches deep, instead of deeper shelves.
- Lean a mirror to open up the room and bounce light.
- Hang art lower, close to furniture, to make the ceiling feel higher.
- Choose a light, tonal palette so the layers feel calm.
- Use a console or a slim shelf for a layered vignette in place of a wall of frames.
- Keep the floor clear, and use wall hooks or a rail for lamps and bags.
Budget-Friendly Alternatives
- Spend on the anchor only. Buy or frame one great piece, and fill the rest with low-cost items.
- Use thrifted frames. Paint them one color for a matching look.
- Print your own art. Use free or low-cost prints, and get them framed.
- Frame fabric. A scarf, a napkin or a remnant makes unique art.
- Add a thrifted mirror. Clean it well and layer it in front of a larger frame.
- Use kids’ art. A big white mat and a simple frame make it look planned.
- Use what you own. Lean books, trays and bowls in front of art for free layers.
- Buy a ledge, not a gallery of hooks. One shelf holds many pieces.
A good rule: spend on the lead piece and good hardware, and save on everything that can be swapped later.
Pro Styling Recommendations
- Use paper templates. Cut paper to size, tape it to the wall and move it before drilling.
- Follow the furniture, not the wall. Center art on the sofa, not on the wall, if they don’t match.
- Use two hooks for large frames. The piece sits square and doesn’t drift.
- Choose mats and frames wisely. Wider mats make small art feel bigger.
- Keep a tonal thread. Repeat one warm tone across layers.
- Light from the side or above at an angle. Avoid glare on glass.
- Rotate pieces. Move a few pieces between rooms every season.
- Photograph the wall. Look at the photo, since it shows what to fix.
FAQs
What does layering wall art mean?
Layering wall art means overlapping or stacking art, mirrors, shelves and objects at different sizes and depths, so they work as one group. A good layered wall has one clear lead piece with smaller pieces and objects around it.
How high should I hang art above a sofa?
Hang the bottom edge about 6 to 8 inches above the back of the sofa, and center the art on the sofa. If the art sits on a blank wall, center it at about 57 inches from the floor.
What size art should go above a sofa?
Choose art about two-thirds to three-quarters of the sofa’s width. A 36 inch piece over a 60 inch sofa is a good fit, while a tiny print over a long sofa looks lost.
Related: 19 Sofa Color Psychology Ideas for Your Living Room
How far apart should frames be on a gallery wall?
Keep the gaps even at about 2 to 3 inches, and treat the group as one shape. Center the full arrangement at about 57 inches from the floor.
How do I layer art on a mantel?
Lean a large piece or a mirror at the back, then set a smaller frame in front, overlapping it by about a quarter to a third. Add a candle, a vase or books at one end for height, and secure leaning pieces with putty.
How do I create a focal point with wall art?
Choose one large anchor piece, hang it first and keep other pieces smaller and more quiet. Add a mirror or a ledge for layers, and use a warm picture light to draw the eye.
Can I layer wall art without drilling?
Yes. Lean art on a mantel, console, shelf or the floor, and layer smaller frames and objects in front. Use putty or a strap for stability.
How many frame finishes should I mix?
Two or three finishes, such as black, brass and wood, usually look collected. More than that can feel random unless one color ties the pieces together.
Are gallery walls still in style?
Yes, but they look looser and more personal now. Many people pair one oversized anchor with a few smaller layers, a ledge or a mirror.
What lighting is best for wall art?
A warm picture light around 2700K or a floor lamp that washes the wall works well. Avoid strong downlights right above the art and keep pieces out of direct sun.
Final Thoughts
A layered wall isn’t about hanging more. It is about giving the eye a clear lead and a few quiet supporters. When the anchor is the right size, the heights are right and the layers overlap with care, the room finally has a place to look.
Start with one big piece and the measuring tape. Add a mirror, a ledge or a lamp, then step back and remove one thing. Your focal point will feel natural, and it will keep changing with you.