18 Christmas Village Display Ideas for a Magical Corner
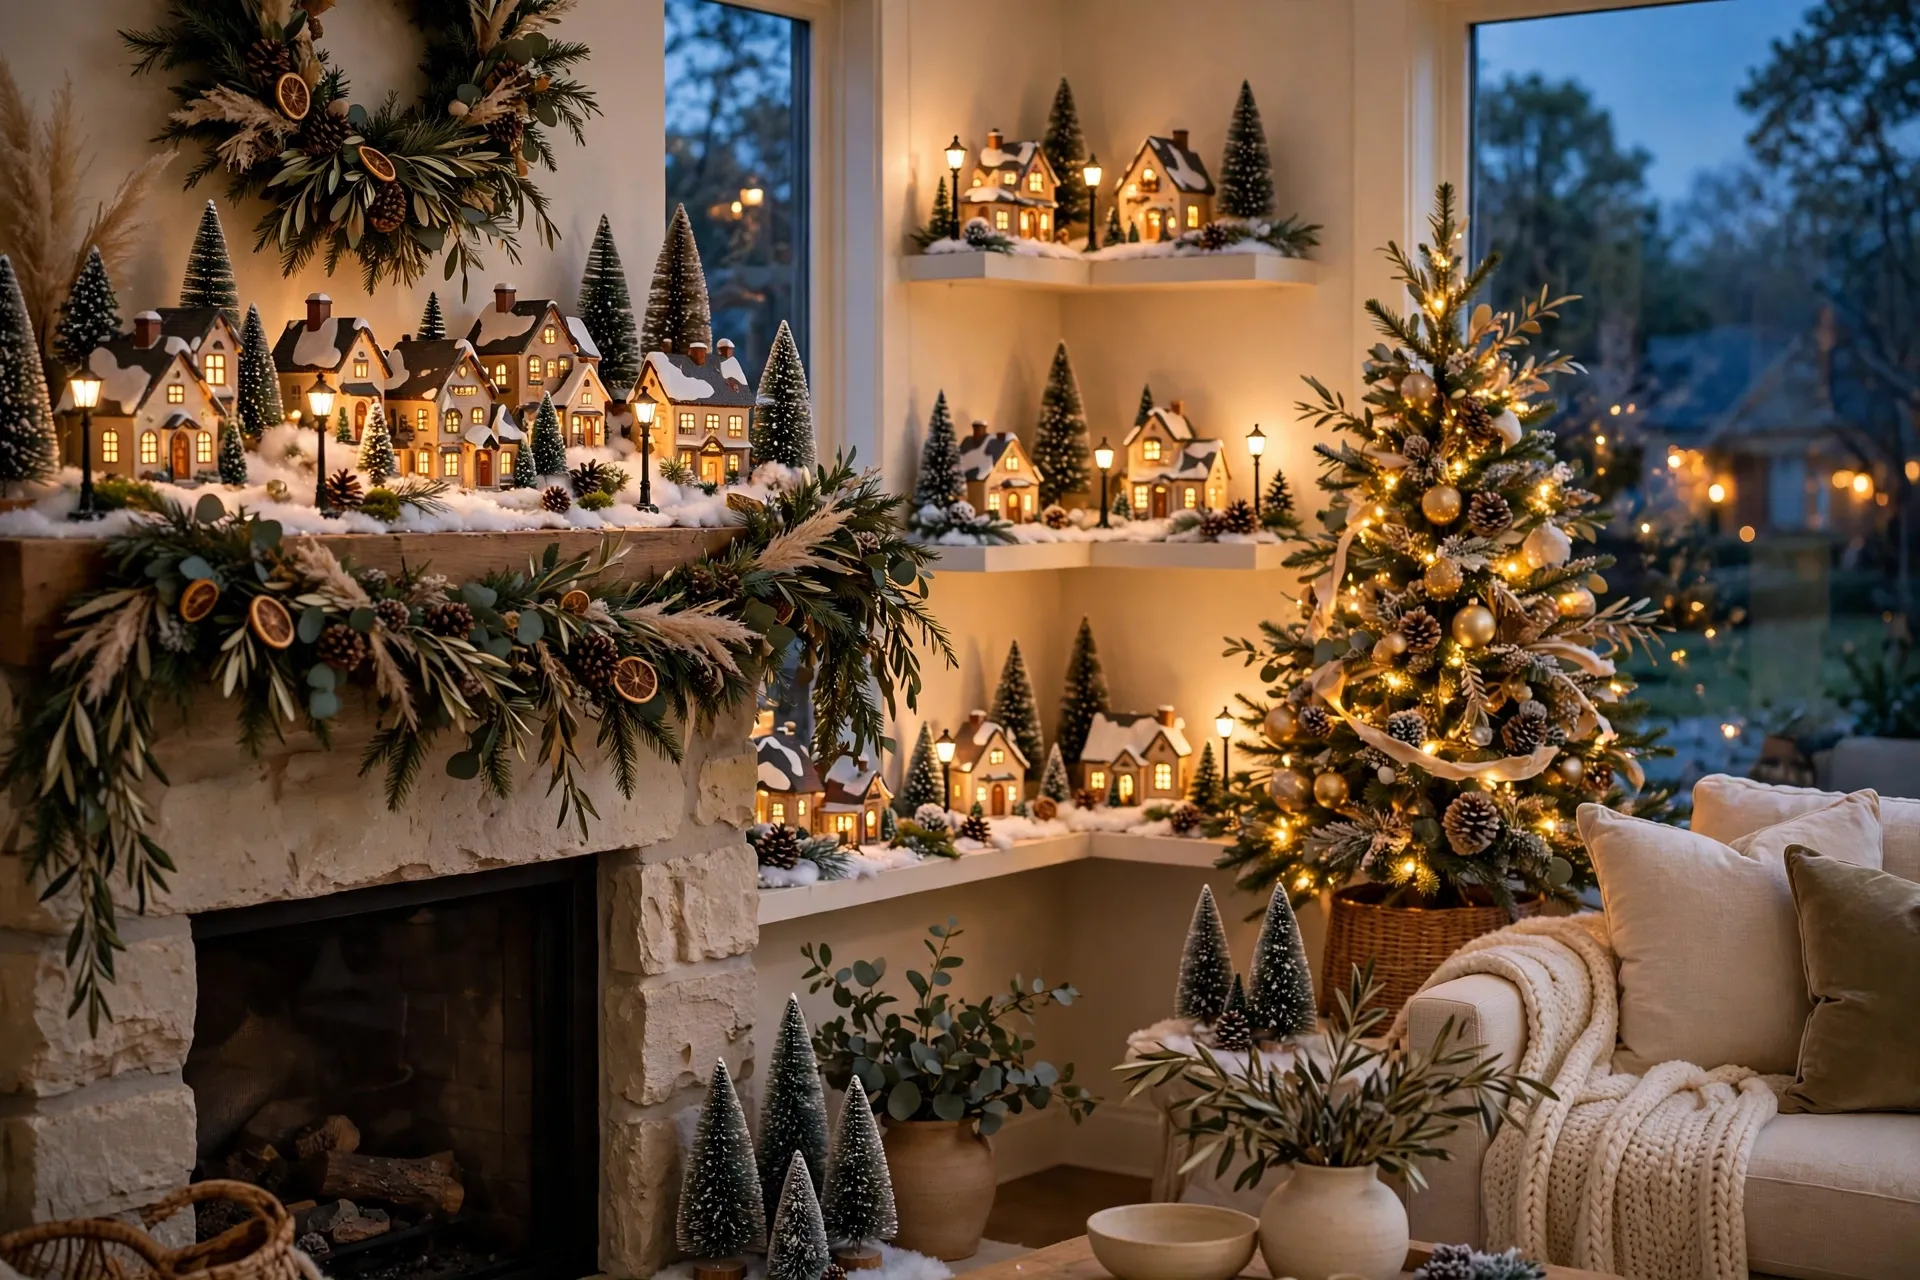
A tiny lit window in a dark corner can stop you mid-step. That is the pull of a Christmas village: a whole small town glowing on a shelf, a mantel, or a table, with snowy roofs, little trees, and streets that invite a closer look.
You do not need a large collection or a large room to build one. Three houses, a strip of snow, and one warm strand of light can fill a corner with Christmas feeling, and the ideas below show how to shape that corner for the space you have, the pieces you own, and the budget you want to keep.
Quick Answer
A Christmas village display is a miniature holiday scene built from small houses, trees, figures, lights, and snow effects on a mantel, shelf, sideboard, table, or windowsill. The best spot is a flat, stable surface near a plug, or a spot where battery lights can do the work instead. Build levels with risers or books hidden under snow, group houses into small scenes with gaps for streets, and light the houses first before adding fairy lights behind them. Three to six houses are enough for a small corner, while a large collection suits a long mantel or a wide sideboard. Keep cords hidden under the snow, keep lit pieces clear of curtains and hot bulbs, and store the houses wrapped in tissue when the season ends.
1. A Classic Mantel Village with Stepped Levels
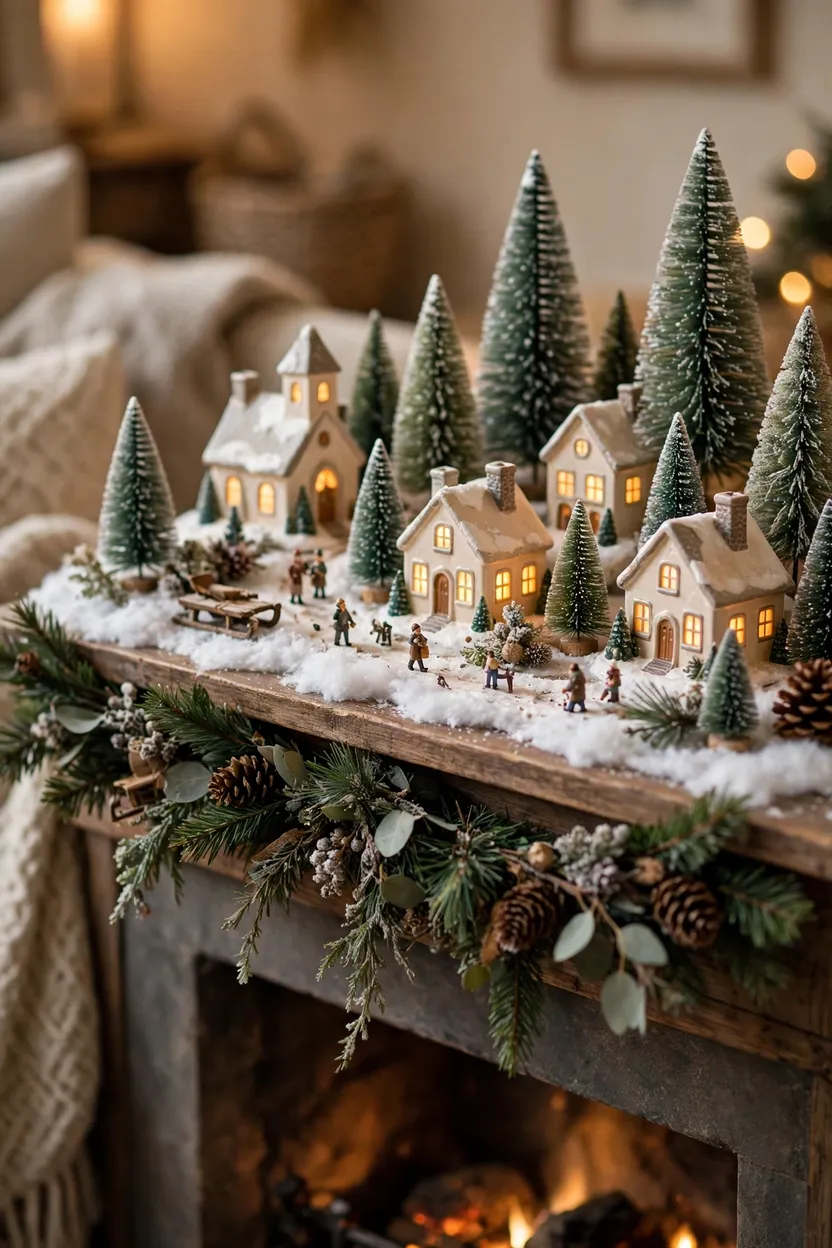
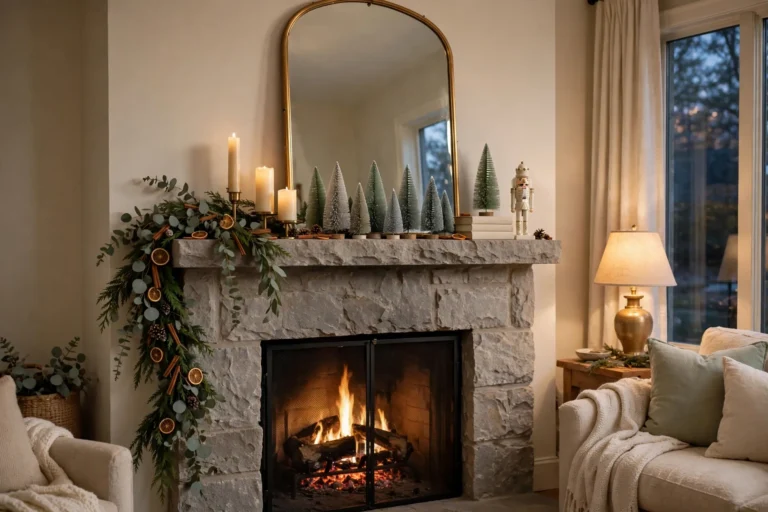
A mantel is the natural home for a village because it sits at eye level and puts every lit window right where you can see it. Lay a snow blanket or a strip of white cotton batting across the whole length, then tuck the edges under so no bare wood shows at the front. Set the tallest building, often the church, near the center back, and step shorter houses down toward each end so every roof stays in view. Weave a warm white fairy light strand behind the back row and place battery tea lights inside unlit houses so the glow feels even. Finish with bottle brush trees in mixed heights, a few tiny figures on the snowy path, and a plain garland along the front edge to frame the scene.
2. A Corner Nook with L-Shaped Shelves
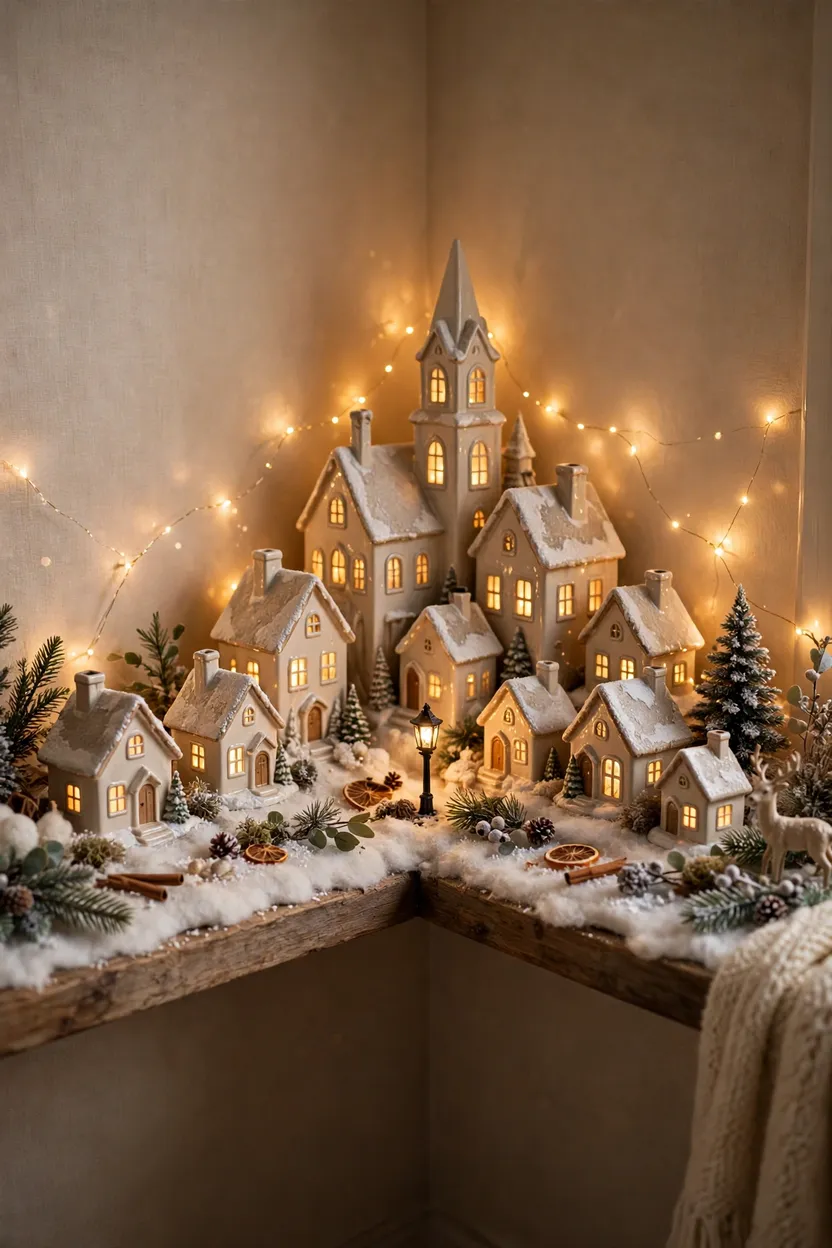
A quiet corner can hold a whole village when you build into the angle instead of fighting it. Set two narrow shelves or a small corner shelf unit at right angles, then run the village along both arms so it wraps the corner like a street turning a bend. Place the tallest houses tight into the back corner, where the walls meet, and let smaller cottages step forward along each side. A triangular base cut from white felt or foam board hides the shelf edges and gives the snow a neat shape that fits the corner. Add one warm light strand along the back wall, a tiny lamppost at the bend, and three or four trees to soften the hard corner lines.
3. A Village Ring Around the Tree Base

A ring of houses around the tree base turns the floor under the tree into the heart of the village. Spread a snow blanket over the tree skirt, then set the houses in a loose circle with their fronts facing out toward the room. Keep a small gap between each house so the snow reads as a street, and tuck bottle brush trees into the gaps for height. Use battery lights inside the houses so no cords cross the floor where feet and paws pass. A tiny train track or a ring of fairy lights around the outer edge ties the circle together and draws the eye all the way around.
4. A Windowsill Village with Battery Lights
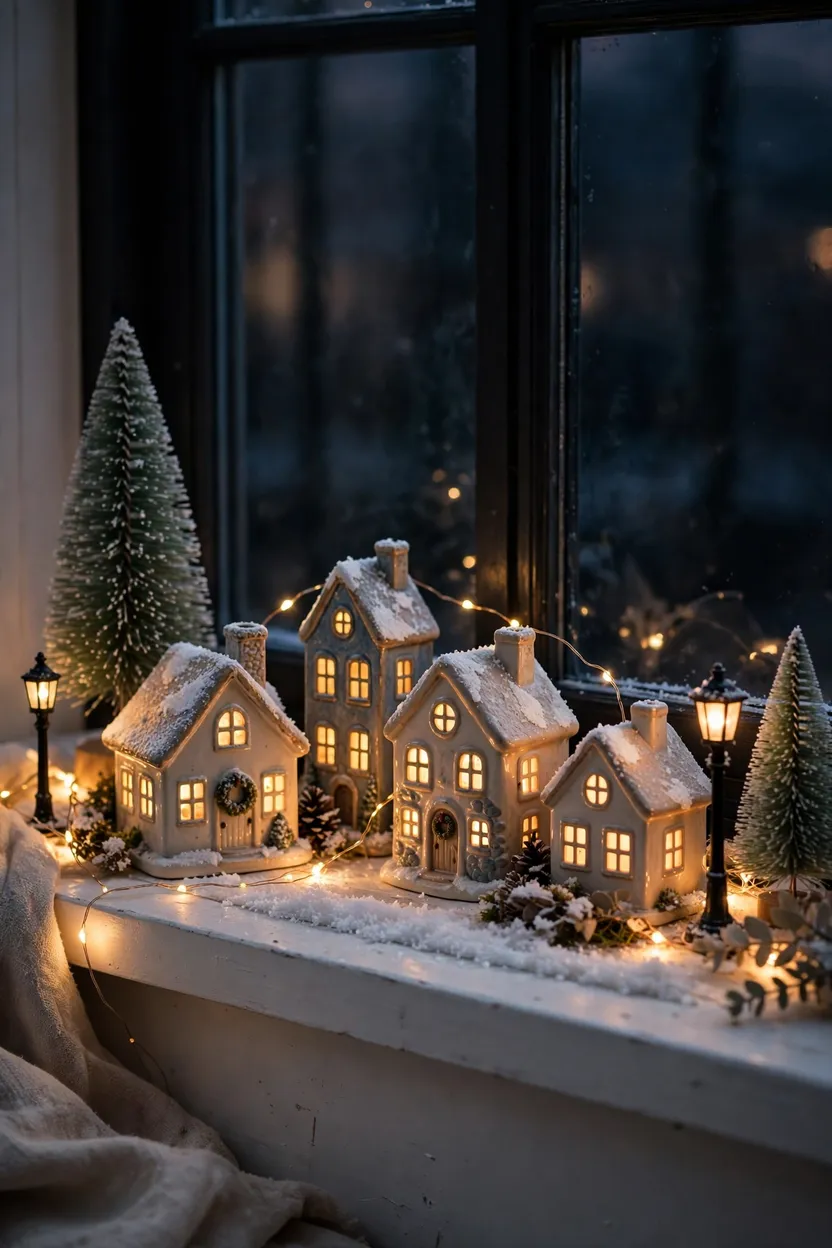
A wide windowsill gives a village daylight by day and a dark glass backdrop by night, which makes lit windows glow even brighter. Line the sill with a narrow strip of snow blanket, then set three to five houses in a row with the tallest one near the middle. Leave space at each end for a small tree and a lamppost so the row does not run hard into the window frame. Battery houses work best here because most sills sit far from a plug, and a timer keeps them glowing at dusk without daily fuss. Keep the houses clear of curtains and blinds, and wipe the sill dry on damp days so the bases stay clean and steady.
5. A Long Sideboard Village with Streets and a Square
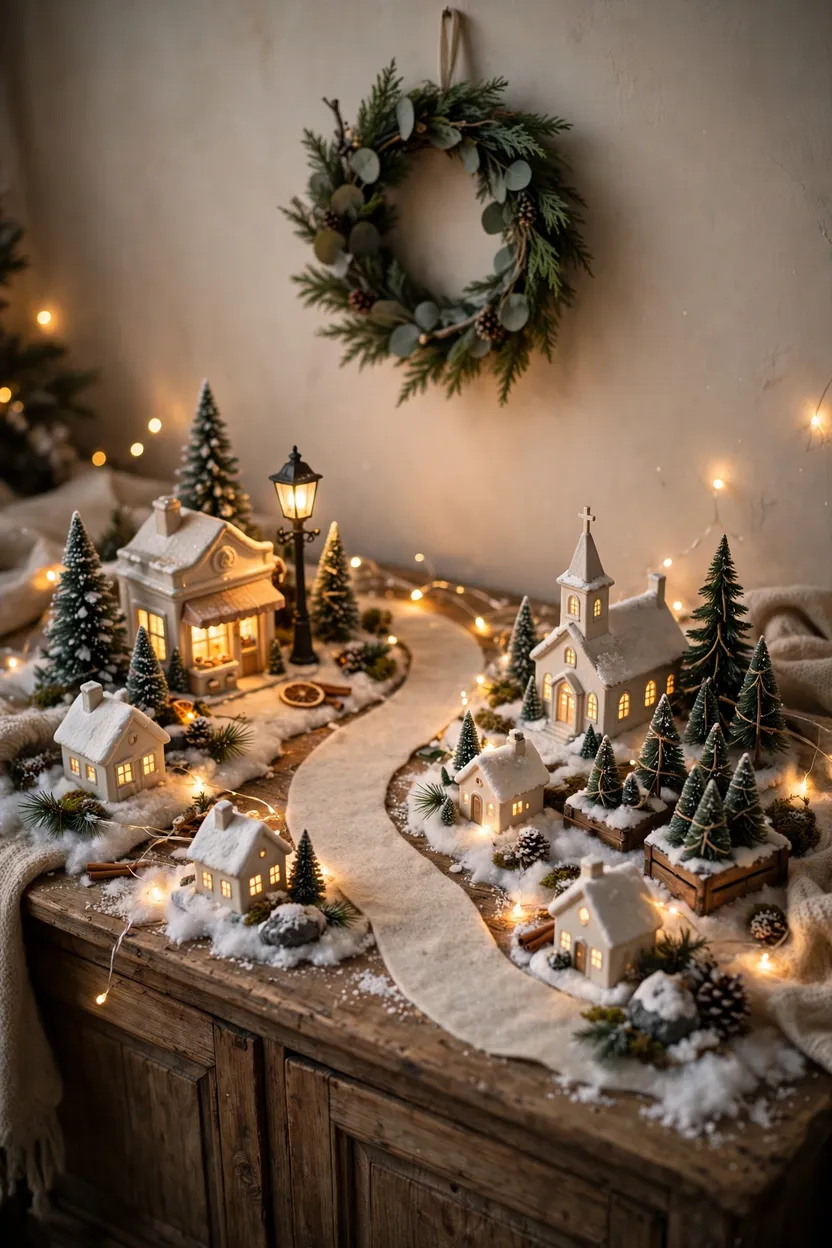
A long sideboard gives a village the depth a mantel cannot, with room for streets, a square, and a foreground of trees. Start with a white runner or a length of cotton batting, then build two low levels with books or wooden boxes hidden under the snow. Group the houses into small clusters, such as a bakery beside a lamppost and a church beside a tree lot, instead of spacing them in one even line. Run a curved path of pale felt or fine white gravel between the clusters so the eye wanders through the town like a visitor. Hang a wreath or a simple garland on the wall above to frame the scene, and keep the front edge clear so nothing slides off when the drawers open.
6. A Bookshelf Village Between the Books
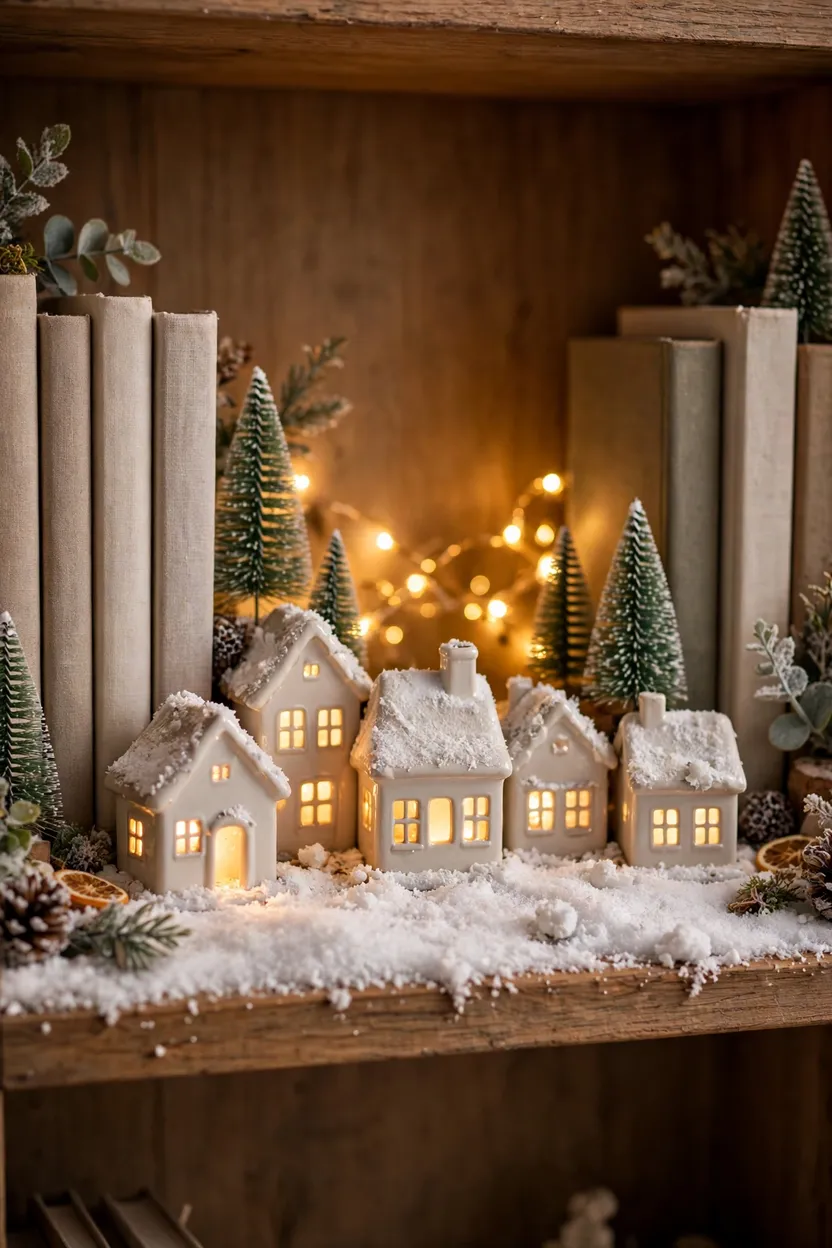
One cleared shelf can hold a complete village, and the books around it make the scene feel like a story come to life. Line the shelf with snow blanket, then set five or six houses along it with the tallest near the center. Stand books upright at both ends as bookends, and let a few small trees peek out between the spines for a wooded edge. A short battery light strand tucked behind the houses gives the whole shelf a soft glow without a cord trailing down the bookcase. Keep the shelf above and below simple, with plain books and one small pine sprig, so the village shelf stays the clear focal point.
7. A Tiered Tray Village for a Table or Island
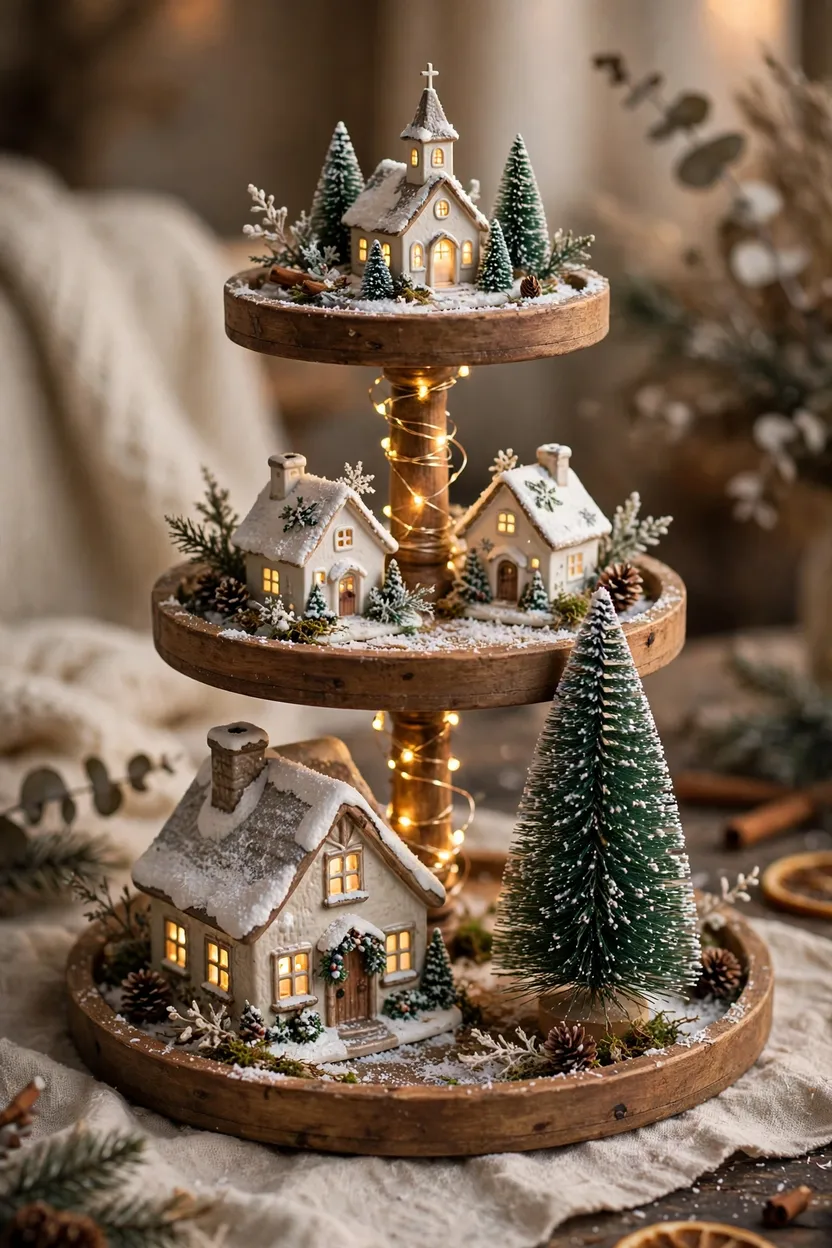
A two or three tier tray turns a handful of houses into a stacked village that fits on a coffee table or kitchen island. Cover each tier with a thin layer of fake snow, then place the largest house and the tallest tree on the bottom tier. Set smaller cottages and a tiny church on the upper tiers, with a few trees and figures to fill the gaps. A short strand of fairy lights wound around the center post lights every level at once and hides neatly behind the houses. The whole tray lifts off the table in seconds when guests arrive, which makes it the easiest village to live with through the season.
8. A Village Under a Glass Cloche
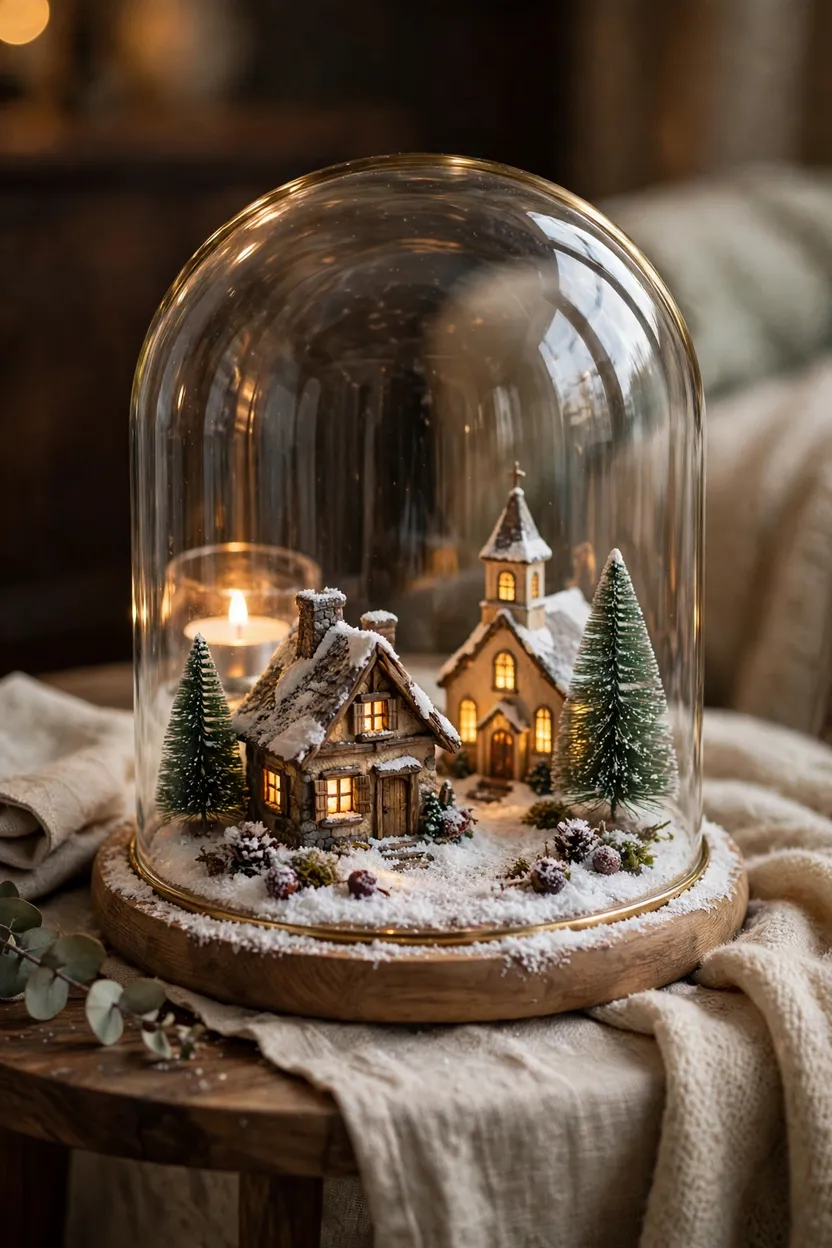
A glass cloche turns three small buildings into a display that looks deliberate and cared for, even in a tiny room. Set a round wooden base or a white plate on a side table, then arrange one cottage, one tiny church, and two bottle brush trees inside the dome. Sprinkle fake snow over the base and tuck a battery tea light behind the cottage so the windows glow through the glass. The dome keeps dust off the houses and keeps small hands and curious pets from moving the pieces. Place the cloche where light can hit it, such as near a window or a lamp, and the glass will catch the glow and make the scene shine.
9. A Village Scene Inside a Large Lantern
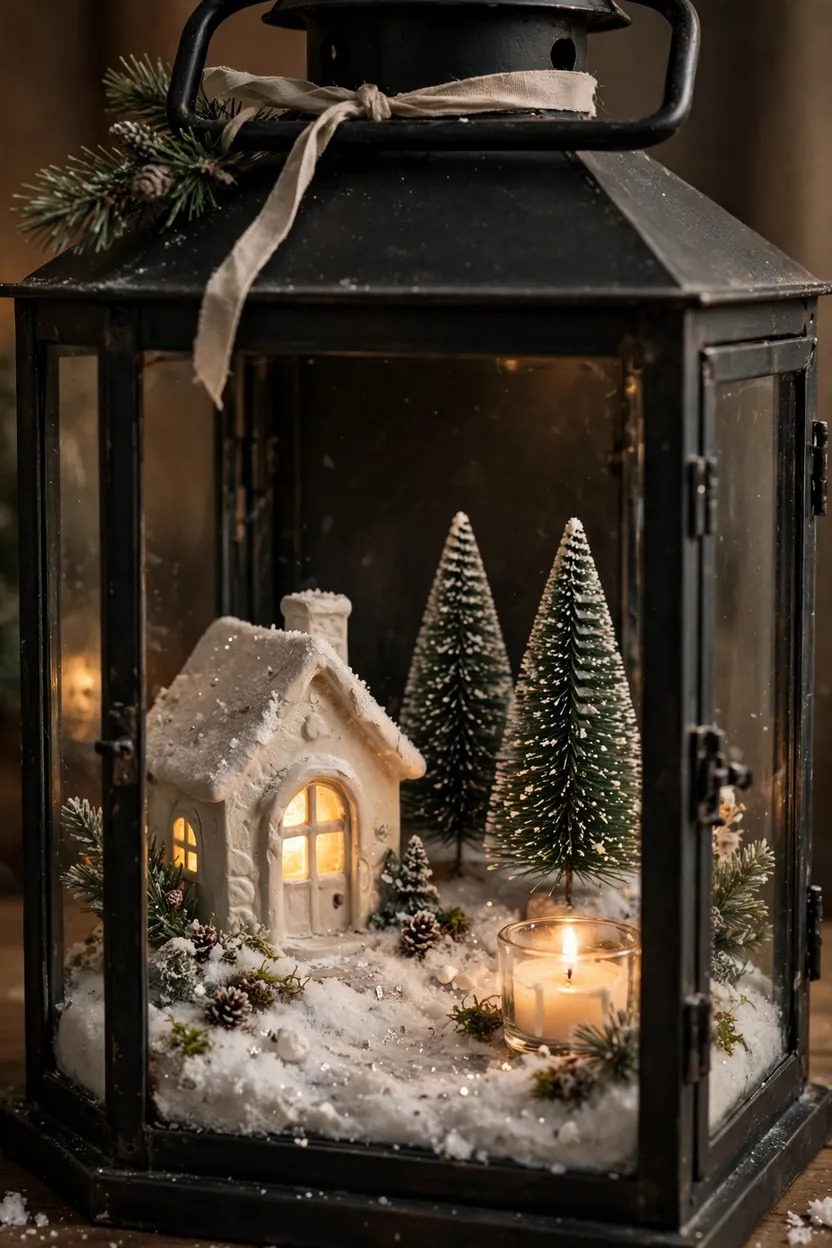
A large lantern holds a whole village scene behind glass, and it can move from a shelf to a table to the porch with no extra setup. Open the lantern door and set a small cottage, two trees, and a dusting of fake snow on the lantern floor. A battery candle or a short fairy light strand inside gives the scene a warm glow while staying safe behind the glass. Tie a thin ribbon and a small pine sprig around the handle to link the lantern to the rest of your Christmas decor. Use one lantern as a single quiet scene, or group two lanterns of different heights on a console for a small village street.
10. A Vintage Suitcase Village with a Lid Backdrop

A vintage suitcase opens into a ready-made village base with high sides that keep every piece in place. Line the open case with snow blanket, then set the houses along the back edge and the trees and figures toward the front. Prop the lid open against the wall and hang a small paper star or a short garland inside it to frame the scene. The raised sides hide cords and battery packs, and the handle makes the whole village easy to carry to another room. Look for a light, clean case at a thrift shop, and wipe it down well before you set the houses inside.
11. An All White Ceramic Village
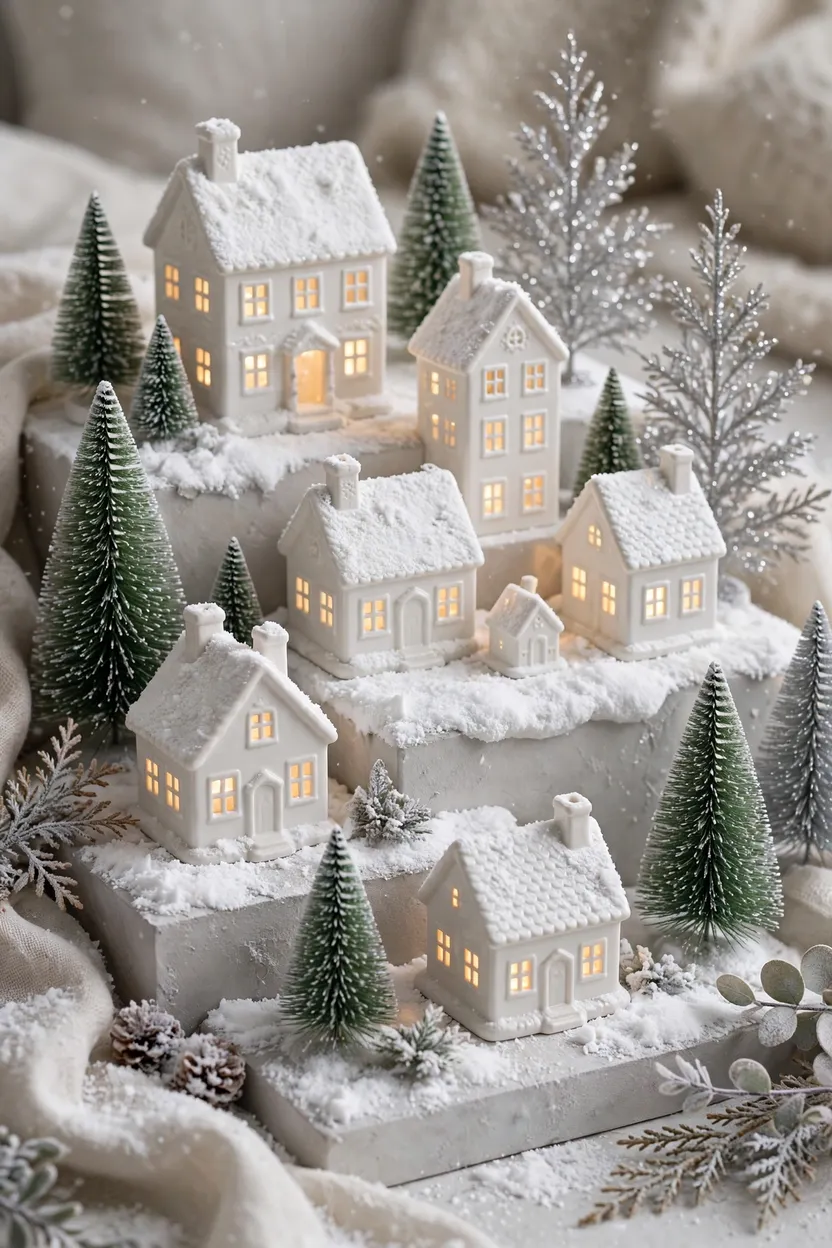
An all white ceramic village glows softly even before the lights go on, because every roof and wall catches the same pale light. Set the houses on a white or pale gray base so the scene reads as one calm snow town instead of a mix of colors. Vary the heights with small risers hidden under the snow, and mix tall narrow houses with low wide cottages for shape. Warm white lights inside the houses matter most here, since the white walls throw the glow back into the room. Add only green bottle brush trees and a few silver or gold trees, and skip bright red figures so the pale palette stays quiet and restful.
12. A Snowy Hillside Village That Climbs
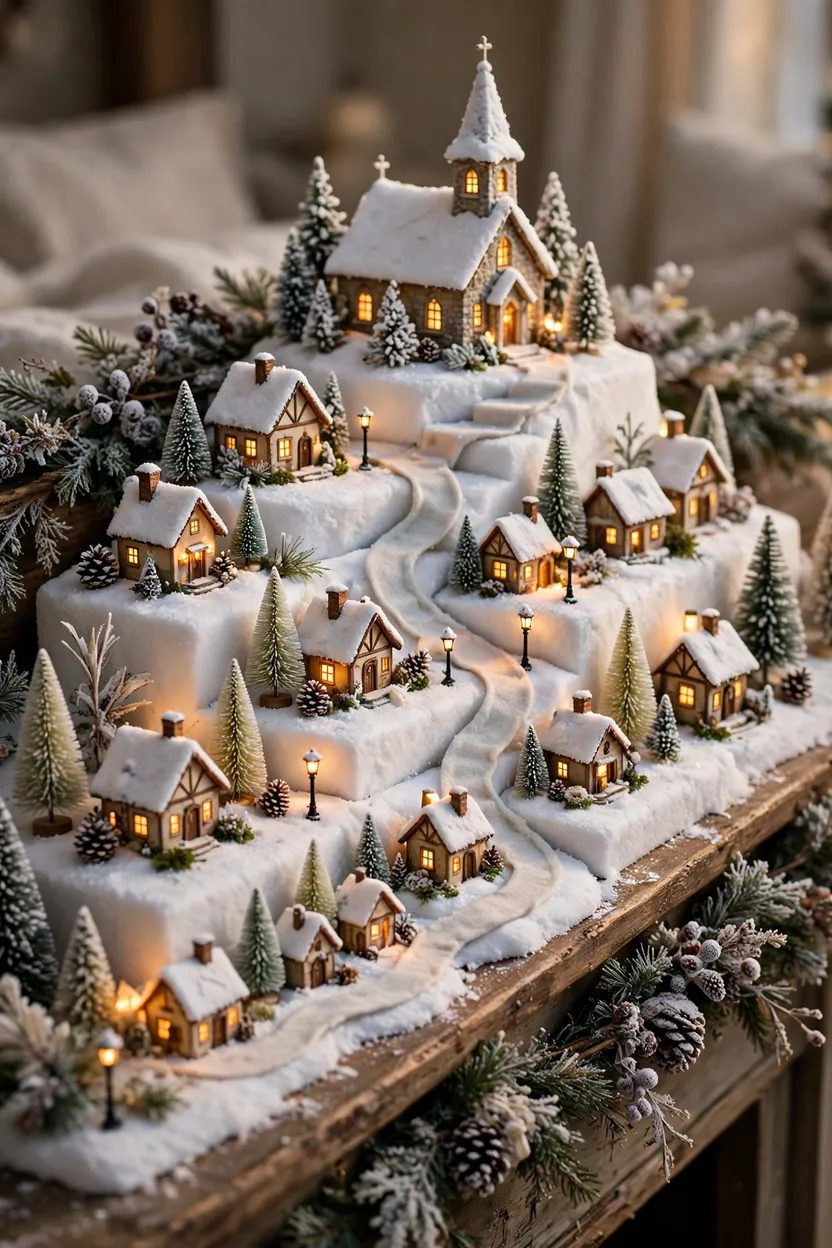
A hillside village climbs from one end of the table to the other, like a mountain town built on a slope. Stack sturdy boxes or foam steps under a snow blanket at the high end, then step the layers down toward the low end. Place the tallest houses and the church on the top step, mid-size houses on the middle step, and the smallest cottages near the front edge. A winding path of pale felt or fine sand curves down the slope, with tiny trees and lampposts marking each turn. This layout suits a long mantel or a wide sideboard best, where the slow climb has room to unfold without crowding the houses.
13. A Village with a Working Train
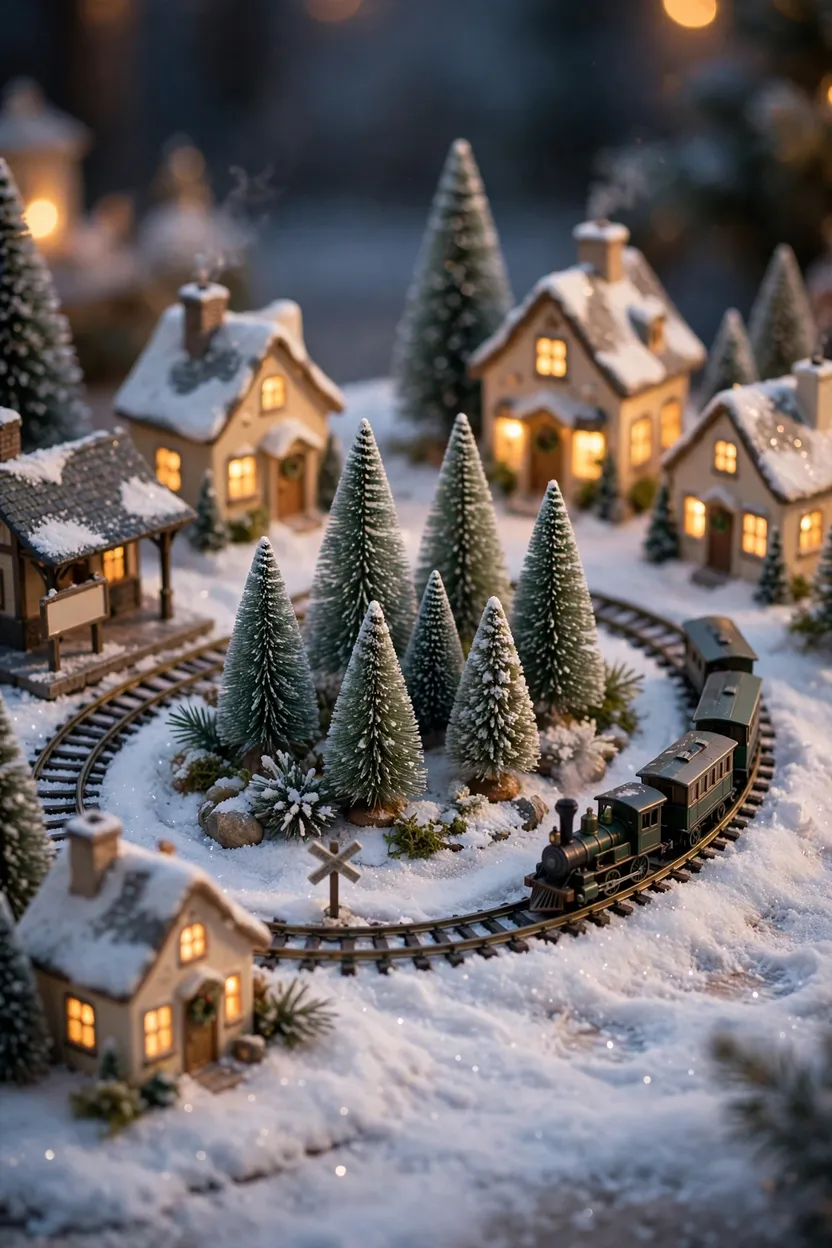
A working train gives a village motion, and the slow loop around the houses keeps eyes on the scene far longer than a still display. Lay a small oval track on the snow base first, then set the houses just outside the track so the train passes their front doors. Add a tiny station, a crossing sign, and a few trees inside the oval to fill the middle without blocking the view of the train. Battery trains run quietly and need no plug, which makes them a good choice for a table or a shelf far from a wall socket. Keep the track level and clear of loose snow, and check the train runs smoothly before you add the smallest figures near the rails.
14. A Gingerbread and Candy Village

A gingerbread village brings color and sweetness to the corner, with candy trim and frosted roofs that children love to spot. Set cardboard or ceramic gingerbread houses in a row on a wooden tray, then add candy cane trees and gumdrop bushes along the front. A dusting of white glitter or fine fake snow over the roofs reads as frosting and ties the bright colors together. Keep the palette to red, white, and soft brown, with one mint green accent, so the scene stays sweet instead of busy. Place this village up high or behind glass if small children visit, since the candy look invites little hands to touch.
15. A Victorian Town Square Village
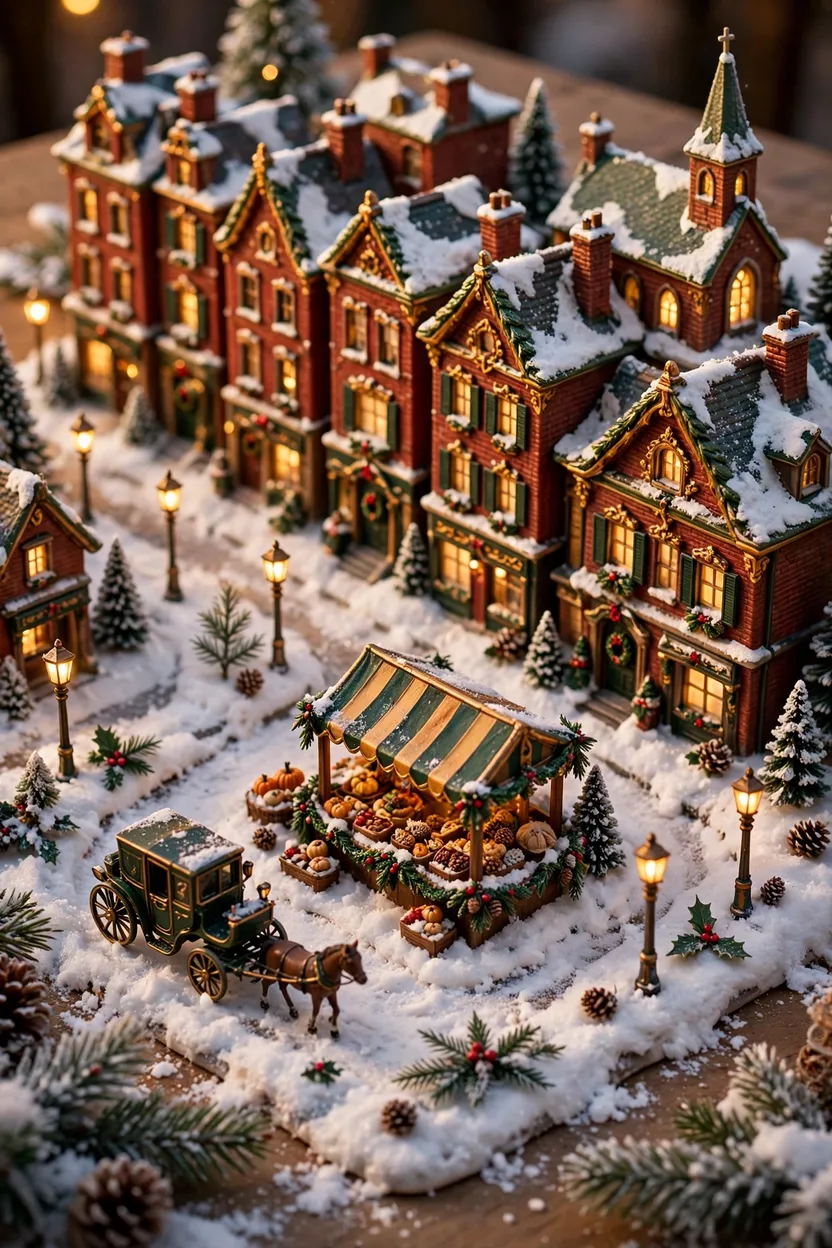
A Victorian town square groups tall shops and townhouses close together, like a busy downtown street from long ago. Place three or four tall buildings side by side near the back, then leave a small open square in front for figures and a market stall. Tiny lampposts, a horse-drawn carriage, and formally dressed figures add the old-fashioned details that make this theme feel real. Deep red, forest green, and warm gold trim suit this look, with snow piled thick against the walls and along the street edges. A church with a tall steeple at one end anchors the whole row and gives the eye a clear place to rest.
16. An Alpine Chalet Village with a Frozen Pond
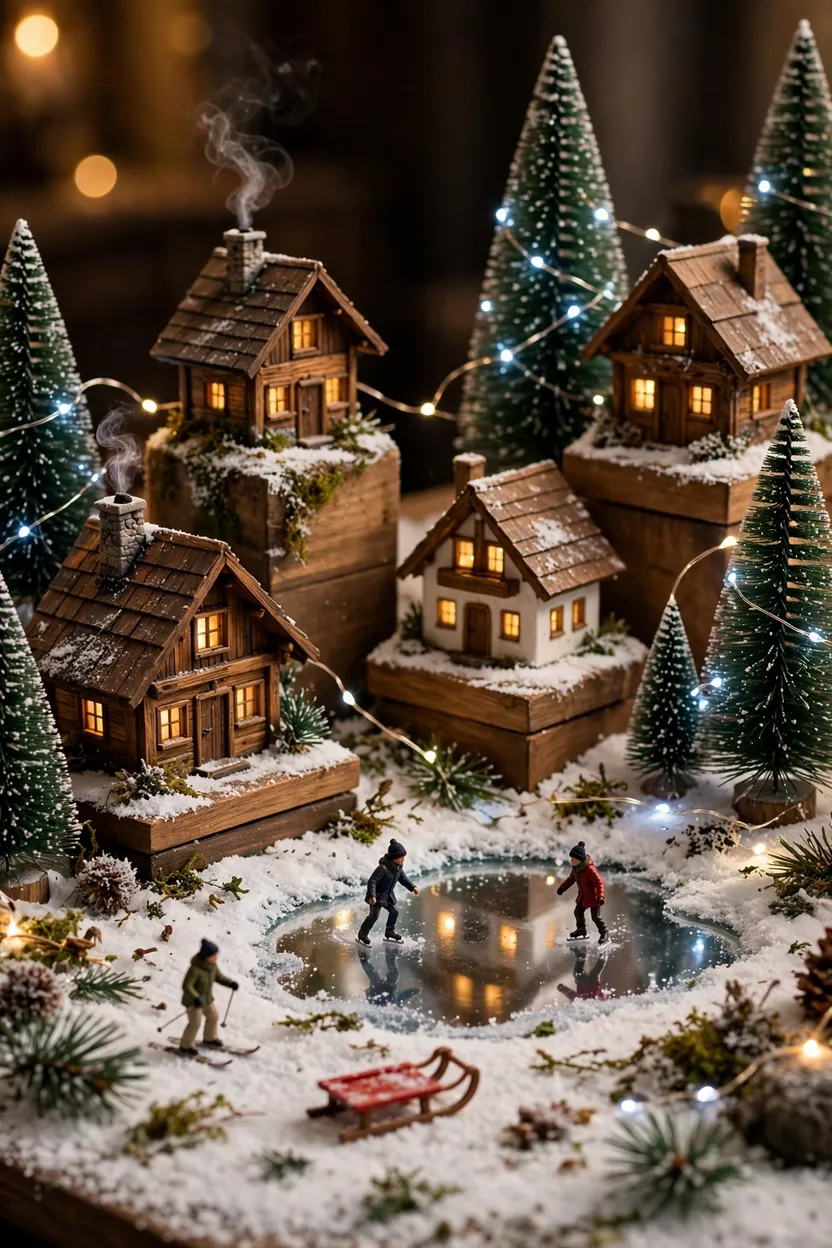
An Alpine village feels like a small ski town, with steep chalet roofs, tall pines, and snow piled high against the walls. Set wooden chalets on risers of different heights, then fill the gaps with tall bottle brush pines and a few tiny skiers. A mirror or a sheet of pale blue felt under the snow reads as a frozen pond, with two or three skating figures on top. Use warm lights in the chalet windows and cool white fairy lights in the trees to suggest cold air outside and warm rooms inside. Keep the colors to wood brown, deep green, and white, with one red sled or scarf for a small bright note.
17. A Dining Table Village on a Movable Tray
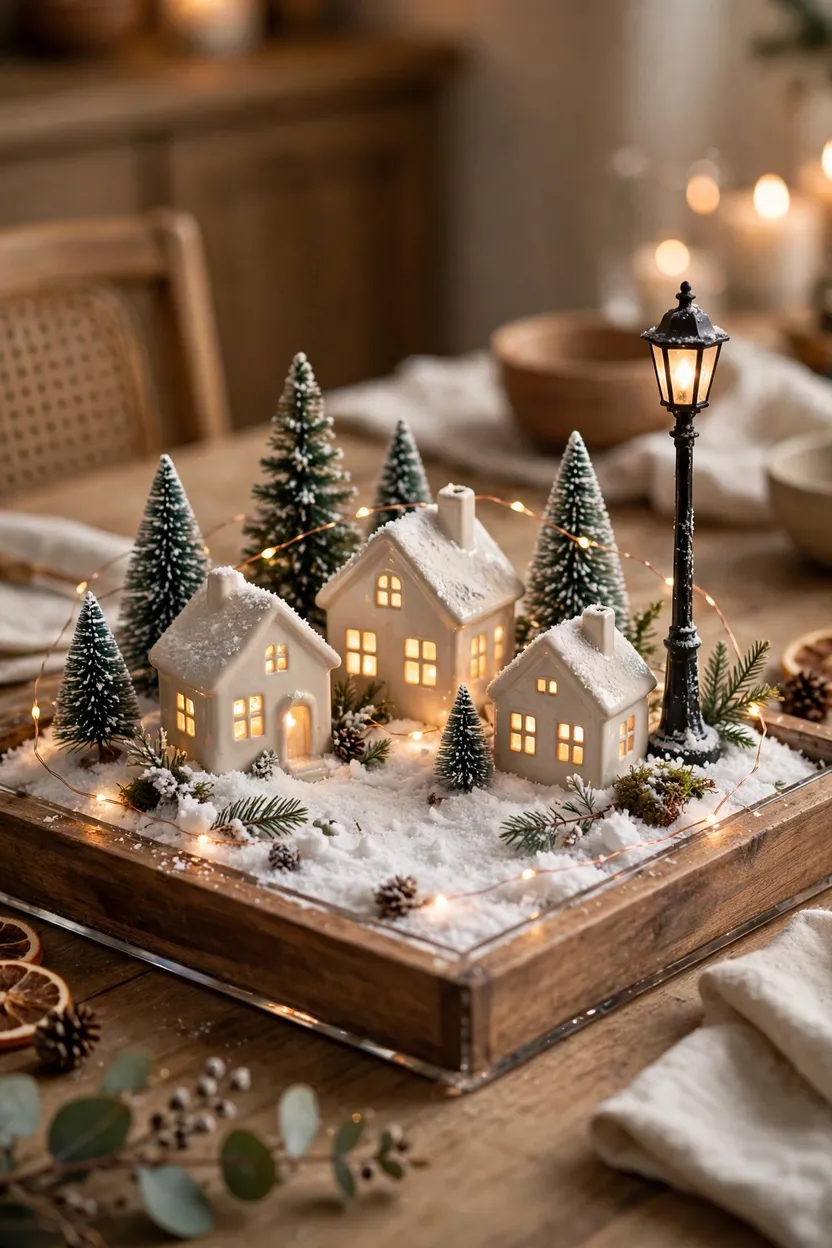
A village on a wooden tray makes a dining table centerpiece that can move aside in seconds when dinner is served. Choose a tray with low sides, line it with snow blanket, and set just three houses inside so the scene stays light and open. Add a few small trees, one lamppost, and a short battery light strand, then leave the tray edges clear for serving dishes. Keep the houses low so guests can see each other across the table, and skip tall trees that block the view. After dinner, the tray slides back to the center, and the village glows again without any rebuilding.
18. An Advent Village That Grows Each Day
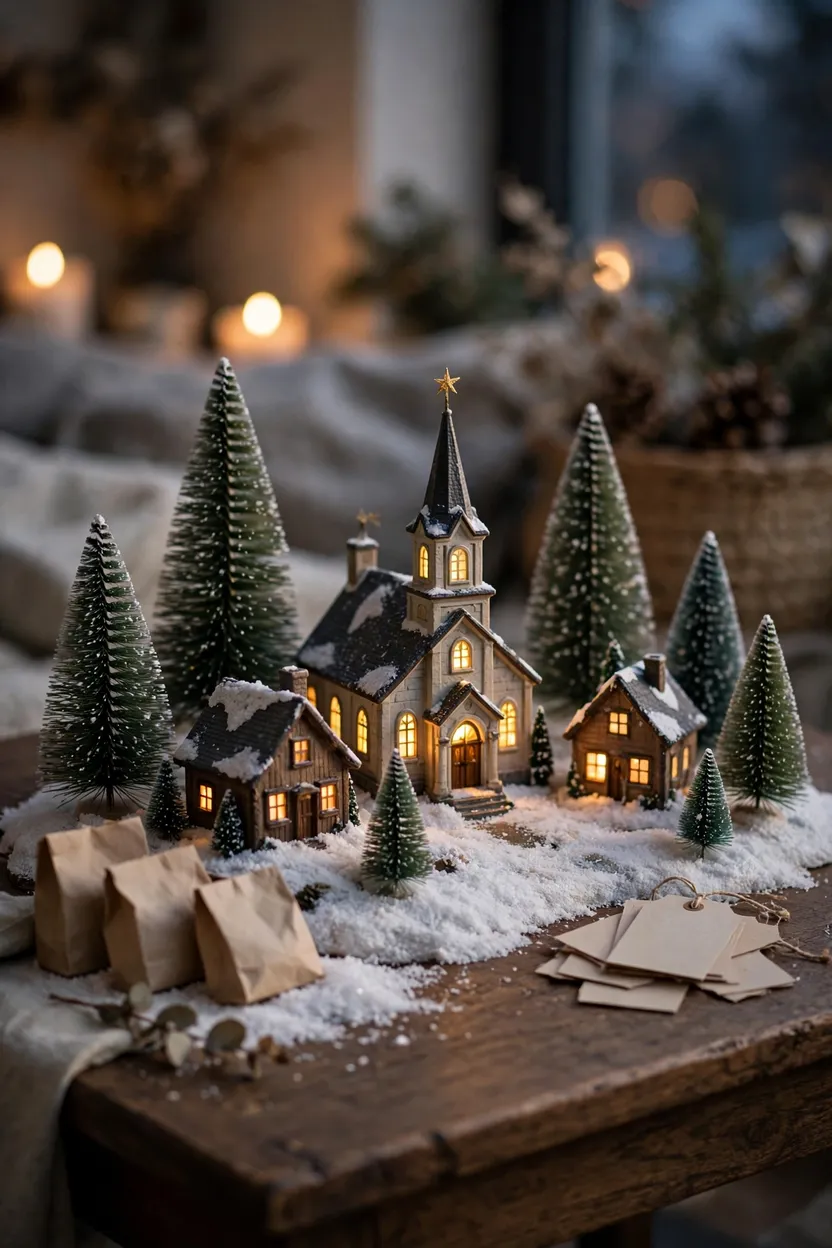
An advent village adds one small piece each day, so the town grows a little fuller as Christmas draws near. Start with the snow base, the church, and two houses, then add a house, a tree, or a figure each morning from a labeled box. Number the pieces on small tags or tuck them into dated paper bags, so children can find the next piece without help. Keep the layout loose at first, with space left open for the pieces still to come, and nudge the houses into place as the town fills in. On the last day, add a tiny star above the church and switch on every light, so the finished village feels like a small celebration.
Styling Tips
Pick one main color story before you set a single house down, such as all white, red and green, or wood brown with deep green. Repeat that story in the trees, the figures, and the ribbon or garland nearby, so the village feels like one planned scene. Use odd numbers when you group trees and houses, since groups of three or five look more natural than even rows. Leave breathing room between clusters, because a little empty snow reads as a street or a square and lets each house stand out. Step back often while you build, and check the scene from the doorway as well as up close, since most guests will see it from across the room first.
Practical Implementation Ideas
Measure your surface first, then count your houses, so you know whether you need risers or a smaller set. Build the base and the levels before you place a single house, and run cords or battery packs along the back edge where the snow can hide them. Place the tallest houses at the back, test every light before you tuck the snow around the bases, and add trees and figures last. Use a timer plug or battery lights with a timer so the village glows at dusk and rests overnight without daily fuss. Label each house and its cord with a small tag when you pack up, so next winter the setup takes minutes instead of an afternoon.
Common Mistakes to Avoid
The most common mistake is lining every house up in one flat row, which hides the back houses and flattens the whole scene. Another is mixing houses of very different scales, so a tall church next to a tiny cottage breaks the sense of a real town. Loose snow over cords can look messy, and too many figures can crowd the streets until no house stands out. Real candles and hot bulbs do not belong near cotton batting or fake snow, so use battery lights and LED strands instead. Finally, do not place the village where it blocks a walkway, a drawer, or a curtain, because a scene that gets bumped daily will not stay neat for long.
Small-Space Alternatives
A small corner suits a village well, because tight groups read as one scene instead of a scatter of pieces. A tray, a cloche, a lantern, or one shelf holds three to five houses with ease, and a tiered tray adds height without taking more table space. Choose small-scale houses and short bottle brush trees, and skip the train track and the wide hillside layout until you have a longer surface. A windowsill or a single floating shelf works too, as long as the houses sit steady and clear of curtains. When guests come, the tray or the cloche lifts away in seconds, and the corner is clear again.
Budget-Friendly Alternatives
You do not need a large collection to start, and secondhand shops often hold ceramic houses for a few dollars each. Cotton batting, white felt, and a white sheet each make a fine snow base, and books or boxes from around the house work as risers under the snow. Battery fairy lights cost little and hide easily, while one good strand can light a whole shelf. Add one new house or one new figure each winter instead of buying a full set at once, and the village will grow into a collection that feels personal. Store every piece wrapped in tissue in a labeled box, so nothing chips and nothing needs replacing next winter.
Pro Styling Recommendations
Start with the tallest building and build the scene around it, since the anchor sets the scale for every other piece. Mix textures on purpose: smooth ceramic walls, rough wood risers, soft cotton snow, and glossy bottle brush trees each catch the light in a different way. Keep the back lights warm and the front lights low, so the houses glow and the snow stays soft instead of bright. Add one small story to each cluster, such as carolers by a lamppost or a tree lot beside the bakery, so guests find a new detail each time they look. Take a photo at dusk with the room lights low, then move any house that looks dark, crowded, or lost in shadow.
Conclusion
A Christmas village does not need to be large to feel like Christmas. A few lit windows, a snowy path, and a small cluster of trees can turn a quiet corner into the warmest spot in the room. Pick the surface you have, start with the houses you own, and build the scene one level at a time. The village will grow with you, piece by piece, winter after winter, and each year it will greet you like an old friend.