16 Landscape Designer Secrets for a Lush Grass-Free Front Yard

Ditch the lawn and most people end up with one of two results: a genuinely gorgeous, layered yard that looks like it belongs in a design magazine, or a yard that reads as gravel, a few sad succulents, and bare dirt showing through everywhere. The plants aren’t usually the problem. The layout is.
Most grass-free yard advice is really just a materials list — gravel here, drought-tolerant plants there, maybe a dry creek bed for interest. What it skips is the actual design logic professional landscapers use to make a yard read as lush and full instead of sparse and rocky, regardless of how little water it uses.
These 16 secrets go past the plant list. They cover the layering, spacing, and repetition principles that separate a genuinely lush grass-free front yard from one that just looks like the lawn got removed and nothing filled in the gap.
Table of Contents
1. Plant Densely From the Start
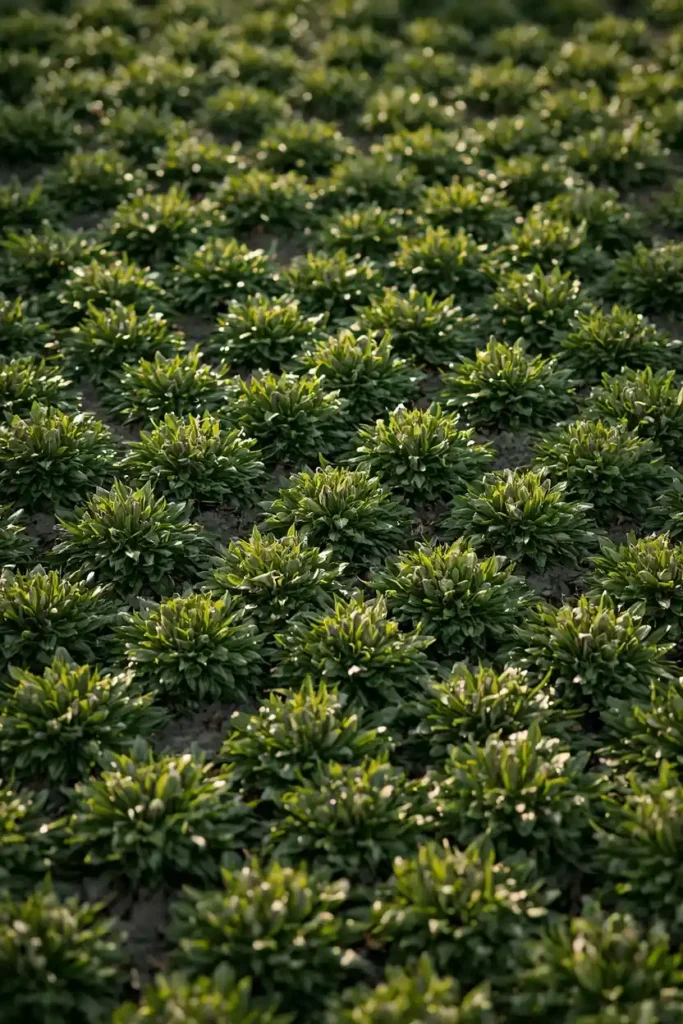
The single biggest difference between a lush grass-free yard and a sparse one comes down to spacing, and most homeowners plant too far apart because that’s how the nursery pots are spaced on the shelf. Professional designers plant tighter than feels intuitive, treating the base layer of low groundcover and filler plants as something that should cover roughly half the total bed within a season or two, not scattered dots with mulch showing everywhere between them. A garden planted sparsely in this base layer ends up looking exactly like what one landscape designer described as a “spotty beard” — thin, patchy, and unconvincing no matter how well-chosen the individual plants are. This doesn’t mean overspending on plants; many groundcovers and perennials spread or self-seed within a year or two, so starting dense with smaller, cheaper plants often gets to the same full look faster and for less money than a few expensive specimens spaced far apart. Density is the difference between a yard that reads as “still filling in” and one that reads as finished.
2. Build a True Layering Pyramid
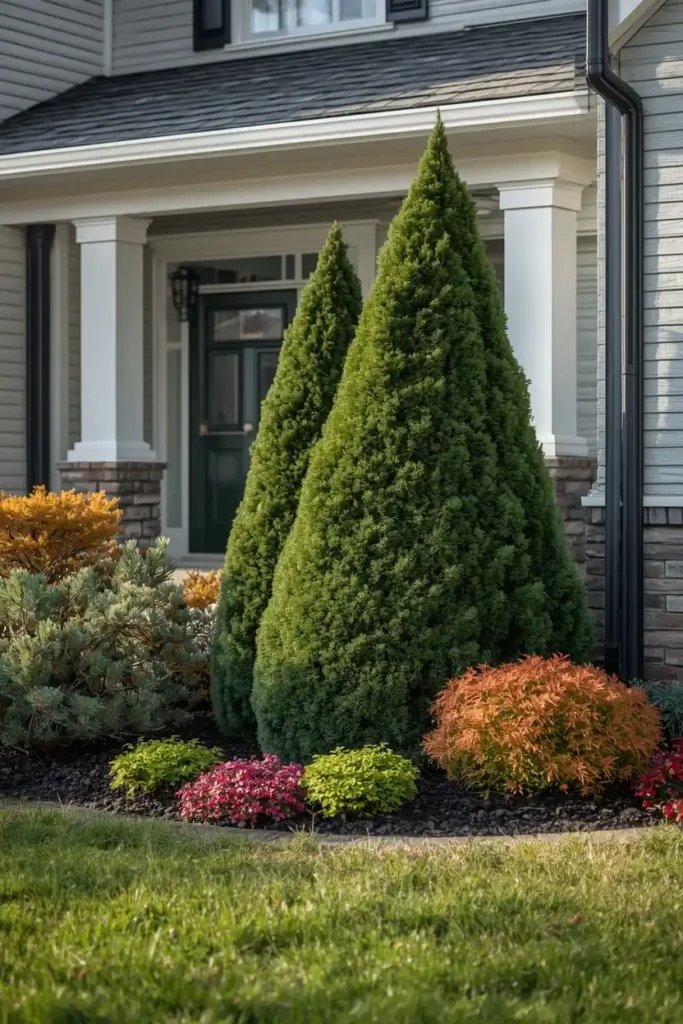
A lush landscape reads as full because it has height variation working from the ground up, not because every plant is roughly the same size scattered across the yard. Designers build what’s often called a layering pyramid: a small ornamental tree or large shrub for the tallest layer, evergreen shrubs beneath that for structure, deciduous shrubs and taller perennials in the middle, and low perennials, grasses, and groundcovers filling the front and base. This staggered foreground-to-background arrangement is what makes a bed look intentionally composed rather than randomly planted, and it’s the same principle interior designers use when layering furniture heights in a room. Skipping any one layer, especially the middle one, tends to create an awkward visual gap between the tall structural plants and the low groundcover, which reads as unfinished even when every individual plant is thriving. Getting this pyramid right in even one bed near the entry sets the tone for how “designed” the entire yard feels.

3. Use the Matrix Planting Method
Matrix planting is a technique professional landscape designers use to blend a limited palette of low, similarly textured grasses and perennials into a woven, naturalistic groundcover, punctuated occasionally by taller accent plants that draw the eye. Rather than planting in defined blocks or clumps of one species next to blocks of another, matrix planting interweaves a few compatible plants throughout a bed the way wildflowers actually grow in a meadow, which is part of why it reads as so much more lush and less contrived than traditional row-and-block planting. This method works particularly well for a grass-free yard because the woven, continuous texture of the matrix actually replaces the visual function lawn used to serve — a calm, unified green base — without needing mowing or heavy water. Choosing plants with similar water needs and growth habits for the matrix keeps the planting low-maintenance once established, since the whole point is a self-sustaining, blended community rather than individually managed specimens. This is one of the more advanced techniques on this list, but it’s also the one most responsible for the “wow, how did they do that” reaction a truly lush grass-free yard gets.

4. Group Everything in Odd Numbers and Drifts
Planting in twos, fours, or perfectly even rows triggers something in the eye that reads as artificial, since even-numbered, evenly spaced groupings are exactly the kind of grid pattern the brain organizes objects into automatically. Grouping the same plant in odd numbers instead — three, five, seven — creates a visual logic that reads as more natural and more intentional at the same time, which is why it’s one of the most repeated rules among professional landscapers. Once a grouping grows beyond roughly ten plants of the same kind, it shifts from a countable group into what’s called a drift, a looser, larger sweep of one plant that mimics how that species would spread naturally in the wild. Mixing a few small odd-numbered groupings with one or two larger drifts throughout a yard gives the whole design rhythm, moving the eye through the space rather than letting it land on a single static area. This rule applies to more than plants too — pots, boulders, and other repeated hardscape elements all benefit from the same odd-number logic.

5. Keep an Evergreen Backbone
A grass-free yard built entirely around seasonal perennials and flowering plants looks spectacular for a few months and then goes bare or brown for the rest of the year, which undercuts the “lush” goal the other seasons don’t get to deliver on. Evergreen shrubs, planted as roughly ten to fifteen percent of the total plant list and positioned as the structural layer of the design, hold the yard’s shape and color through fall and winter when everything else has died back or gone dormant. This backbone doesn’t need to be flashy — boxwood, dwarf conifers, or evergreen native shrubs suited to your climate all work — its job is simply to keep the bones of the design visible and green year-round. Positioning evergreen structure at key visual points, like flanking an entry path or anchoring the corners of a bed, gives the eye a consistent reference point even as the seasonal plants around it change dramatically throughout the year. Skipping this layer is one of the most common reasons a beautiful summer garden looks abandoned by winter.
6. Pair Spiky Plants With Mounding Plants
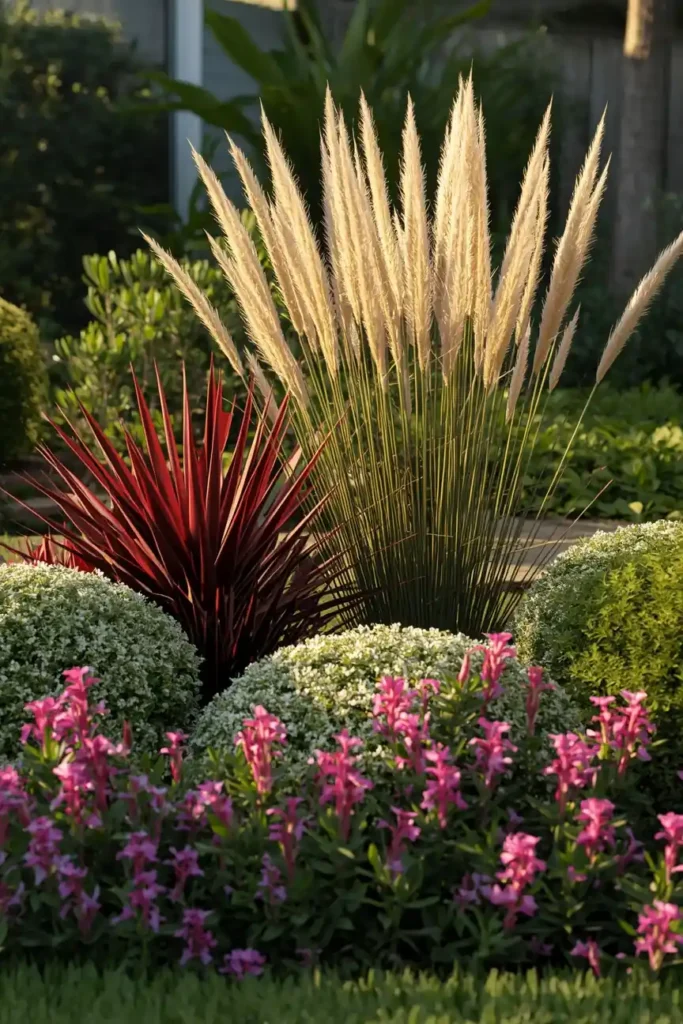
Texture contrast does as much visual work as color does, and one of the most reliable combinations in drought-tolerant design is pairing plants with long, thin, spiky forms against plants with soft, rounded, mounding shapes. Ornamental grasses, yucca, or red hot poker provide the spiky element, while low mounding perennials like salvia, lantana, or creeping germander fill in around them with a softer, fuller silhouette. This contrast is part of what makes a bed feel dynamic and rich rather than flat, since the eye reads varied form as more complex and more deliberately composed than a bed of uniformly shaped plants. This pairing also tends to work well specifically in dry, low-water climates, since many of the classic spiky architectural plants — agave, yucca, red yucca — are inherently drought-adapted, making the technique both a design principle and a practical water-saving choice at once. Repeating this spike-and-mound pairing at a few points throughout the yard, rather than using it only once, ties the whole design together.
7. Repeat a Small Plant Palette on Purpose
It’s tempting to collect one of every interesting plant at the nursery, but a yard built from dozens of different species usually reads as more chaotic than lush, since there’s no repeated pattern for the eye to follow. Professional landscape designs tend to work from a genuinely small palette — often somewhere between five and ten plant species for an entire front yard — repeated deliberately throughout the space in different groupings and combinations. This repetition of color, texture, and form is what creates the sense of unity and calm that makes a yard feel professionally designed rather than assembled piece by piece over several nursery trips. A smaller palette is also easier to keep alive, since it’s simpler to learn and meet the specific water and light needs of ten plant types than thirty. Whenever a new plant tempts you at the garden center, the more disciplined move is usually asking whether it fits your existing palette rather than adding an entirely new one.

8. Let Groundcover Do the Job Mulch Can’t
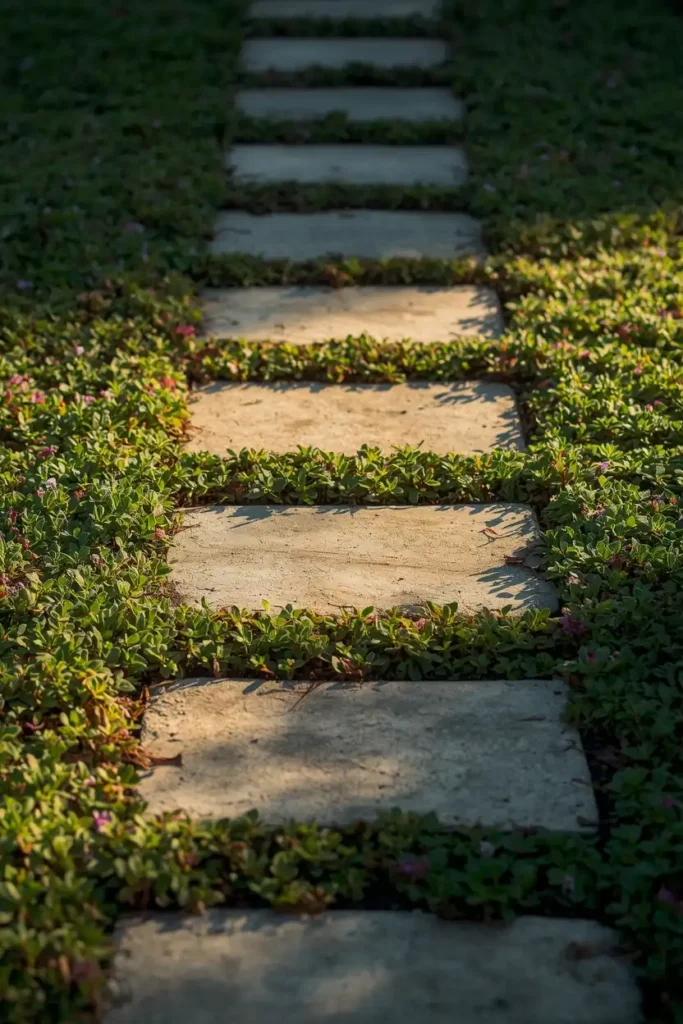
Mulch is useful for suppressing weeds and retaining moisture while plants establish, but a yard that relies on mulch as its primary visual ground layer, rather than actual living groundcover, will always look more like a construction site than a garden. Low, spreading plants like creeping thyme, sedum, or low-growing native groundcovers fill the same gaps mulch does, but they also add texture, sometimes fragrance, and a genuine sense of life to the lowest visual layer of the yard. Creeping thyme in particular has become a favorite for this exact purpose, since it tolerates foot traffic, fills gaps between stepping stones, and releases a light scent when brushed against or stepped on. Over time, established groundcover also naturally crowds out weeds more effectively than bare mulch does, reducing long-term maintenance even though it takes more effort to establish initially. Reserving mulch for the areas where groundcover hasn’t yet filled in, rather than as a permanent ground layer throughout the whole yard, keeps the design moving toward fuller and lusher rather than staying static.
9. Use a Regulating Line to Organize the Yard
Professional designers rarely place plants and hardscape randomly — they take a cue from an existing line already present on the property, like the edge of the house’s foundation, the line of a front walkway, or the canopy edge of an existing tree, and use that line to organize where new elements go. This regulating line creates a sense of order underlying what might otherwise look like a loosely planted, naturalistic yard, since even wild-looking matrix plantings usually follow some kind of underlying geometric logic when you look closely. A curved garden bed that echoes the curve of a front walkway, or a row of evergreen shrubs that aligns with the edge of a porch, ties new landscaping visually back to the existing architecture of the house. Identifying one or two regulating lines on your own property before placing any new plants or hardscape is a simple planning step that prevents the finished yard from feeling disconnected from the house it surrounds. This is one of the more invisible design principles on this list, but its absence is often what makes an otherwise well-planted yard feel slightly off without an obvious explanation why.

10. Choose One or Two Focal Specimen Plants
A yard with too many “showstopper” plants competing for attention ends up with no actual focal point at all, since the eye has nowhere specific to land. Professional designs typically build around one or two specimen plants — a striking small tree, an architectural agave, an unusually shaped boulder — positioned deliberately, often near the entry or at a key sightline from the street or front door. Everything else in the design, including the repeated palette and the layered plantings, exists to support and frame that specimen rather than compete with it for attention. This is the same principle interior designers use when choosing one hero piece of furniture and building a room around it, applied outdoors instead. Resisting the urge to buy every dramatic plant that catches your eye at the nursery, and instead reserving that role for one or two carefully chosen specimens, is often what separates a genuinely designed yard from one that just has a lot of nice plants in it.
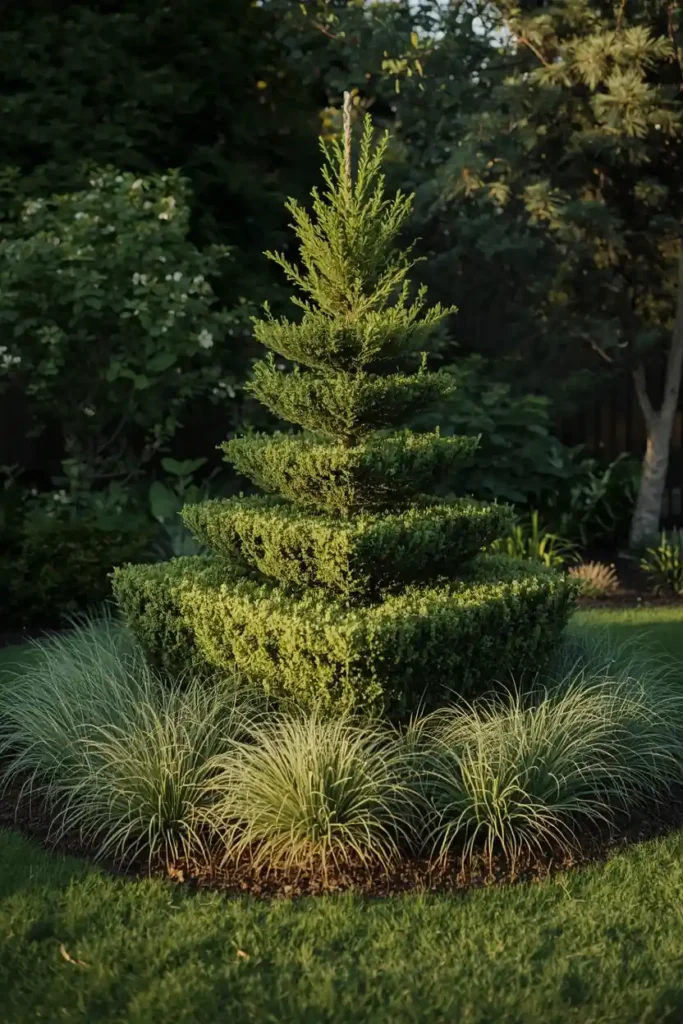
11. Hide the Irrigation
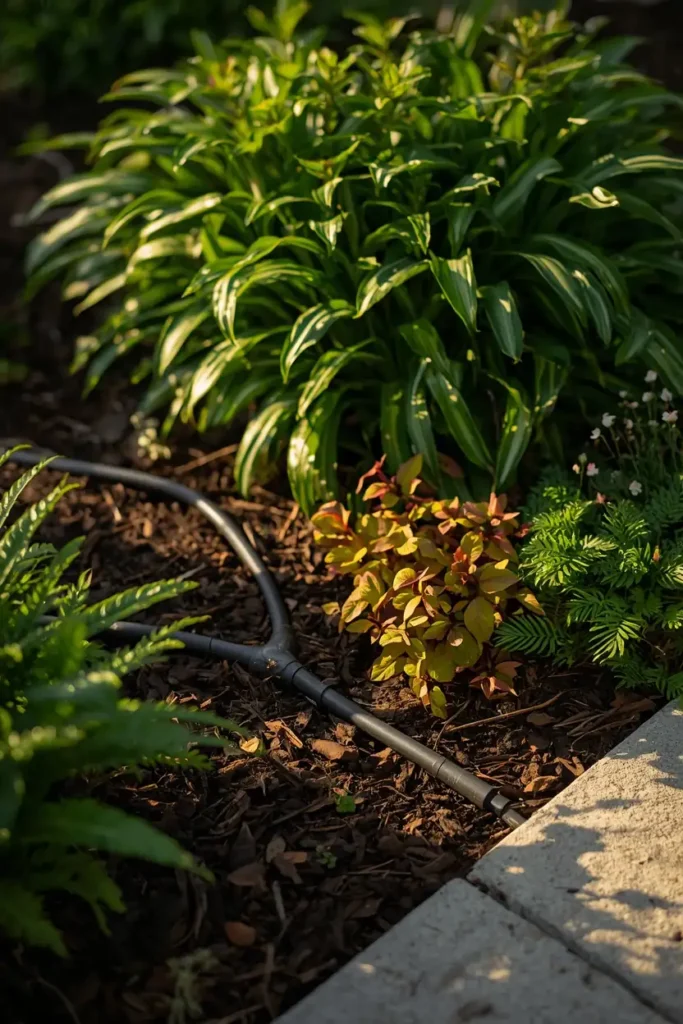
Part of what makes a professionally designed grass-free yard feel effortless is that the systems keeping it alive are invisible — no exposed hoses, no visible drip line snaking across the gravel, no sprinkler heads poking awkwardly out of a planting bed. Running drip irrigation lines under mulch or groundcover, and positioning any necessary above-ground components behind plants or hardscape features, keeps the focus entirely on the greenery itself rather than the infrastructure supporting it. This matters more in grass-free designs than traditional lawns, since without turf to hide behind, irrigation components have fewer places to disappear into unless it’s planned deliberately from the start. Drip irrigation is also considerably more water-efficient than spray systems, which reinforces the low-water goal that usually motivates a grass-free yard in the first place. Planning irrigation placement at the same time as the planting layout, rather than as an afterthought once everything’s already in the ground, makes this kind of invisible installation far easier to achieve.
12. Use Gravel and Stone as a Frame, Not the Whole Picture
Gravel and decomposed granite are genuinely useful grass-free ground covers, but a yard that’s mostly gravel with a few scattered plants reads as a hardscape project rather than a garden, which is the opposite of “lush.” Using gravel or stone as a frame around densely planted beds — a pathway material, a border, a transition zone between planting areas — rather than as the dominant surface across the entire yard keeps the plants themselves as the visual priority. Varying the gravel’s size and color in these framing areas, and breaking up large uniform expanses with stepping stones or a change in material, prevents even a well-placed gravel path from reading as flat or monotonous. The ratio worth aiming for in a genuinely lush grass-free design usually skews heavily toward planted area, with hardscape materials like gravel occupying a supporting, not starring, role. This reframing — hardscape as structure, plants as the star — is often the single biggest mindset shift between a yard that looks “rocked over” and one that looks intentionally landscaped.

13. Add a Dry Creek Bed for Movement and Drainage
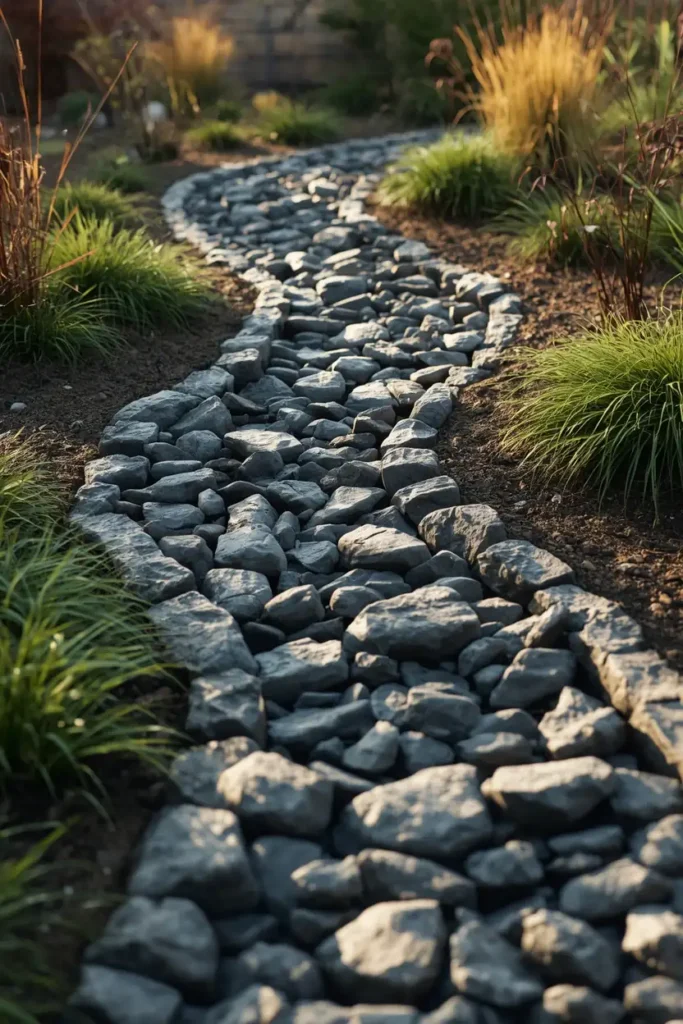
A dry creek bed — a shallow, curved channel lined with river rock or stone that mimics a natural stream without any actual water running through it — adds visual movement to a yard while also solving a genuine drainage problem many properties have after removing a water-absorbing lawn. The curved, organic shape of a dry creek bed contrasts naturally with the straighter lines of a walkway or foundation, adding the kind of varied line quality that keeps a design from feeling too rigid or geometric. Positioning it to follow the yard’s actual natural drainage slope, rather than purely for decoration, means it does real functional work during heavy rain in addition to looking good the rest of the time. Planting along its edges with moisture-loving but still relatively low-water plants creates a lush green border that draws attention to the feature without requiring extra irrigation infrastructure. This is a project most homeowners can install themselves over a weekend, making it one of the more accessible hardscape ideas on this list.
14. Match Your Plant Palette to Your Actual Climate
A plant palette borrowed directly from a Pinterest board shot in a different climate zone is one of the fastest ways to end up with a yard that never quite fills in the way the photo promised, since plants thriving in Southern California’s dry heat behave very differently in humid Southeastern summers or high-altitude Western winters. Working with, rather than against, your specific region’s native and adapted plant palette is what actually produces the effortless density this whole list is built around, since plants suited to their conditions grow fuller and faster than ones constantly struggling against a climate they weren’t built for. A local independent nursery or extension office is usually a far better source for this regional palette than a national blog’s generic plant list. Getting this one decision right makes every other design principle on this list dramatically easier to execute successfully.

15. Choose Mulch Color That Makes Green Pop
Mulch color is a small decision that gets overlooked constantly, but a mulch that’s too close in tone to the surrounding hardscape or too bright and reddish can actually compete with plant foliage instead of setting it off. A darker, more neutral mulch — brown or blackish tones rather than bright red or orange-dyed varieties — tends to recede visually, letting the greens, silvers, and textures of the plants themselves become the focal point rather than the mulch itself drawing attention. This same principle applies to gravel and decomposed granite color choices, where a warm neutral tone generally reads as more sophisticated and more timeless than a stark white or an overly saturated color. Testing a small area with your chosen mulch or gravel color before committing to covering the whole yard helps confirm how it actually looks against your specific plant palette and house exterior color, since lighting and context change how a color reads considerably. This is a subtle detail, but it’s part of why some yards feel polished and others feel slightly off without an obvious explanation.

16. Define the Edges So the Look Reads as Intentional
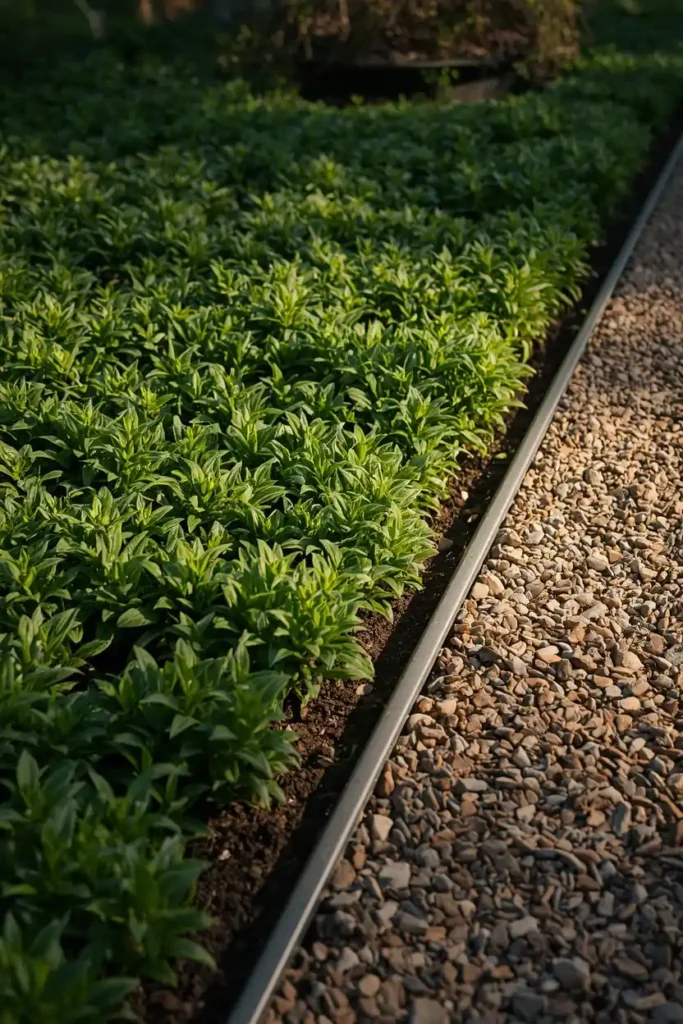
A loosely layered, naturalistic planting style can start to look neglected rather than intentional if the edges of the beds themselves are undefined, since a crisp boundary is often what signals “this wildness is on purpose” to anyone looking at the yard. A clean edge — a metal or stone edging strip, a mowed or trimmed line along a bed’s border, a defined transition into a gravel path — gives even the loosest matrix planting or drift a sense of containment and intention. This contrast between contained edges and full, layered interior planting is a technique borrowed directly from formal garden design, where structure at the boundary allows for looser, more relaxed planting within it. Maintaining these edges, even if the interior planting is largely left to grow and spread naturally, is one of the lowest-effort, highest-impact maintenance tasks in a grass-free yard. It’s often the final detail that determines whether a lush, dense planting style reads as a deliberate design choice or as an untended yard that got away from its owner.
Styling Tips
- Keep a consistent color temperature across hardscape materials — mulch, gravel, stone — so nothing competes visually with the plants themselves.
- Repeat key plants at multiple points throughout the yard rather than using each variety only once, to create visual rhythm.
- Use varied plant heights near the front door specifically, since this is the spot most visitors and passersby actually look closely at.
- Let a few plants spill slightly over defined edges for a softer, less rigid transition between structure and planting.
Practical Implementation Ideas
- Sketch your yard’s existing regulating lines — walkway edges, foundation lines, tree canopies — before choosing where new beds go.
- Start with the evergreen backbone and structural layer first, then fill in seasonal and base layers around it.
- Install irrigation lines at the same time as initial planting, before the layout is finalized, so they can be hidden properly from the start.
- Buy smaller, cheaper plants in higher quantities for the base layer rather than fewer expensive specimens spaced too far apart.
Common Mistakes to Avoid
- Planting too sparsely and expecting gaps to fill in on their own without ever increasing density.
- Using a huge variety of different plants with no repetition, which reads as chaotic rather than lush.
- Letting gravel or hardscape dominate more than half of the yard’s total visual area.
- Skipping the evergreen layer entirely, leaving the yard bare and lifeless for several months of the year.
Small-Space Alternatives
- Scale the layering pyramid down to just two or three heights in a small front yard rather than a full five-layer structure.
- Use a single focal specimen and a tight, repeated palette of three to five plants for a small space that still needs density.
- Choose a smaller-scale matrix planting concentrated near the entry rather than across an entire large yard.
- Rely more heavily on vertical layering with trellises or tall containers when ground space for beds is limited.
Budget-Friendly Alternatives
- Buy smaller plant sizes and plant more densely from the start rather than fewer large, expensive specimens.
- Propagate or divide groundcover plants like sedum or creeping thyme from a small initial planting to fill in more area over time for free.
- Use locally sourced gravel or stone rather than specialty imported materials for framing and pathways.
- Build a dry creek bed with rocks and stone already on the property or sourced secondhand rather than buying new material.
Pro Recommendations
- Visit the yard at different times of day and in different seasons before finalizing the plant palette, to understand actual light and exposure conditions.
- Work with a local nursery or extension office to confirm your regional palette before ordering plants from generic online lists.
- Build the design in phases, starting with structure and irrigation, rather than trying to plant an entire dense yard in one weekend.
- Revisit plant spacing after the first full growing season and divide or thin anything that’s outgrown its space, redistributing it elsewhere in the yard.
FAQs
Conclusion
A lush grass-free front yard isn’t the result of finding the right drought-tolerant plants — it’s the result of using the same layering, repetition, and density principles professional designers apply to any landscape, lawn or not. Plant closer together than feels natural. Build real height variation. Repeat a disciplined palette instead of collecting one of everything. Every idea on this list points back to the same lesson: a yard reads as lush when it’s designed with intention, not just replanted with less water in mind.
Start with the structure — the layering pyramid, the evergreen backbone, the regulating lines — and let the rest fill in from there.