18 Thanksgiving Place Setting Ideas for an Elegant Table (With Easy Layout Rules)
Think about the moment guests sit down.
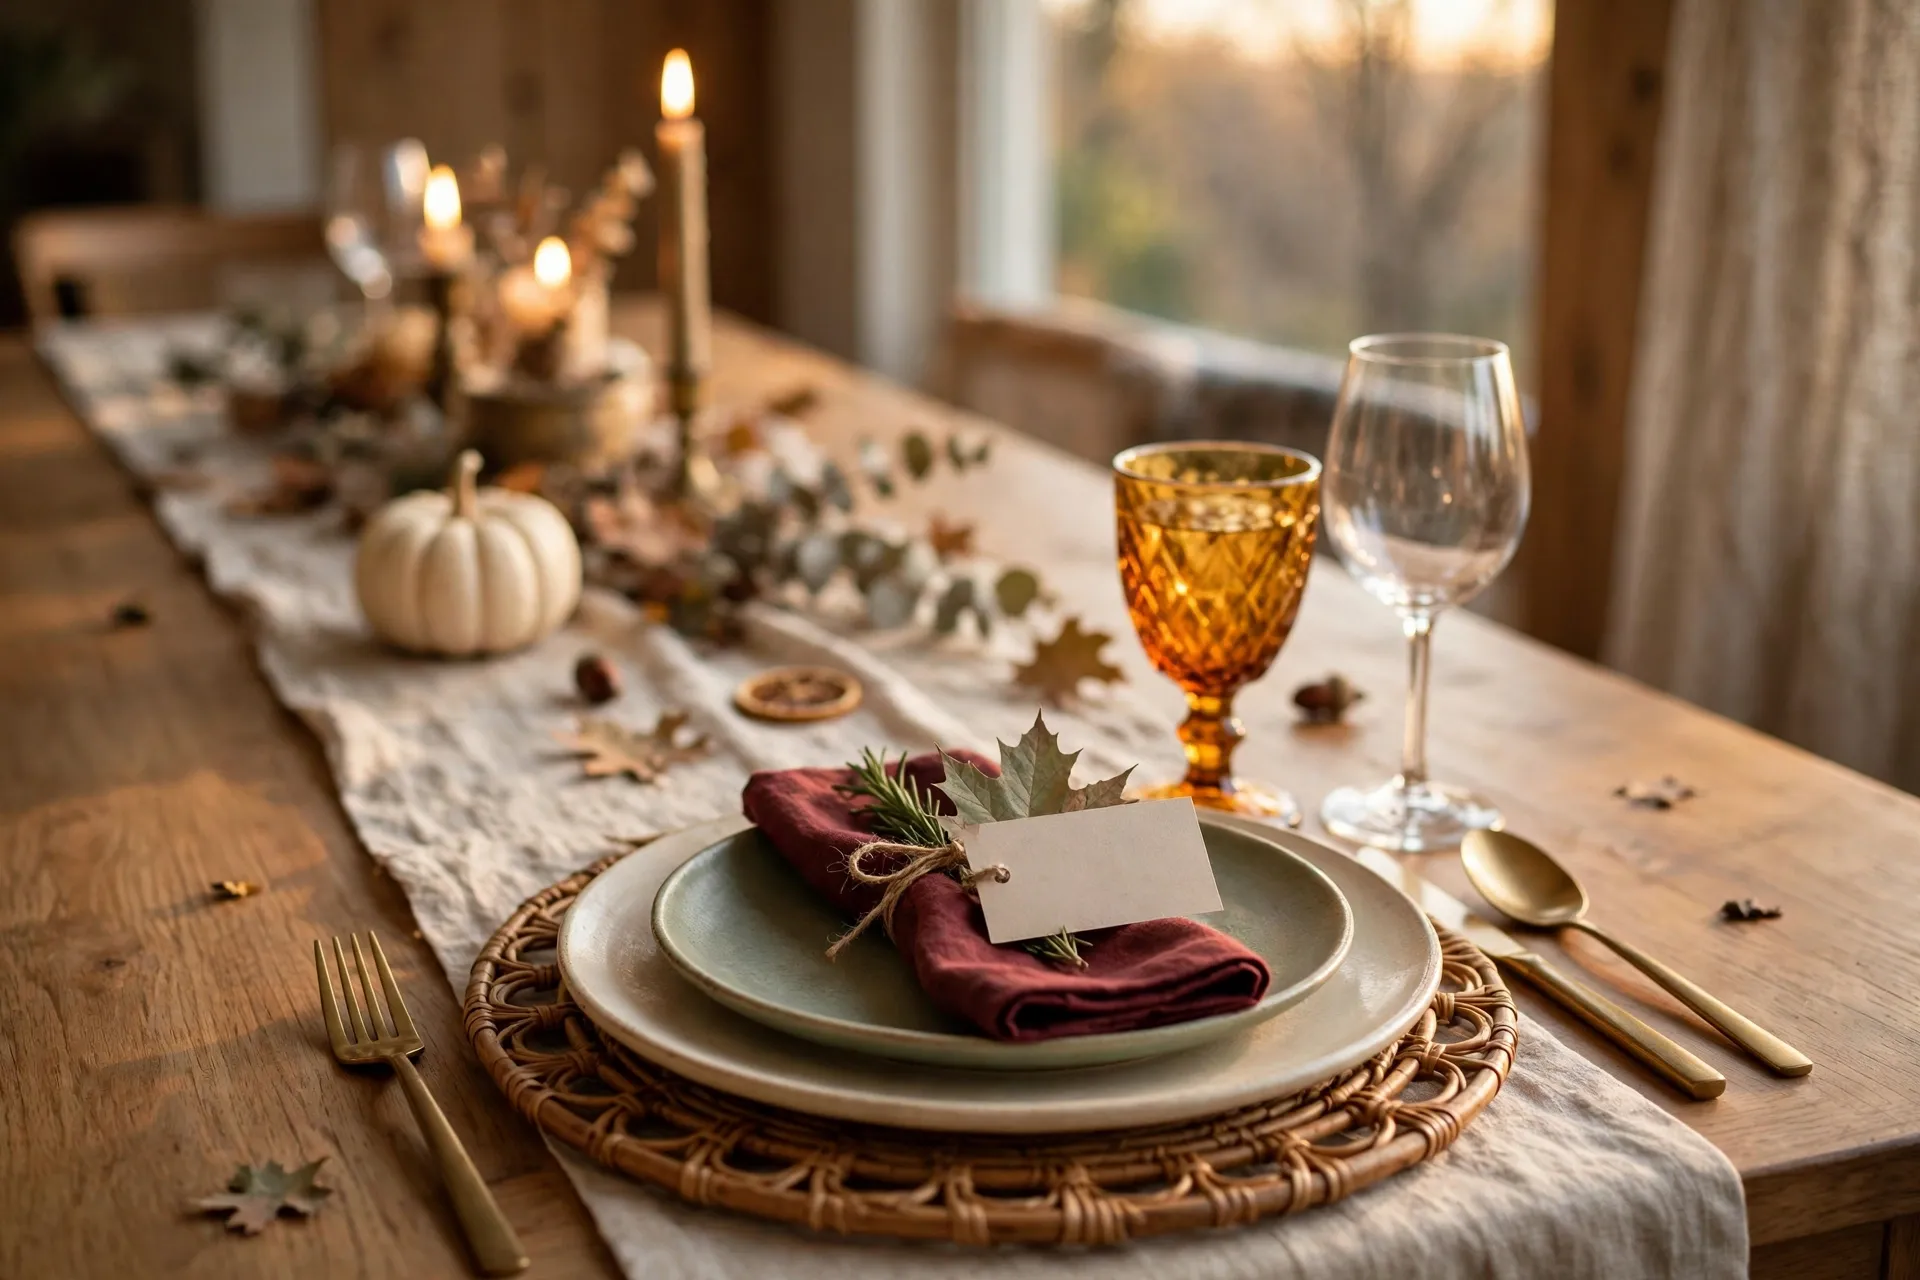
They notice the plate first. Then the napkin. Then the little card with their name, a sprig of rosemary beside it. Before a single dish is passed, they already feel expected.
That moment is the whole point of a place setting. It doesn’t need a big budget or a new set of china. It needs a few thoughtful layers and a layout that gives everyone elbow room.
The 18 ideas below cover classic, modern and rustic looks. You’ll get place card ideas, napkin ideas, color palettes and a simple layout cheat sheet. You’ll also get a prep timeline so you can set the table ahead and enjoy the day.
Table of Contents
Quick answer: how to set a Thanksgiving place setting
Put the dinner plate about 1 inch from the table edge. Forks go on the left, the knife on the right with the blade facing the plate, and the spoon beside the knife. Place the water glass above the knife and the napkin on the left or on the plate. Allow about 24 inches from the center of one plate to the next, and keep centerpieces low, around 10 to 12 inches.
1. A Layered Charger, Dinner Plate and Salad Plate
Layers make a plain setting look finished. Start with a 12 to 13 inch charger in rattan, wood or metallic, then add a dinner plate and a smaller salad plate on top. Keep it to three layers, so the plate doesn’t wobble and guests can reach for food. Add a single sprig of rosemary or a small leaf on the top plate for a touch of green. If you serve family-style, let guests know they can leave the charger in place.

2. A Napkin Pocket With a Menu Card
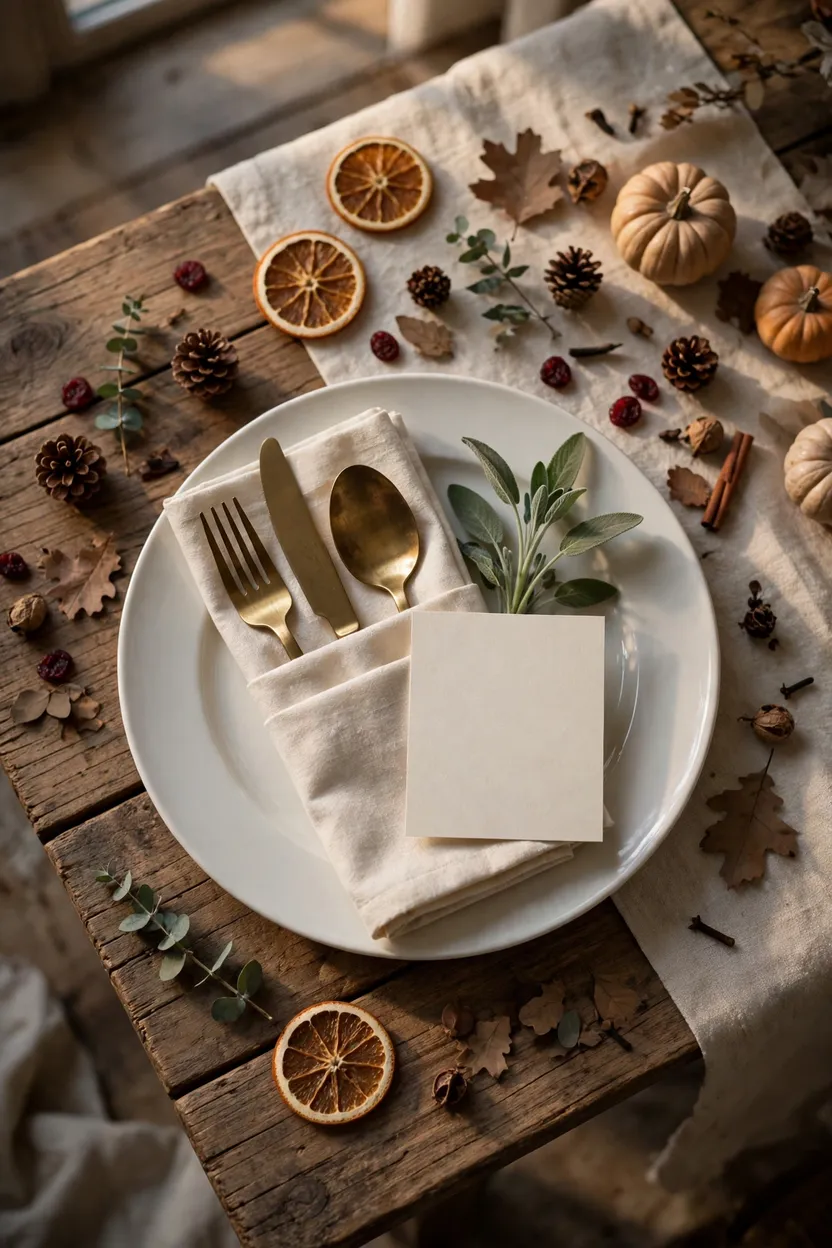
A folded napkin pocket holds the flatware and a small menu card, so each setting looks tidy. Fold a cloth napkin in thirds, then fold the ends in to make a pocket. Slip in the fork and knife, and add a card with the menu in a clear serif font. Place it on the plate or to the left of the setting. It works well for a more casual table, and you can make all of them the night before.
3. A Leaf Place Card With a Metallic Pen
A real or faux leaf makes an easy place card. Pick a leaf with a smooth surface, such as maple or oak, and write each name in a gold or copper metallic pen. Press real leaves under a heavy book for a few days so they stay flat. Place the leaf on the napkin so a draft doesn’t blow it away. It is cheap and looks handmade.

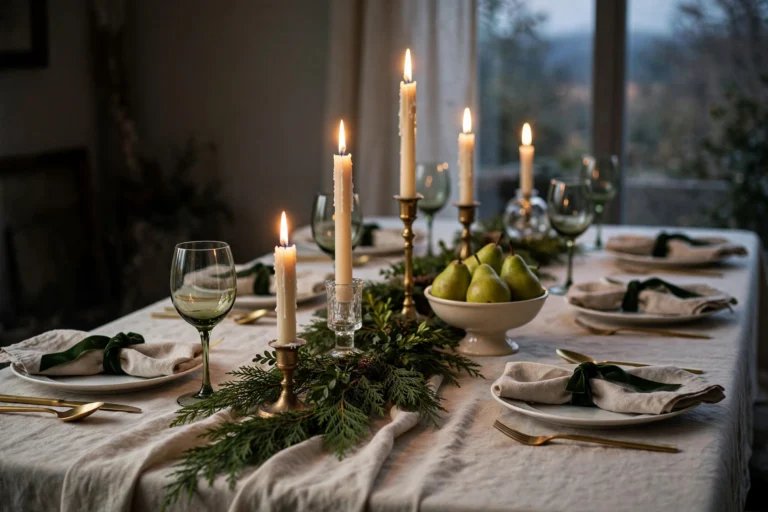
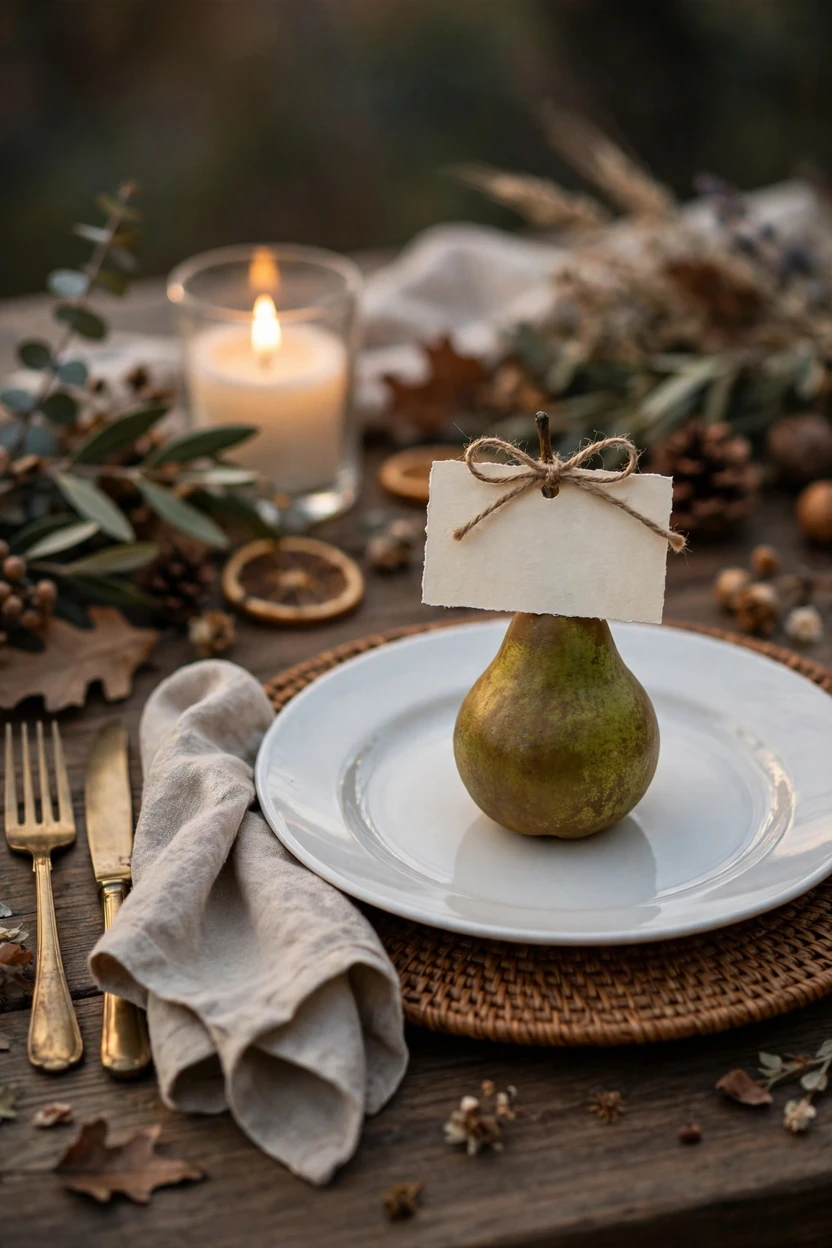
4. Pear Place Cards
A small pear doubles as a place card and a table accent. Use firm pears such as Bosc or Anjou, tie a name tag around the stem with twine, and stand each pear at the top of the plate. The warm brown and soft green tones go well with most fall colors. Guests can take them home or eat them. Keep one extra in case a pear bruises.
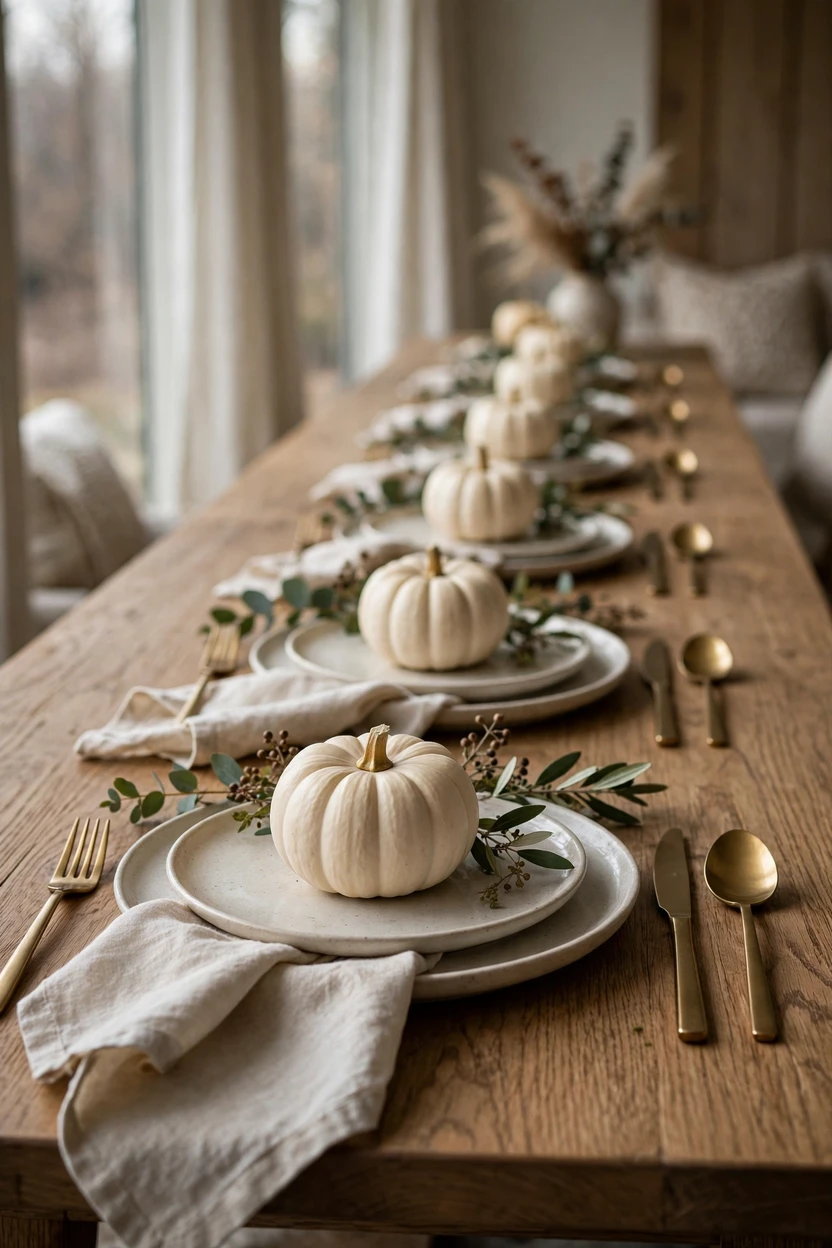
5. White Mini Pumpkin Name Tags
White mini pumpkins give a clean, fresh look. Write each guest’s name straight onto the pumpkin with a gold or silver paint pen, or tie on a small tag. Place one above each plate. They sit still, last for weeks and can be taken home as favors. Choose pumpkins of a similar size for an even row down the table.
6. A Printed Menu Card With a Napkin Ring
A printed menu makes the meal feel like an occasion. Print a short menu on cream card stock about 4 by 6 inches, then slide it under a napkin ring or lean it against a glass. List only the main dishes and the dessert, so the card stays easy to read. Choose a clear serif font in a dark brown or black. It gives guests something to read while the dishes arrive.

7. A Gratitude Card and Pen at Each Plate
This one adds conversation to the table. Place a small card and a pen on each plate, and ask guests to write one thing they’re thankful for. Collect the cards before dessert and read a few aloud. Use a card in a soft color that matches the napkins. It is simple, and it makes the table about gratitude, not only food.

8. Mixed Vintage China With One Repeating Color
Mismatched plates can look intentional with one rule: repeat one color. Choose thrifted plates in different patterns that share cream or green, and keep the napkins and glasses matching. Use two patterns and one solid for balance. Keep the dinner plates the same size, so the stack looks even. It looks collected, and it costs much less than a full set.

9. Black Napkins and Gold Flatware
For a modern, dramatic look, place a matte black napkin on a plain white plate and add gold-tone flatware. Add a small bundle of dried wheat or a sprig of sage on top. The strong contrast looks crisp against a light table. Run a lint roller over black napkins before you set them out, because lint shows. Use unscented candles so the food smells come through.

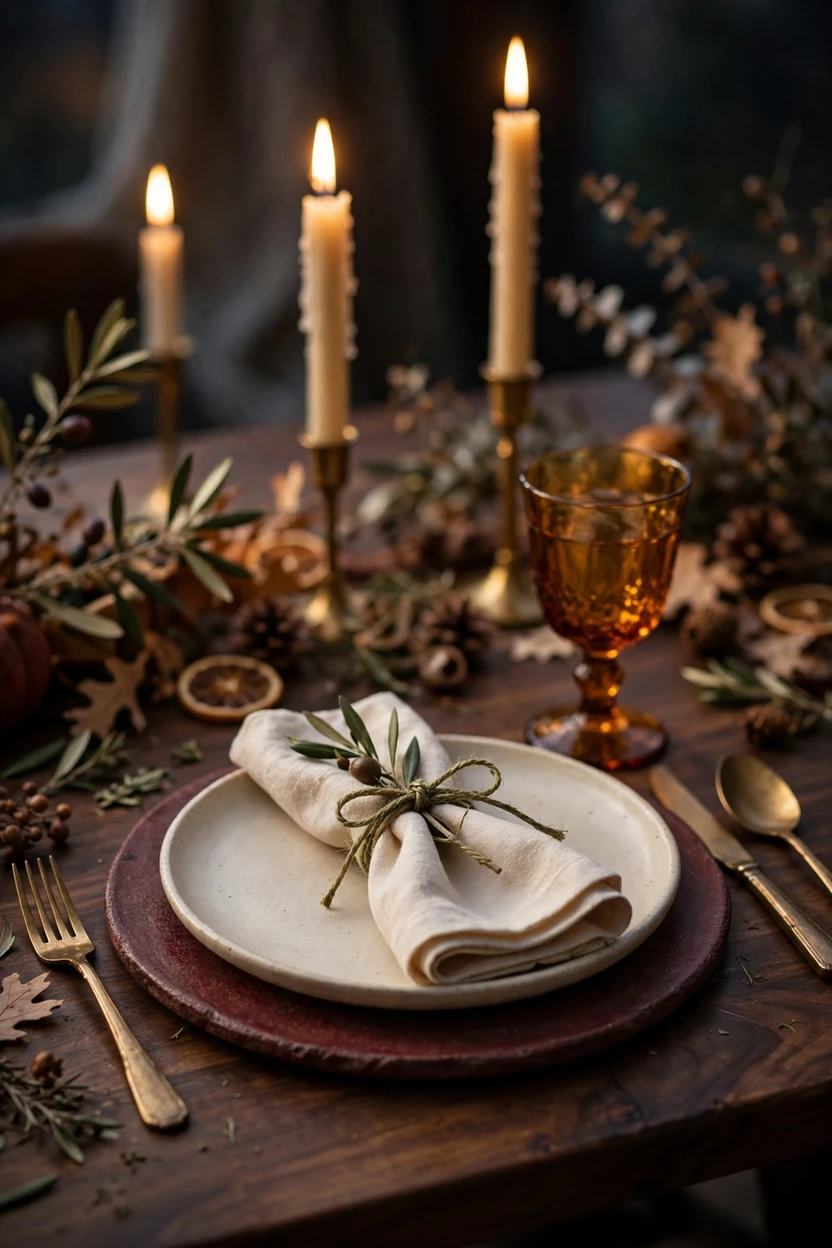
10. Burgundy Charger, Cream Plate and Brass Flatware
Deep red feels rich on a Thanksgiving table. Start with a burgundy or claret charger, add a cream plate and brass flatware, and fold a cream linen napkin on top. Add a small tie of olive twine. The warm colors suit candlelight. This look works well on a dark wood table.
11. All-White Plates With Eucalyptus
A quiet table lets the food stand out. Use white plates, white napkins and a single eucalyptus sprig at each place, with white pumpkins down the center. Add texture with linen, ceramic and glass. Keep the colors tight, and let the eucalyptus bring a soft green. It looks airy and fresh.

12. Sage and Cream Linen With a Wheat Sprig
This palette feels soft and earthy. Use a sage napkin on a cream plate, set on an oatmeal linen runner, and tuck in a single wheat stalk. Choose matte ceramic plates with a slightly uneven glaze. Keep the flatware in brushed gold or silver. It suits a relaxed family table.

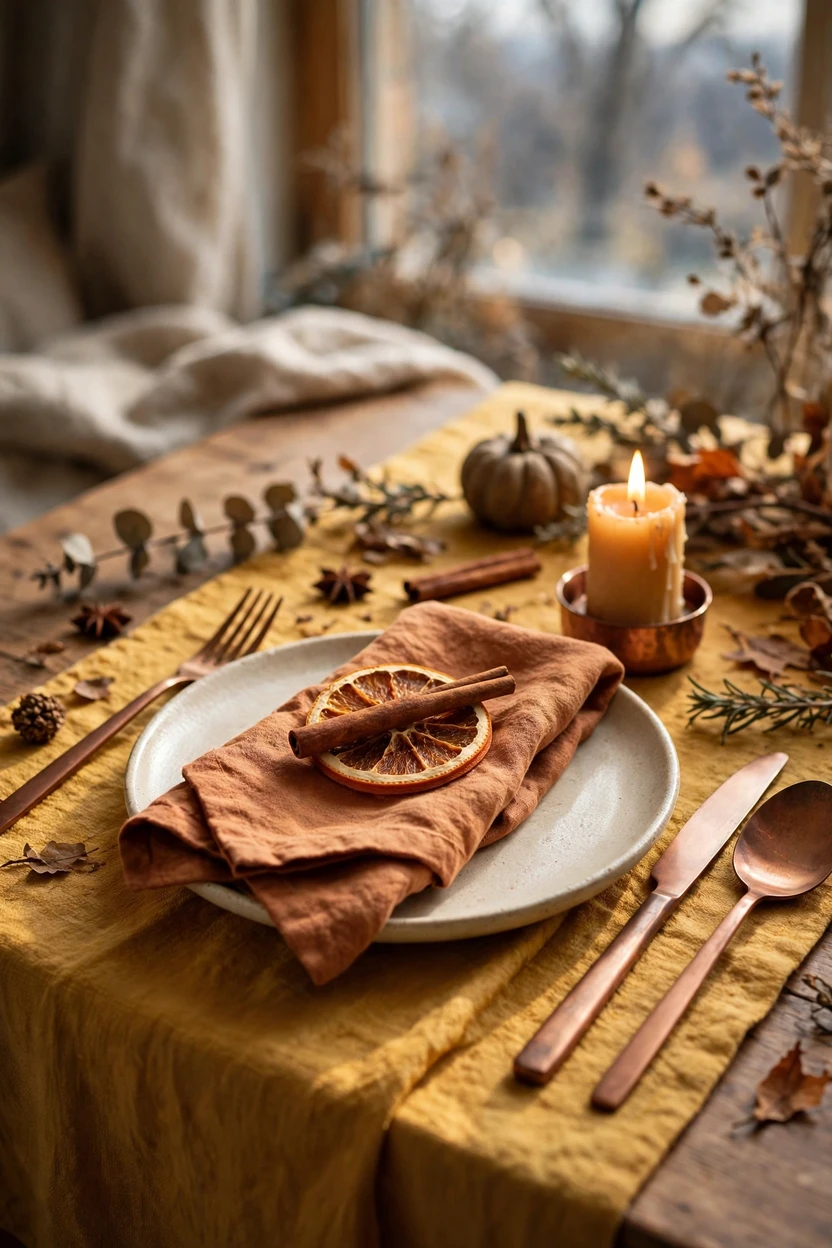
13. Terracotta and Mustard With Dried Citrus
Warm spice colors look inviting. Use a terracotta napkin on a cream plate, a mustard runner and a dried orange slice with a cinnamon stick on each plate. Choose linen or cotton with a slightly rough texture. Keep dried citrus away from candle flames. It smells good and looks like autumn.
14. Amber and Smoked Glassware
Glass color can change a table. Pair an amber water goblet with a clear wine glass, or use smoked glass for a moody look. Place the water glass above the knife and the wine glass to its right. Thrift stores are a good source for single amber glasses. Check whether they are dishwasher safe before you buy.

15. A Bud Vase at Each Place
A small bud vase gives every guest their own flower. Use a 3 to 4 inch vase with a single dried flower, a mum or a wheat stalk. Place it at the upper left of each setting, above the forks, so it stays out of the way. It also helps if your table is too small for a big centerpiece. Keep each vase low, so no one’s view is blocked.

16. A Wheat and Twine Napkin Tie
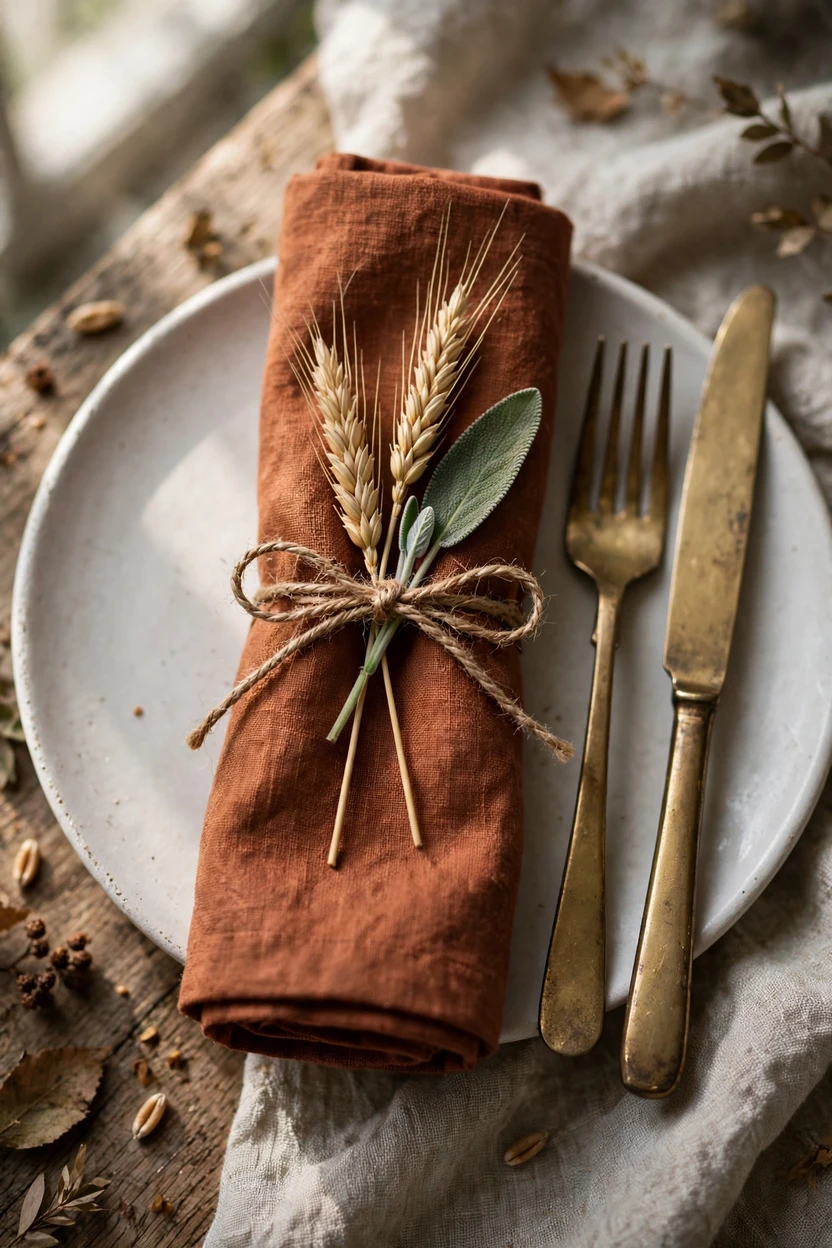
Natural ties look handmade and cost almost nothing. Wrap twine twice around a rolled napkin and slip in two or three wheat stalks or a sage leaf. Tie a small knot and trim the ends. Choose a napkin in cream, rust or sage. It works for rustic and modern tables alike.
17. A Kids’ Setting That Still Matches
Kids can feel included when their setting fits the theme. Roll out kraft paper as a placemat, leave a few crayons and use unbreakable plates in the same color as the main table. Choose a napkin in the same color, and draw each child’s name on a card. Skip real candles and glass at the kids’ table. Keep tiny decor, like acorns, away from very young children.

18. A Favor on the Plate
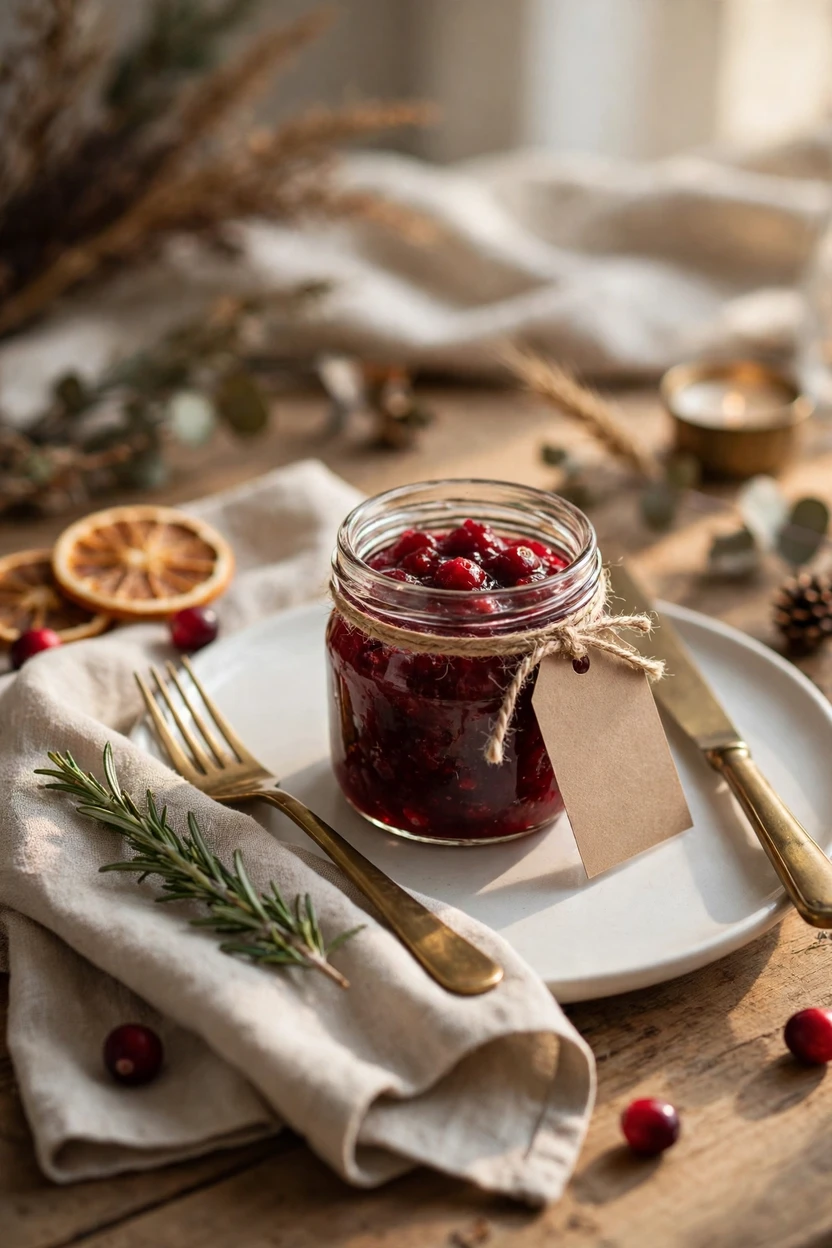
A small gift makes guests feel thanked. Set a small jar of cranberry sauce, spiced nuts or honey on each plate, tied with twine and a tag. Label the ingredients, because nuts and other items can cause allergies. Choose small sealed jars so nothing spills. Guests can take them home after dinner.
Styling Tips
- Pick three colors and repeat them at each place.
- Choose one small detail, like a sprig or a place card, and repeat it everywhere.
- Mix textures such as linen, ceramic, glass and brass.
- Keep the center of the table low, so guests can see each other.
- Use odd numbers for candles and small decor.
- Iron napkins and tablecloths. It makes a big difference.
Practical Implementation Ideas
Place setting cheat sheet (basic American layout):
| Piece | Where it goes |
|---|---|
| Dinner plate | Center, about 1 inch from the table edge |
| Forks | Left of the plate, used from the outside in |
| Knife | Right of the plate, blade facing the plate |
| Spoon | Right of the knife |
| Napkin | Left of the forks or on the plate |
| Water glass | Above the knife |
| Wine glass | To the right of the water glass |
| Bread plate | Above the forks, with the butter knife across it |
| Dessert fork and spoon | Horizontally above the plate, or bring them with dessert |
| Place card | Above the dessert utensils or on the plate |
Spacing: Allow at least 15 inches between settings, or about 24 inches from the center of one plate to the next. Etiquette sources vary slightly, so adjust to your table.
Centerpiece height: Keep arrangements around 10 to 12 inches tall, or choose a tall one with clear stems well above eye level.
Tablecloth: Let it hang about 6 to 12 inches over the edge.
Candles: Use unscented candles near food, and keep flames away from napkins and dried decor.
Prep timeline:
- One week before: Count guests, check plates, glasses and linens, and buy anything missing.
- Three to four days before: Press leaves, write place cards and iron linens.
- Night before: Set the table, then sit in a few seats to check the view.
- Day of: Add fresh items like pears and herbs, then fill water glasses and light candles last.
Common Mistakes to Avoid
- Using tall centerpieces that block the view across the table.
- Putting too many layers or decor on each plate.
- Using strongly scented candles near the food.
- Crowding settings so elbows touch.
- Forgetting space for serving dishes.
- Mixing too many patterns without a repeating color.
- Using edible favors without listing ingredients.
- Writing place cards too small to read.
Small-Space Alternatives
- Use bud vases instead of a big centerpiece.
- Skip the charger and use a placemat.
- Use a runner only, and keep the rest of the table clear.
- Set the table for the main course only, and bring dessert utensils later.
- Serve dishes buffet-style so the table holds only plates and glasses.
Budget-Friendly Alternatives
- Thrift plates, glasses and linens.
- Use paper leaf place cards and kraft paper runners.
- Forage leaves, wheat and branches.
- Buy pears and pumpkins at the grocery store.
- Reuse the same linens with different accents.
Pro Styling Recommendations
- Do a “diner’s view” check by sitting in each seat before guests arrive.
- Light candles last, and keep them low.
- Consider placing left-handed guests at the end of a table, so elbows don’t bump.
- Use a placemat or a template to space the settings evenly.
- Set the table the night before, and cover it with a clean sheet.
- Take a photo of the table. It shows what looks crowded.
Conclusion
A place setting is a small stage for a big day. When each seat has a clear plate, a folded napkin and one thoughtful detail, guests feel welcome before the first dish arrives.
Start with the layout and the spacing. Choose one palette, one place card idea and one repeating detail. Set the table the night before, then sit in a few seats to check the view.
On Thanksgiving, light the candles last, step back and look. If the table feels warm and uncluttered, you’ve done it right.